L
Lunchbox88
Guest
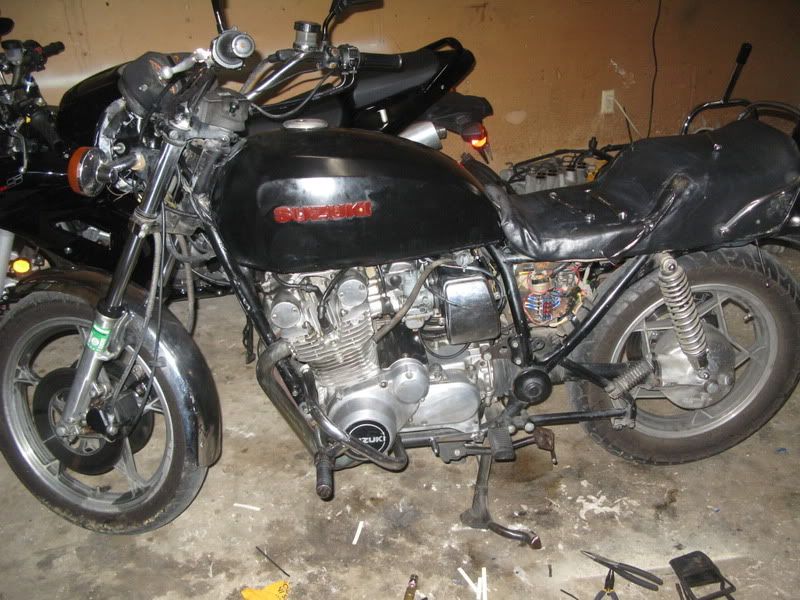
So, you have a Saddlemen bucket style replacement seat? Your bike is a '79 GS850G? I didn't notice on your frame pictures how the seat mounting was set up. Does it have a side latch/key and hinges or a rear key and hooks at the front? The standard seats are available through e-bay, they show up there and several people will post them in parts section here. You could also post in the Parts Wanted. Looking good so far.
On edit: I see you've got the standard "G" latching and hinge system. Shouldn't be too hard to locate one of those seats.
")
Yes correct its the keyed latch and hinge system. I just didnt know what other bikes use the same size seat and mounting system.
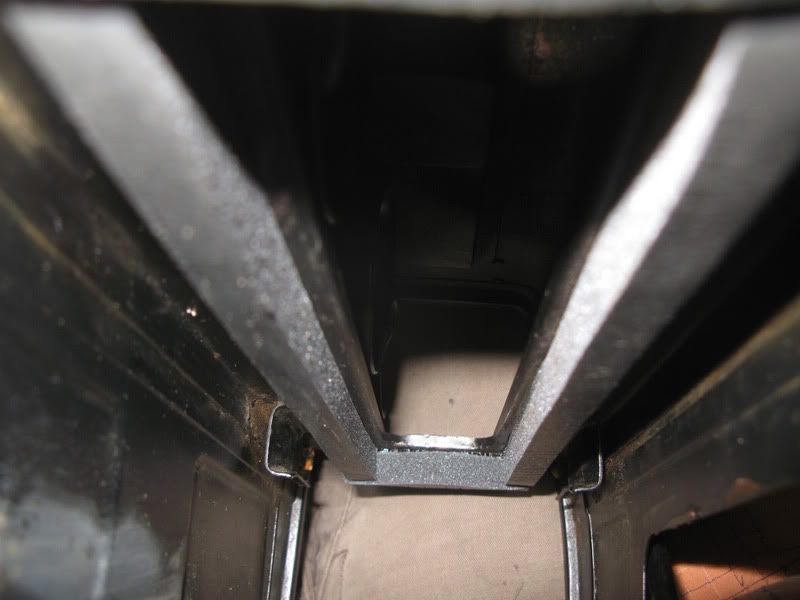
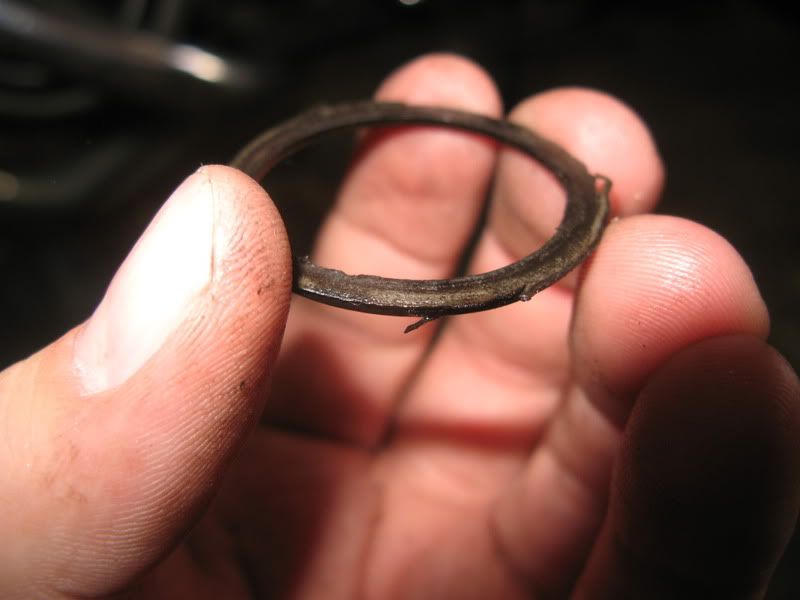
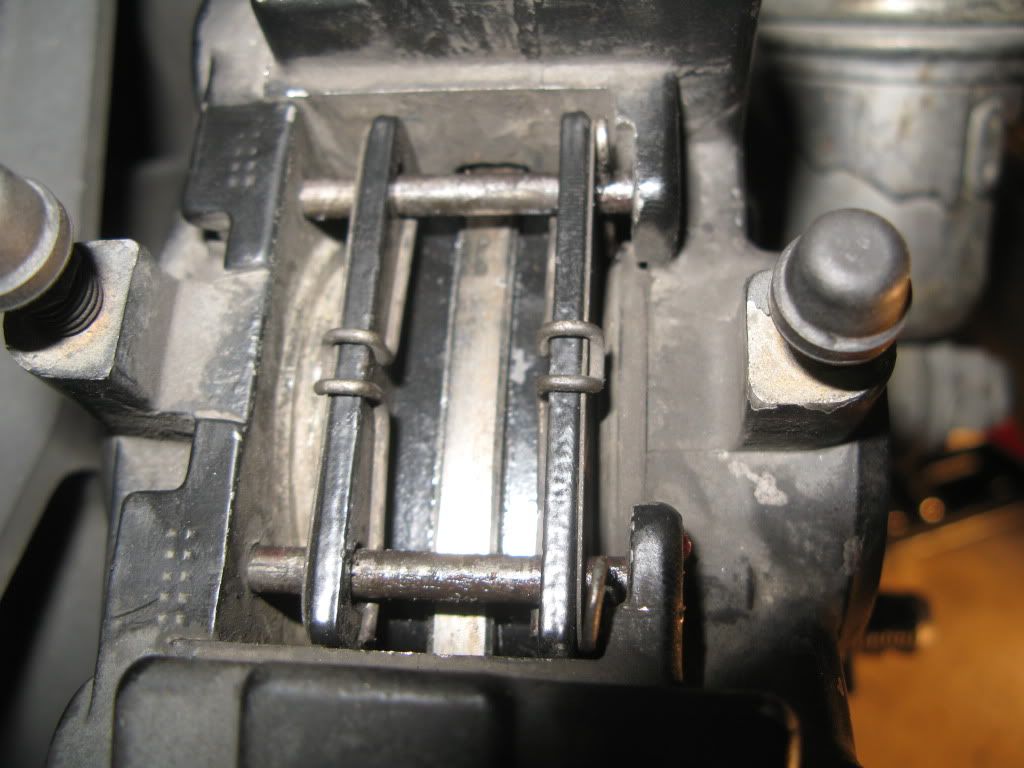
 The hole that it is stuck in is super tiny and way back next to the slide, so I devised this method for removing it. I ground down a pick to a smaller sturdier right angle point then used some clippers for leverage. Even with this setup it still took about 15min to work it out.
") .
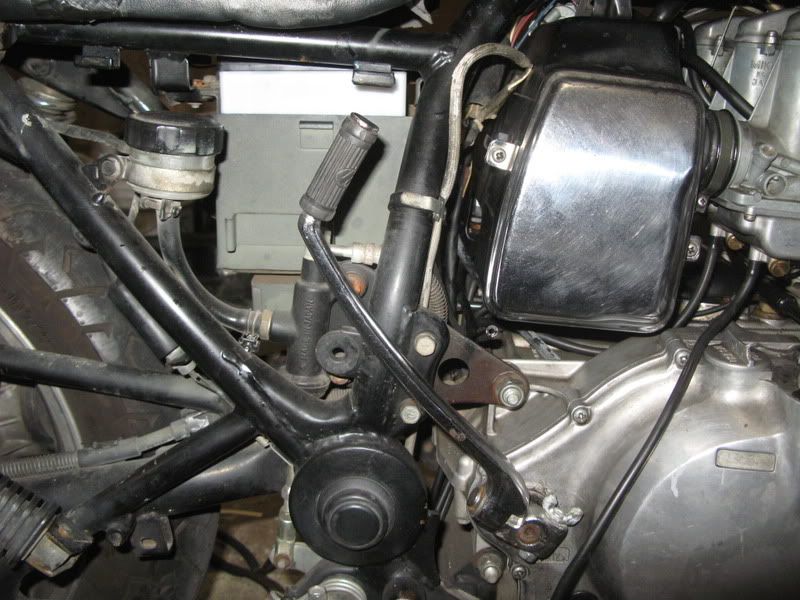
. ray: All and all we seem to be fairly close to the same point in rideability now.
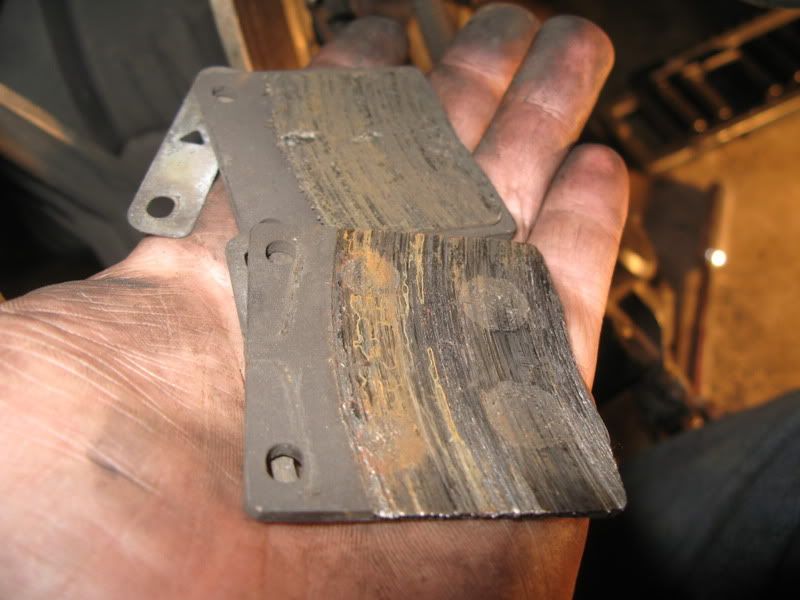
 and really fun. It was a little short lived though as the clutch was obviously slipping when I got into it at higher RPM. Hopefully its just 30 year old springs that are the culprit.