D
D-Mac
Guest
Carb rebuild/mod continued?..
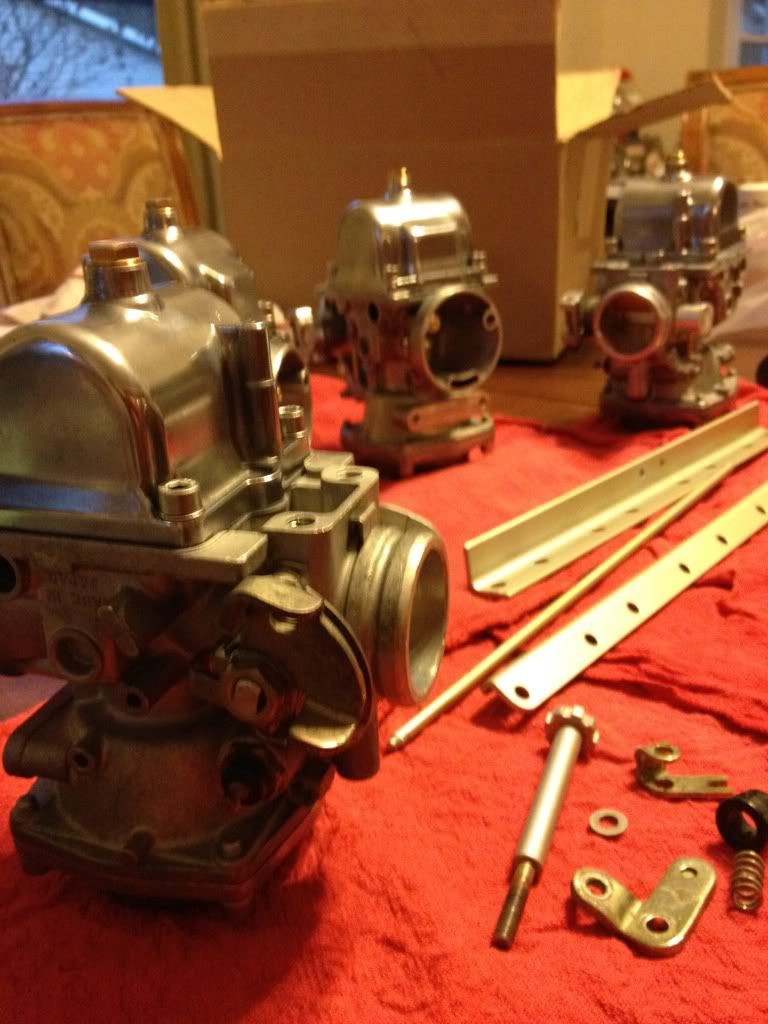
Original jet needle
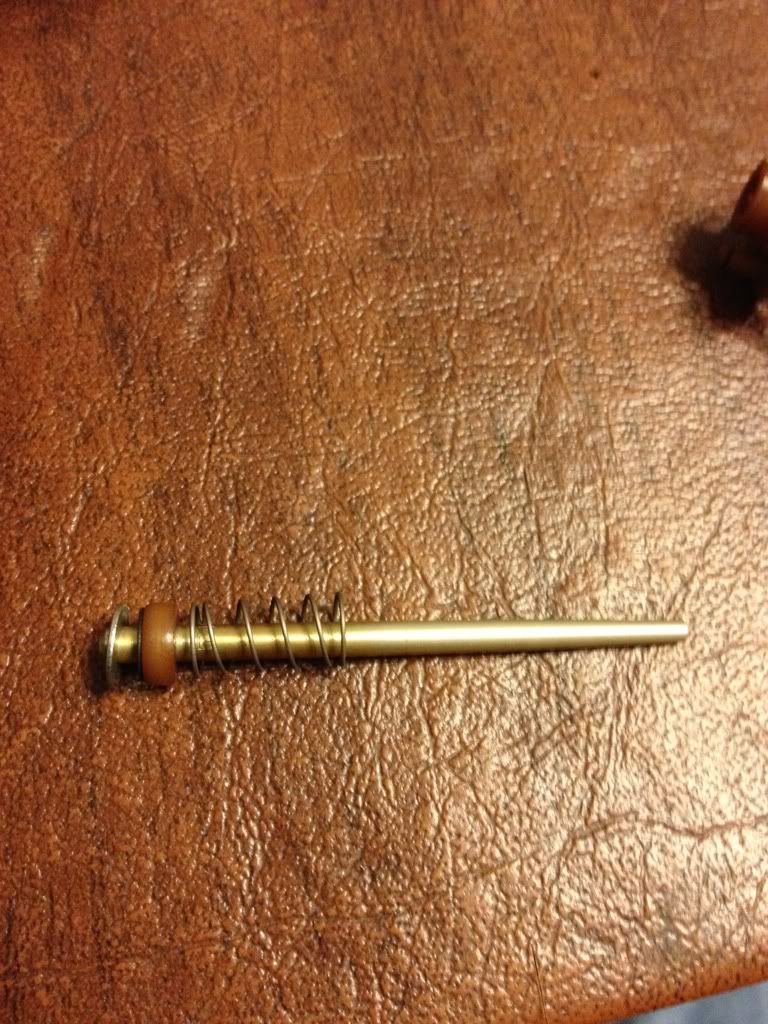
New needle
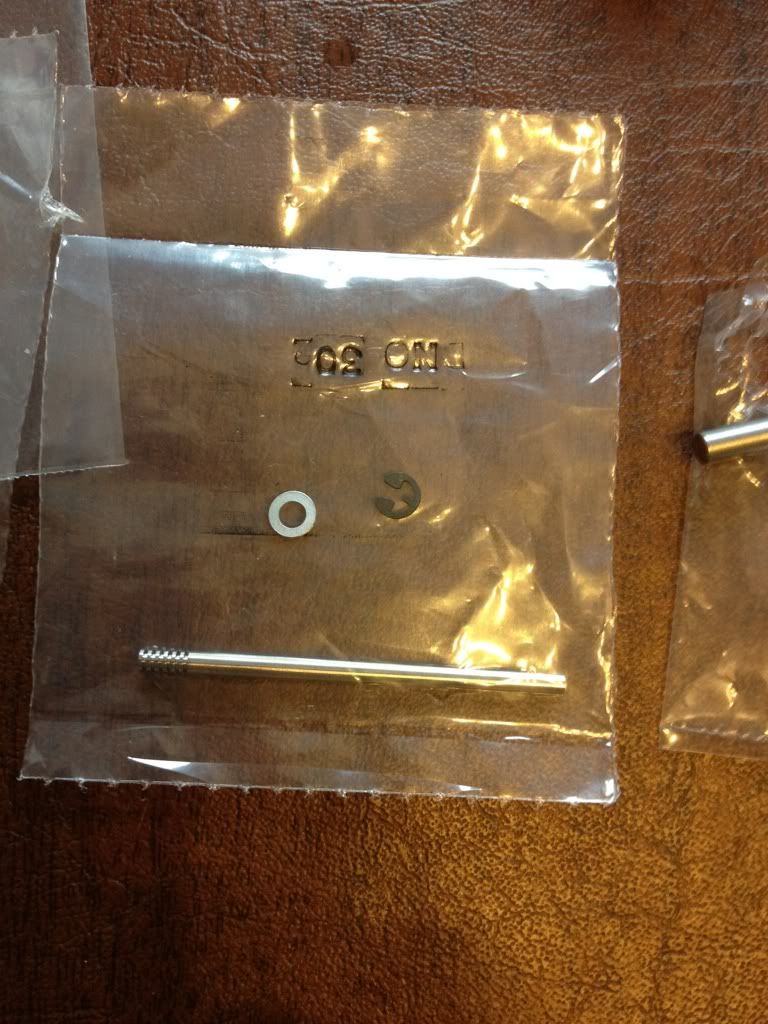
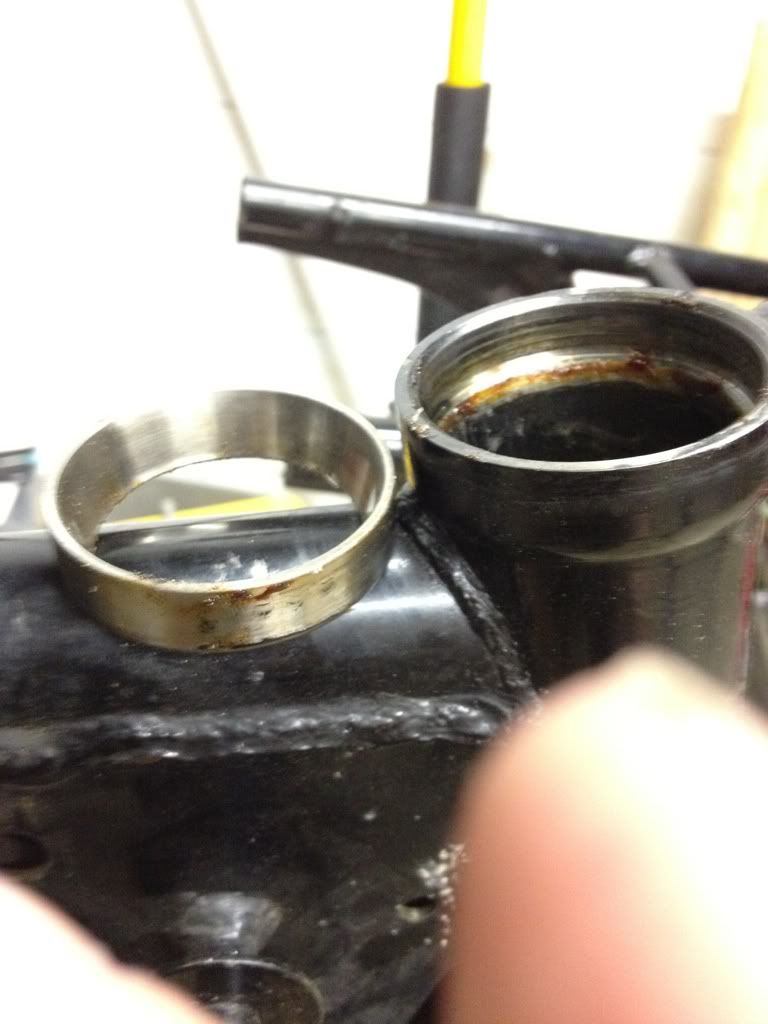
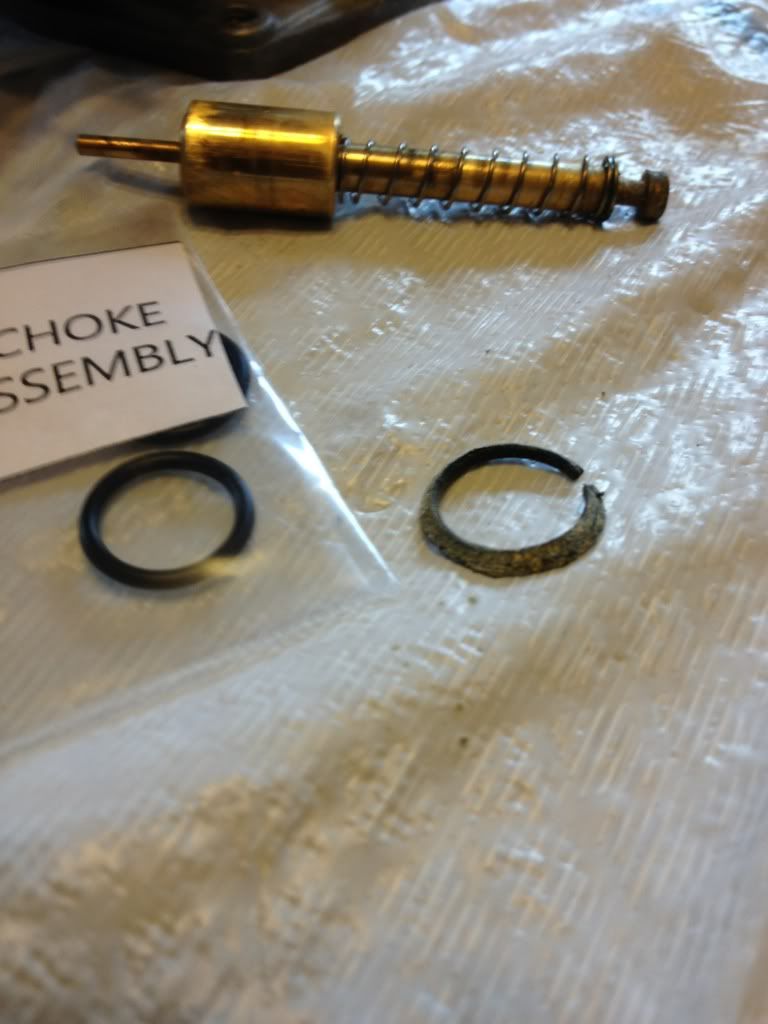
I also bought an o-ring kit from cyclerings. This includes all of the hard-to-find o-rings for these bikes. It?s very well organized. Check out the old/new rings for the choke. About time these were replaced!
It wasn?t all good though. At one point I somehow managed to spray carb cleaner directly into my EYE while spraying the tiny passages to make sure they were clear.
OUCH OUCH OUCH.
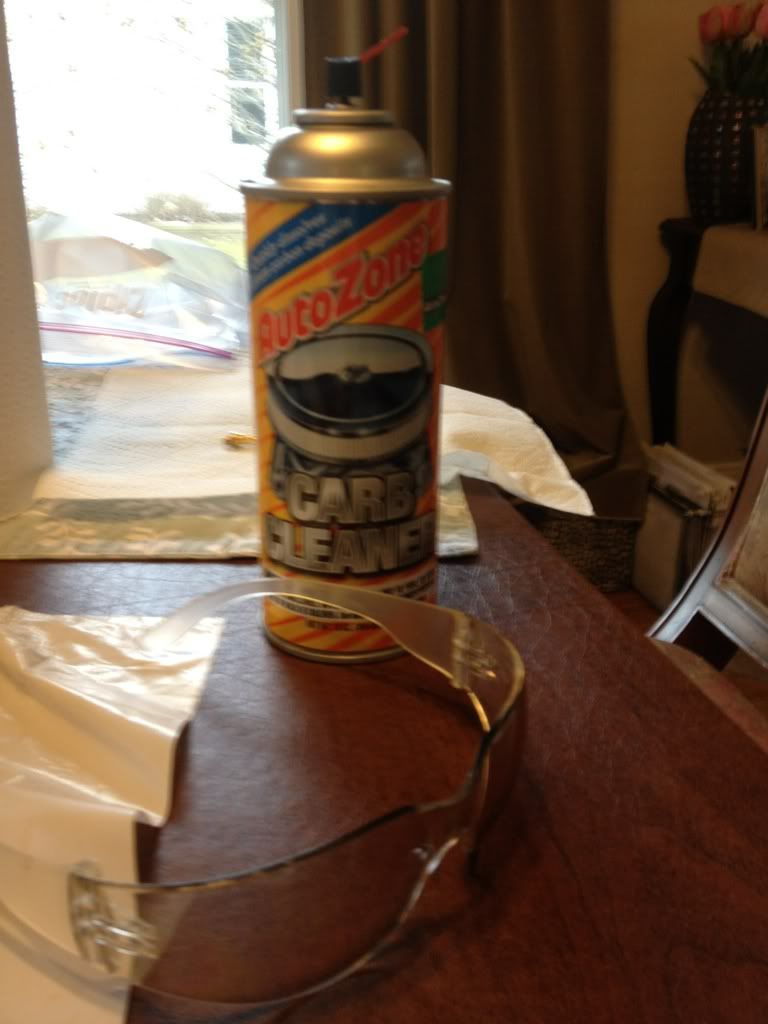
Here?s the offending cleaner. NOTE: I was wearing safety glasses (foreground) at the time of the ?incident.? They slipped a little off my nose and the cleaner bounced around inside the carb and came in from the side ? directly by the glasses and onto my eye with a lot of pressure. 15 minutes of rinsing by staring at the shower head and everything was OK.
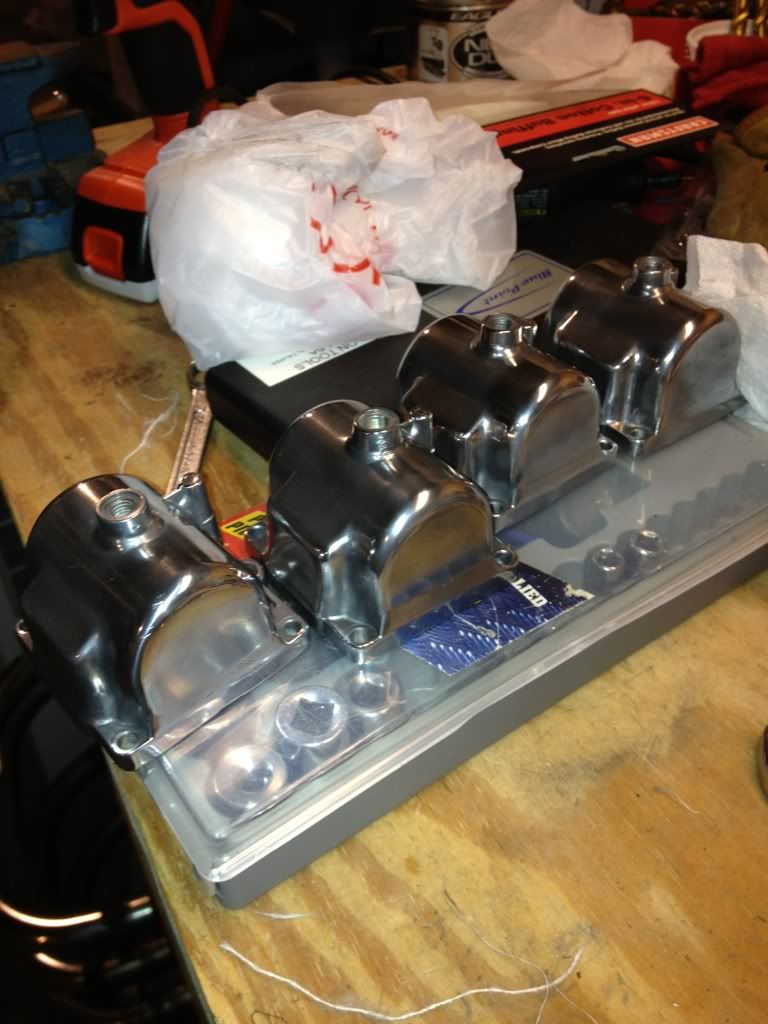
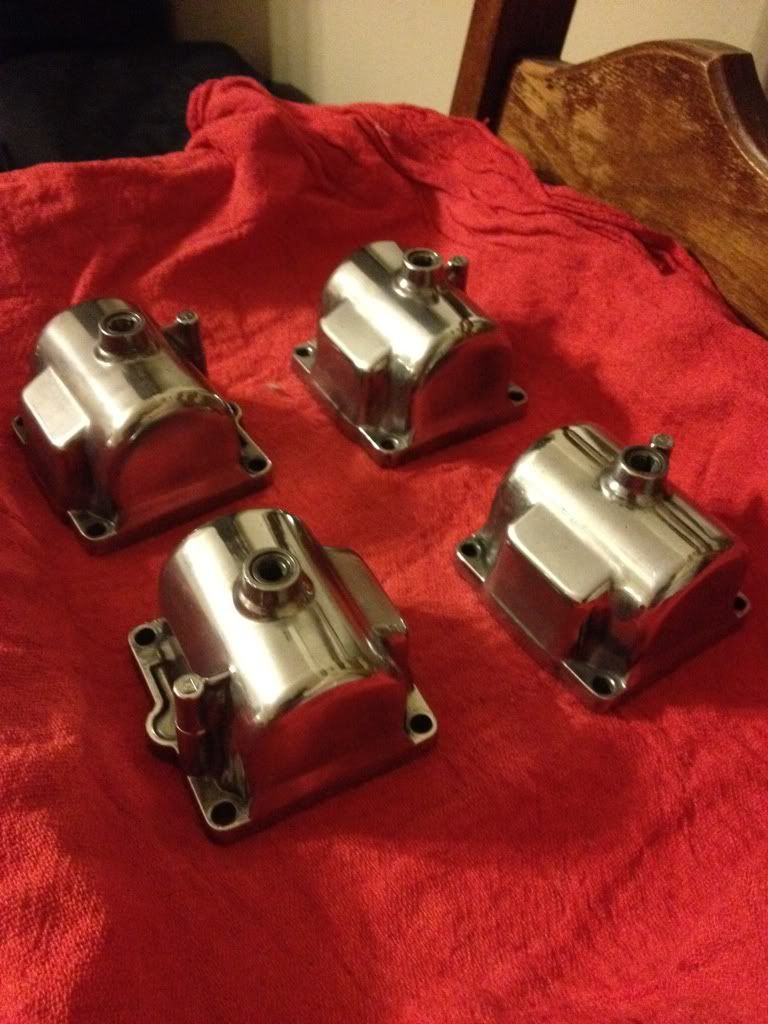
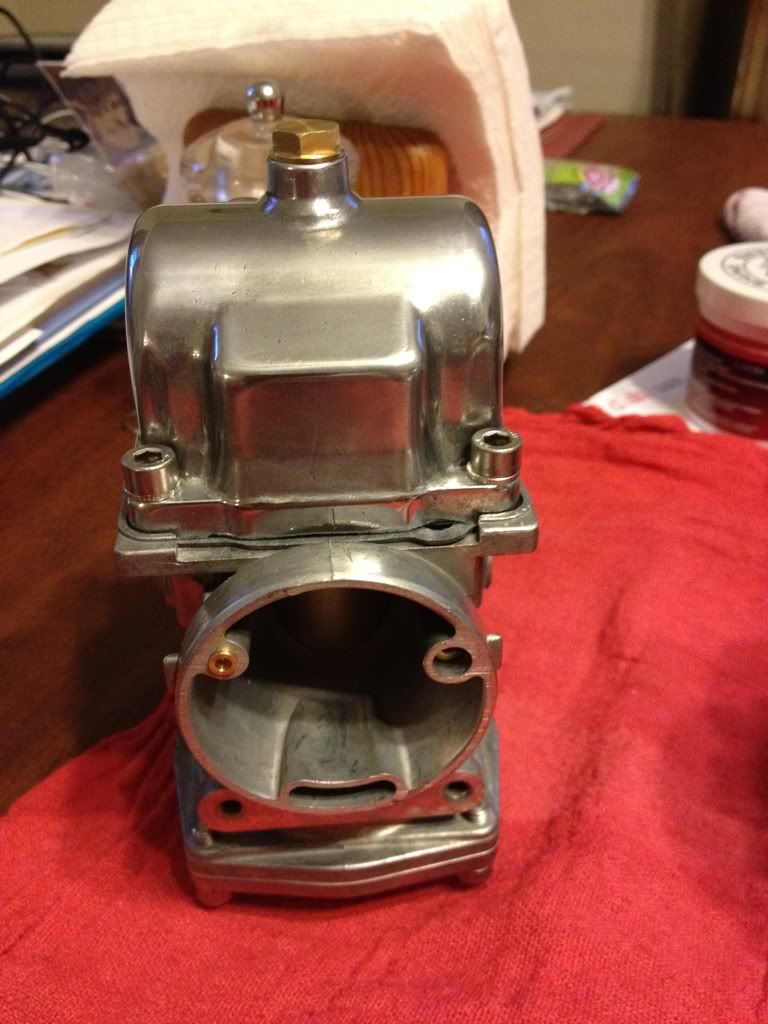
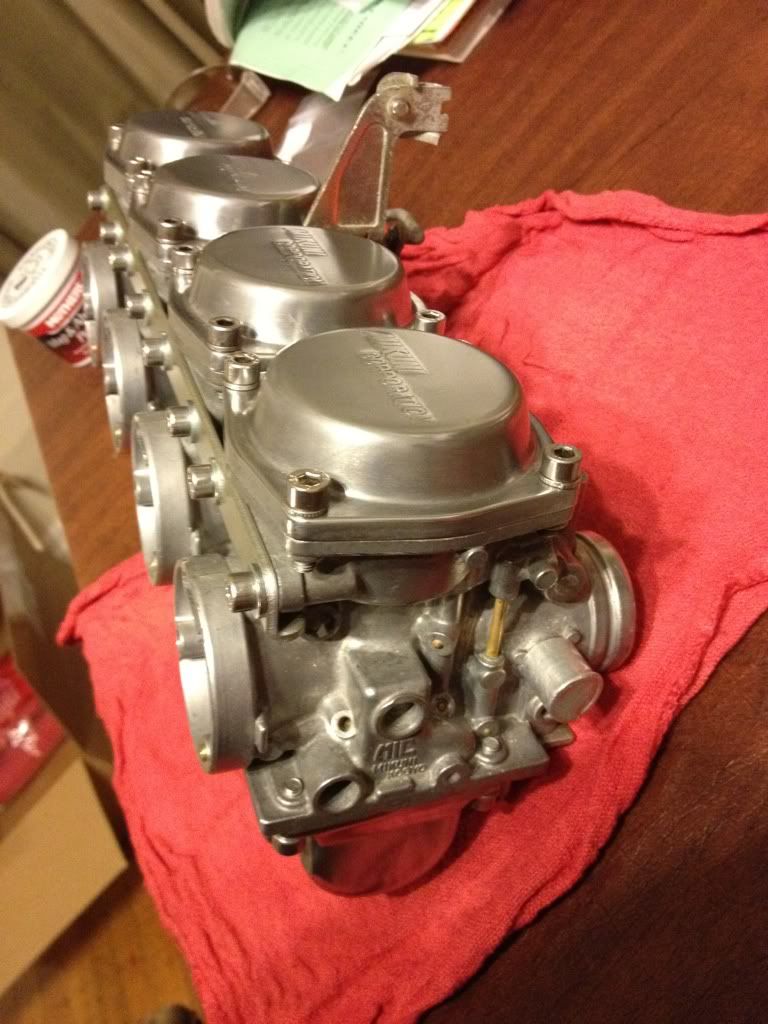
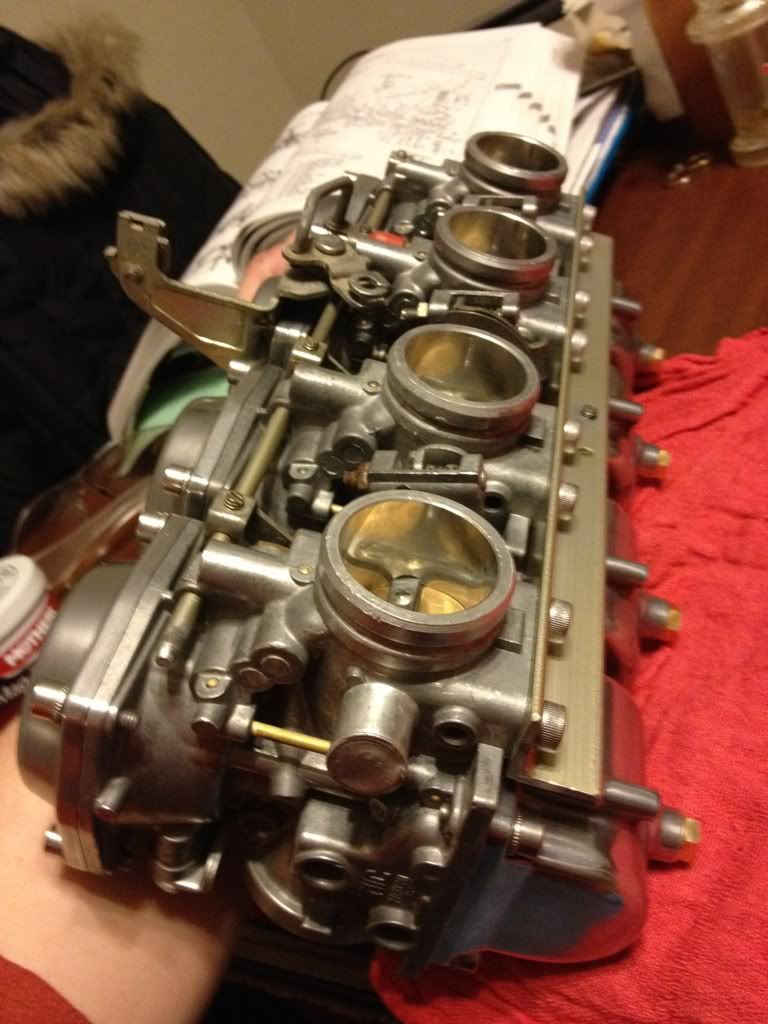
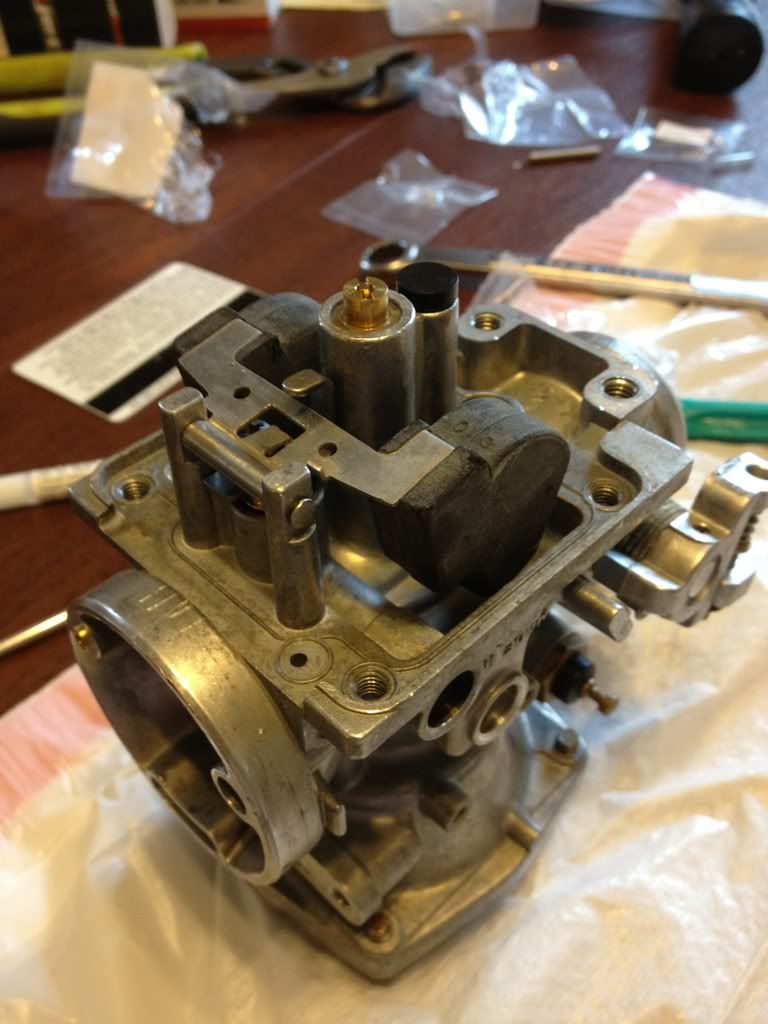
Done for now. I still have to polish the float bowls. The rubber plug covering the pilot jet came from yet another supplier.
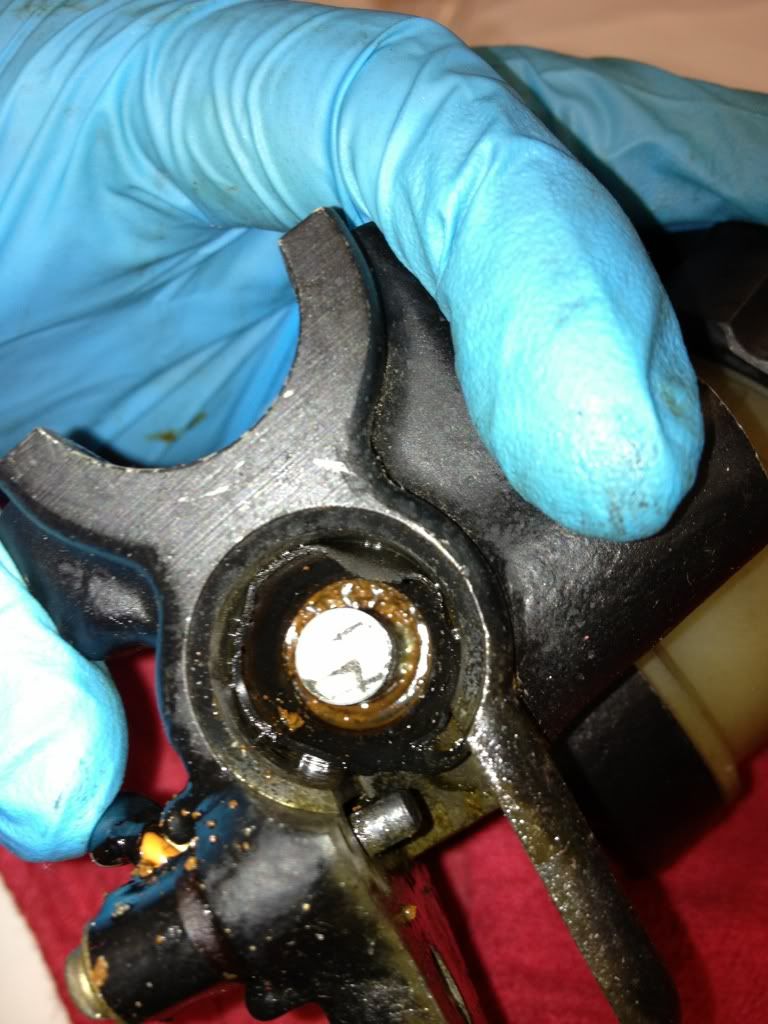
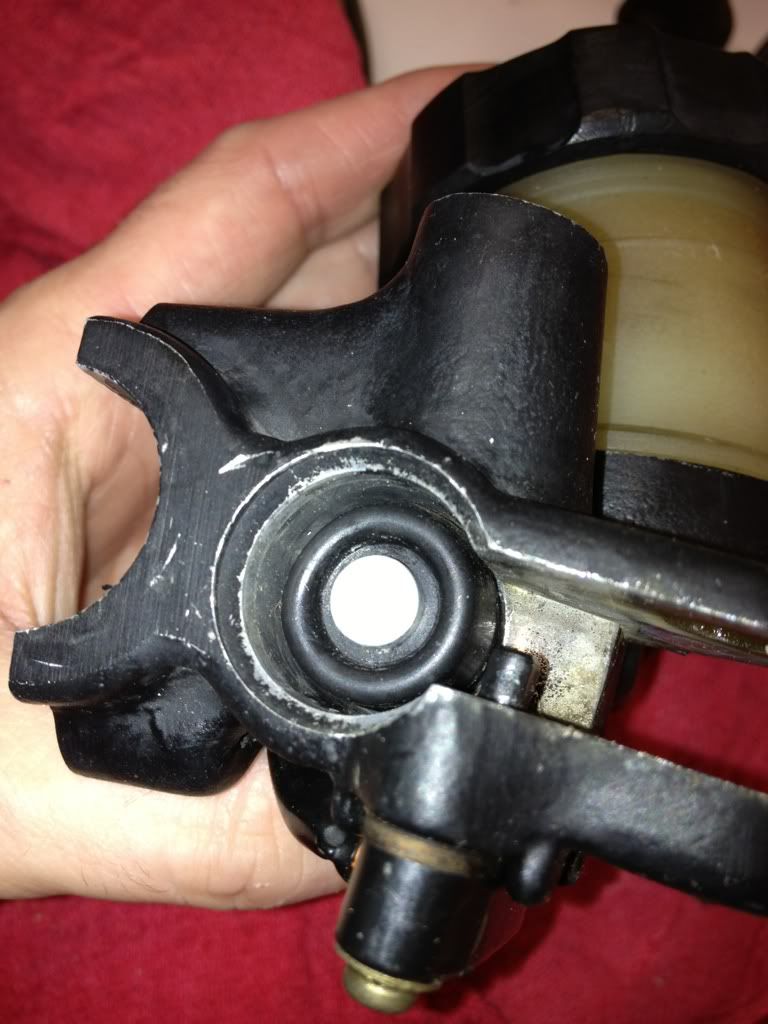
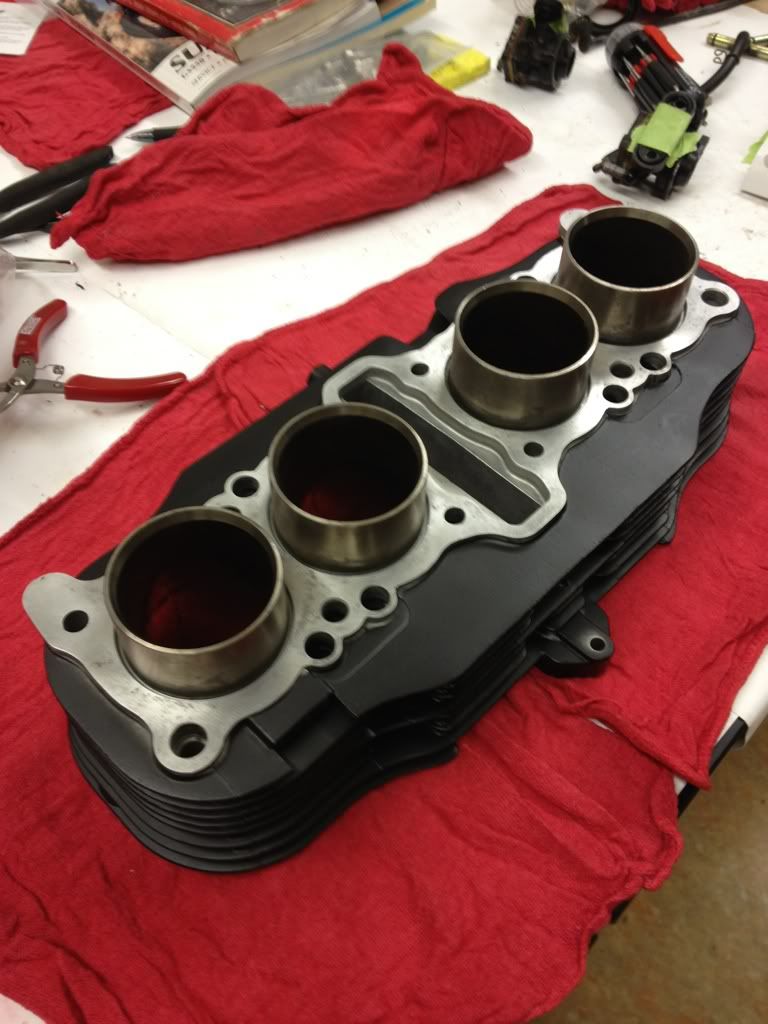
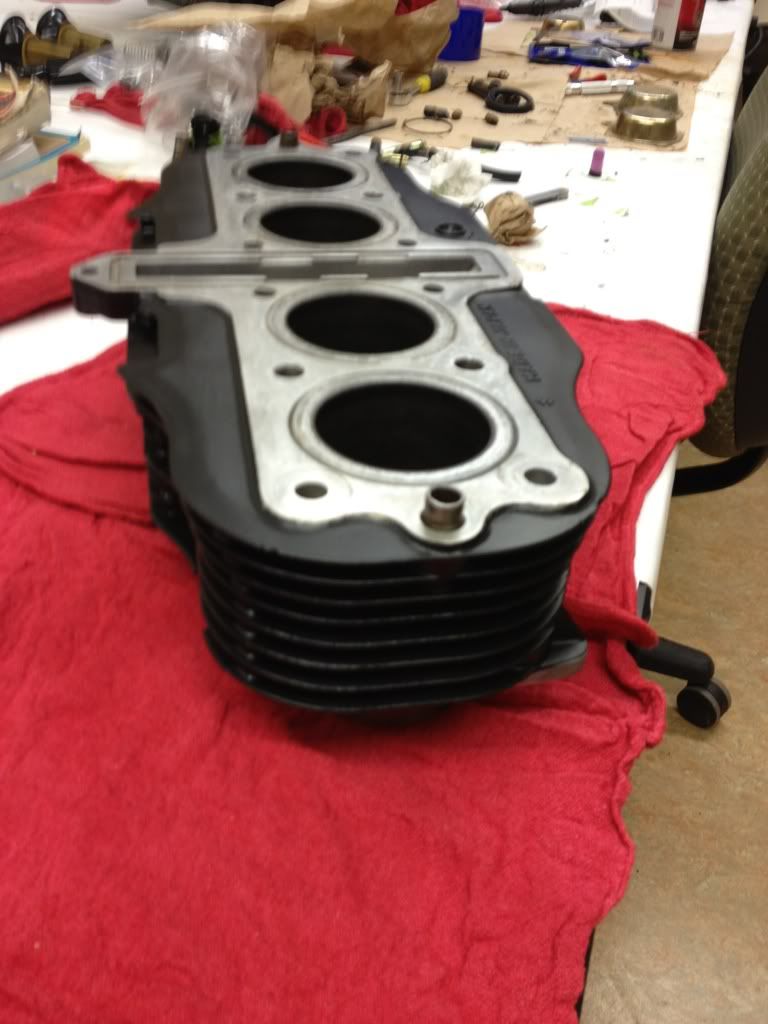
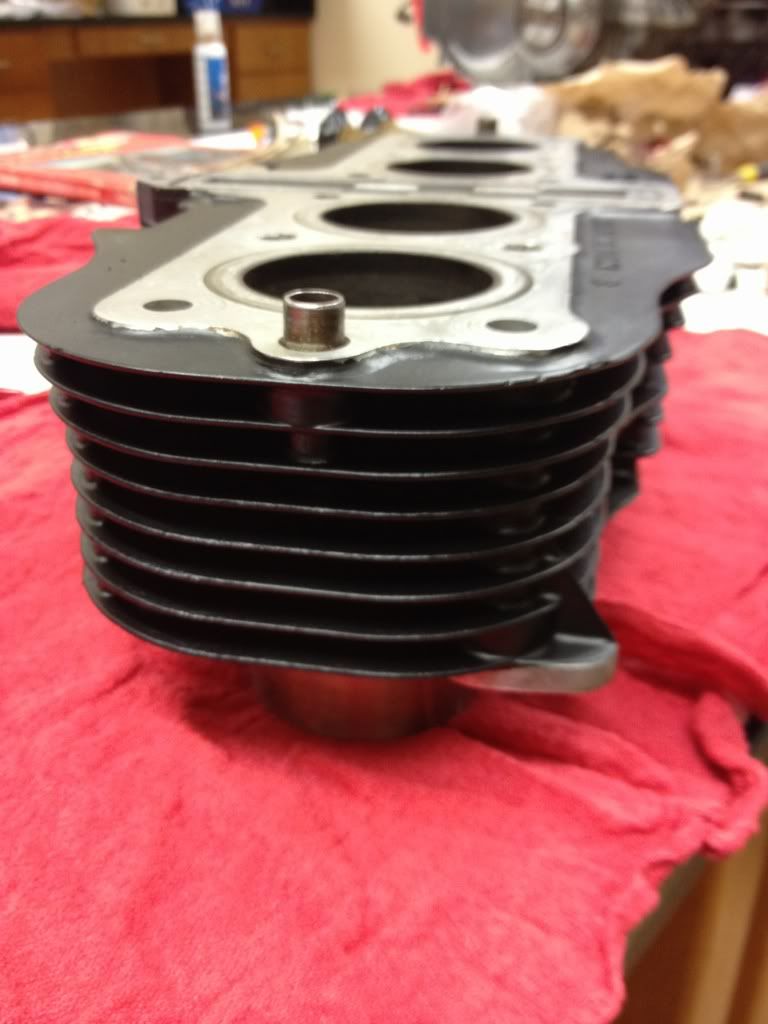
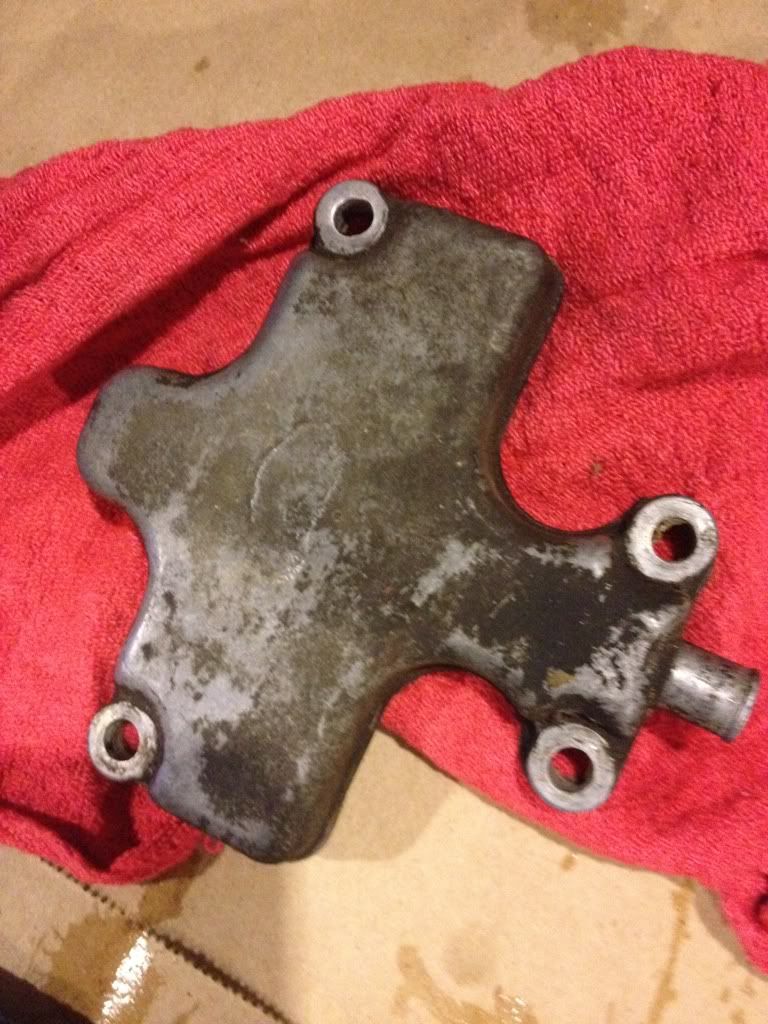
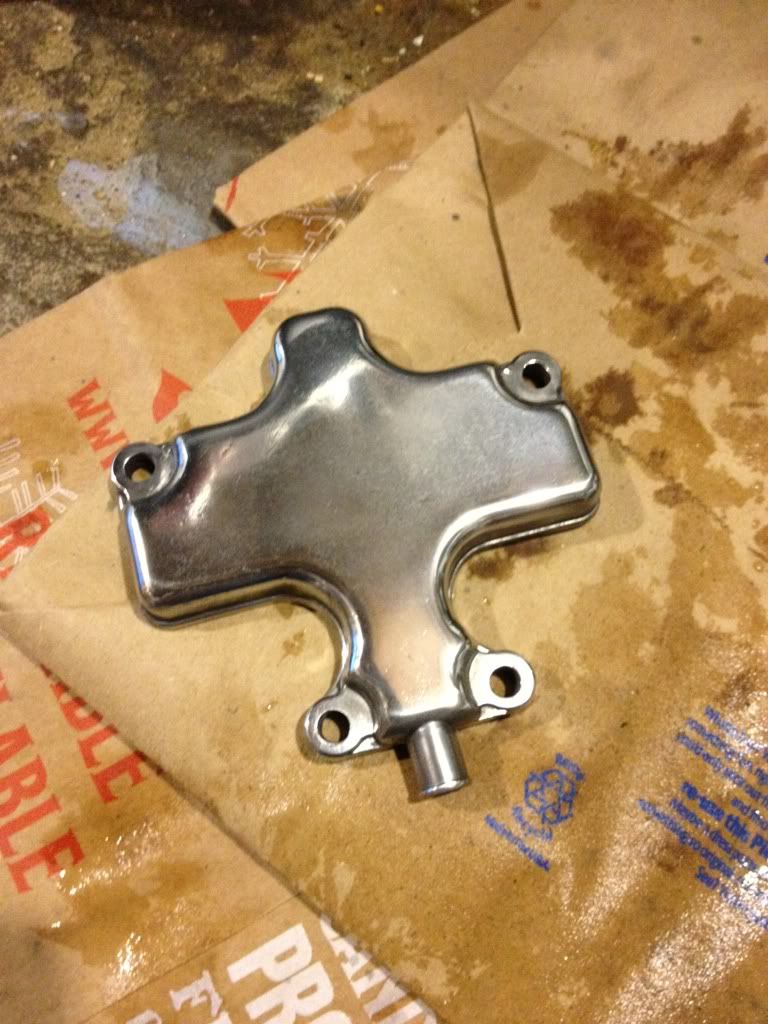
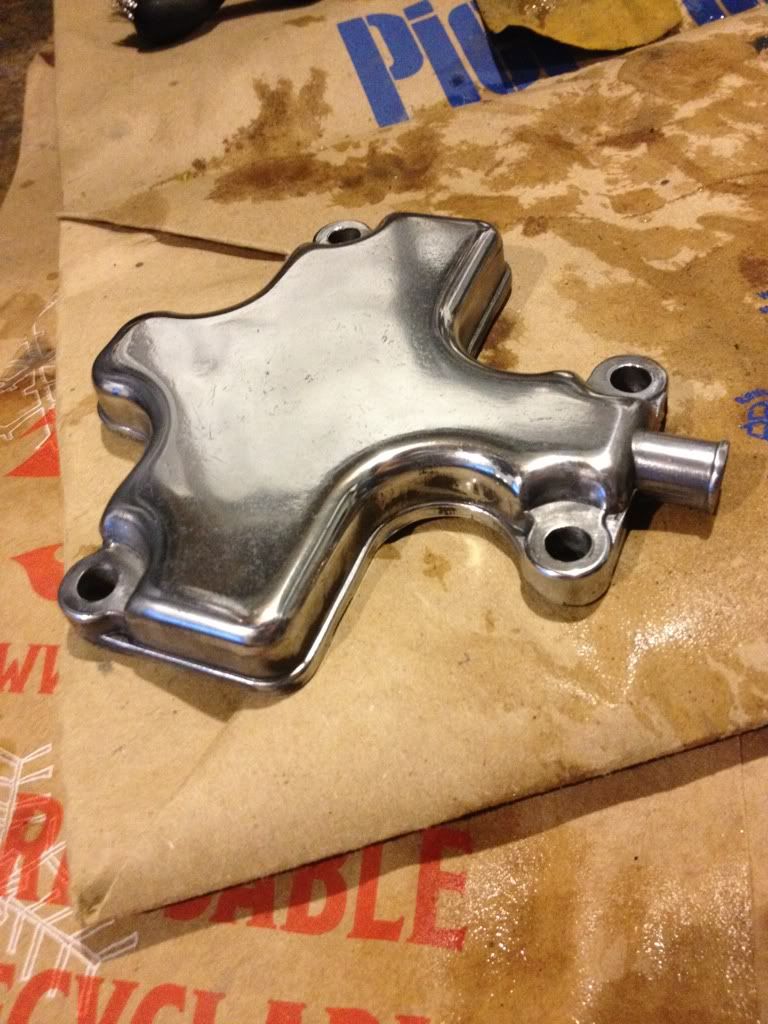
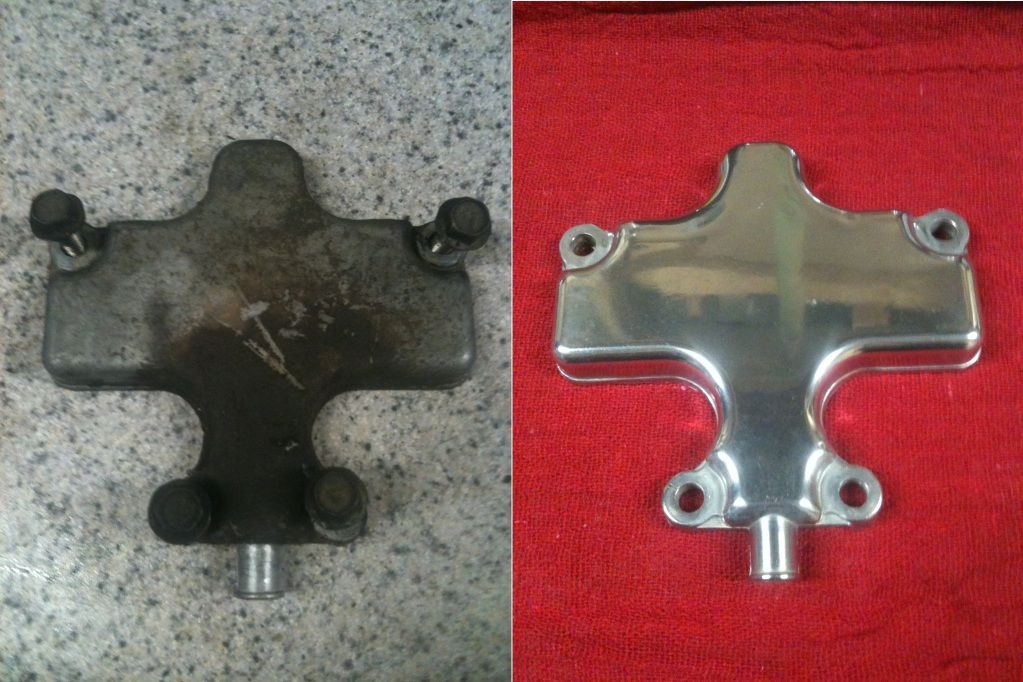
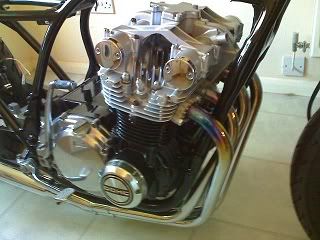
NEXT UP: This week I plan to finish the carbs, rebuild the master cylinders, and hopefully (finally) paint part of the engine. I?m now thinking to paint the lower engine black (except for the polished case covers) but do the head and valve cover in silver.
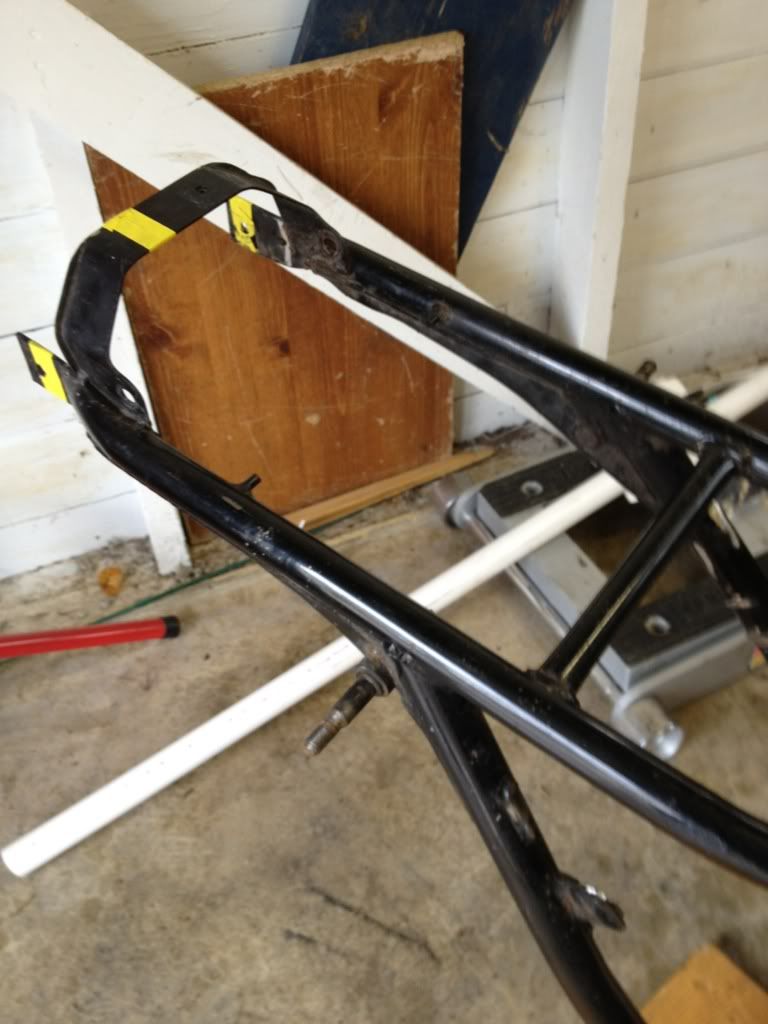
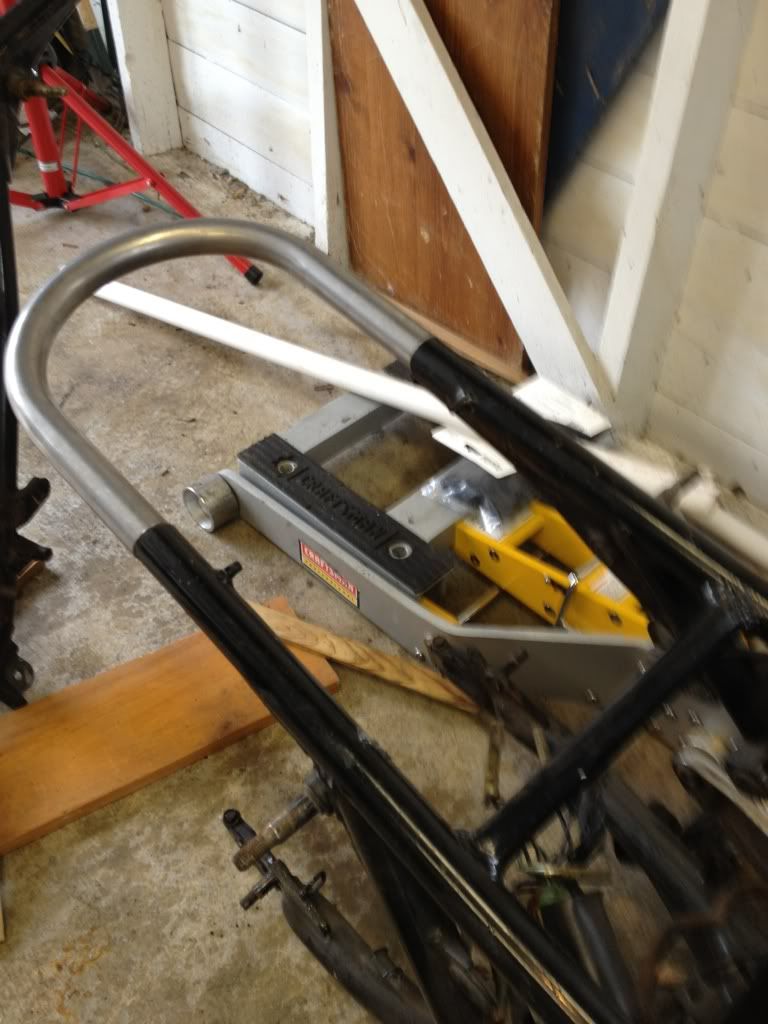
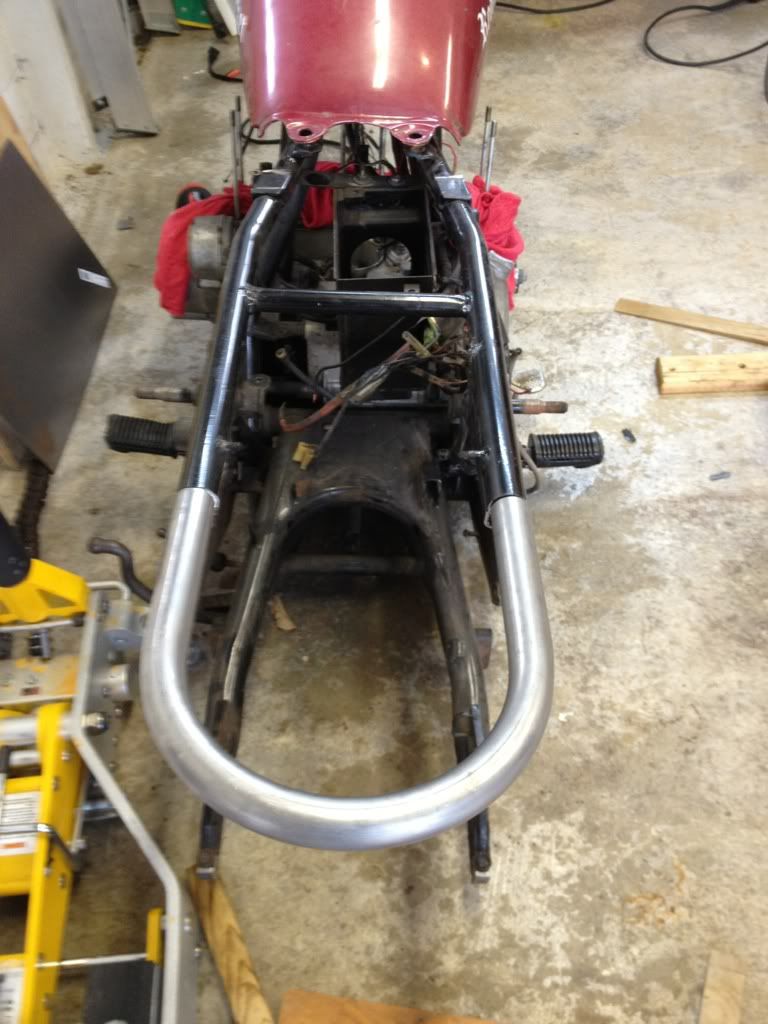
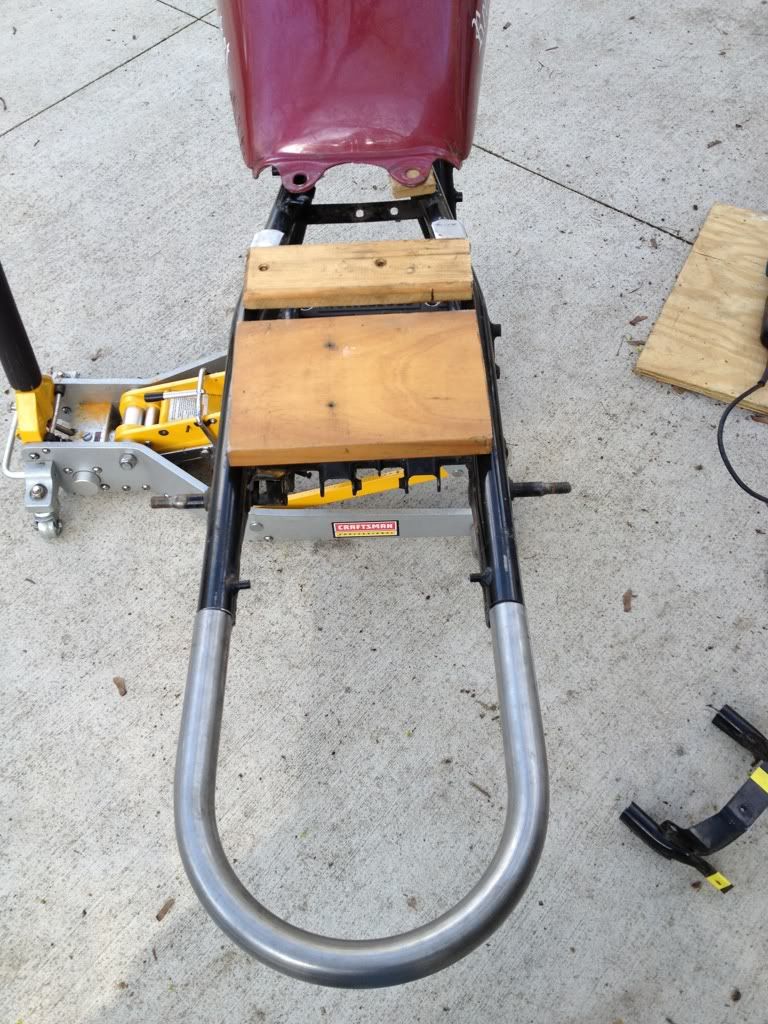
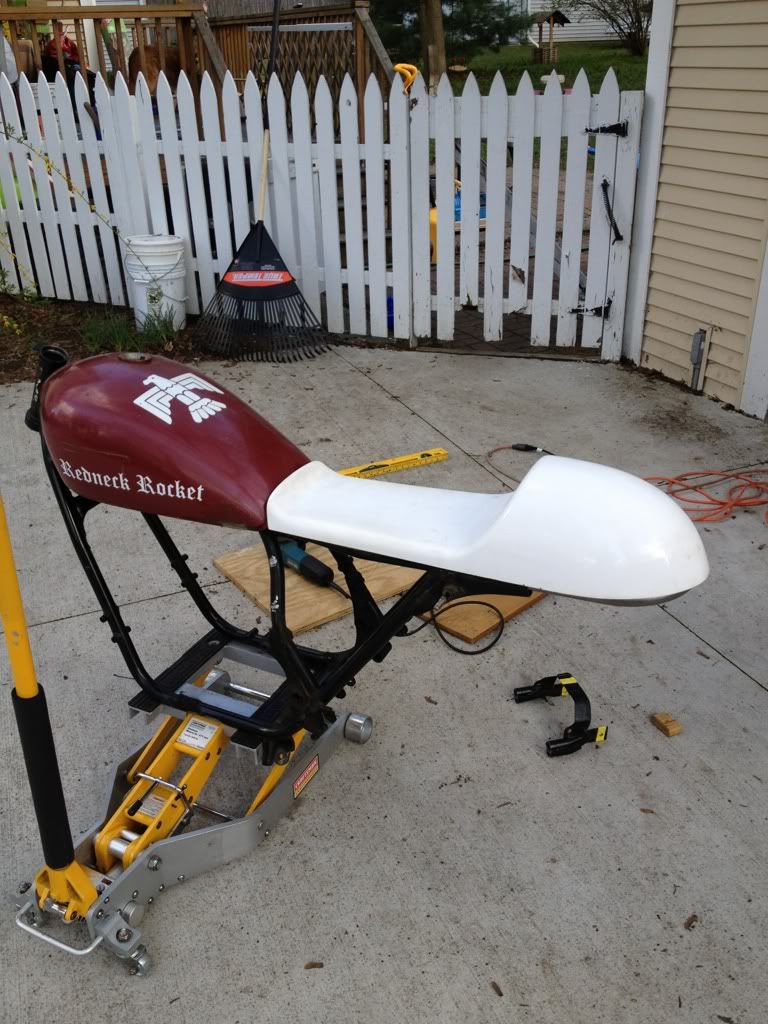
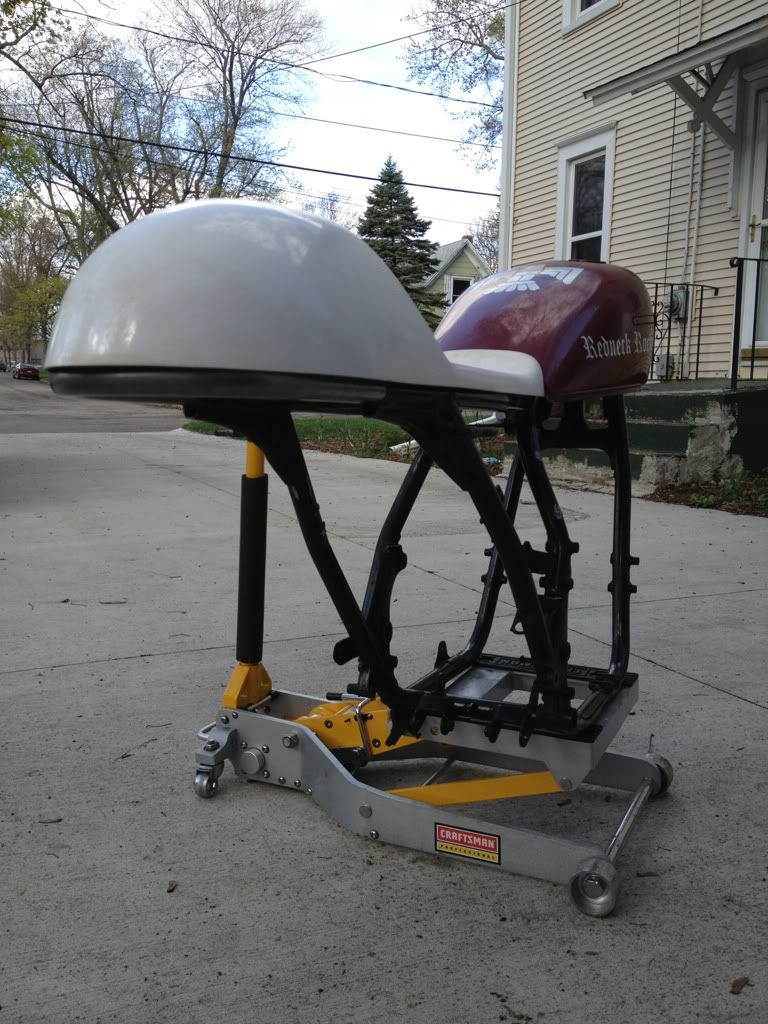
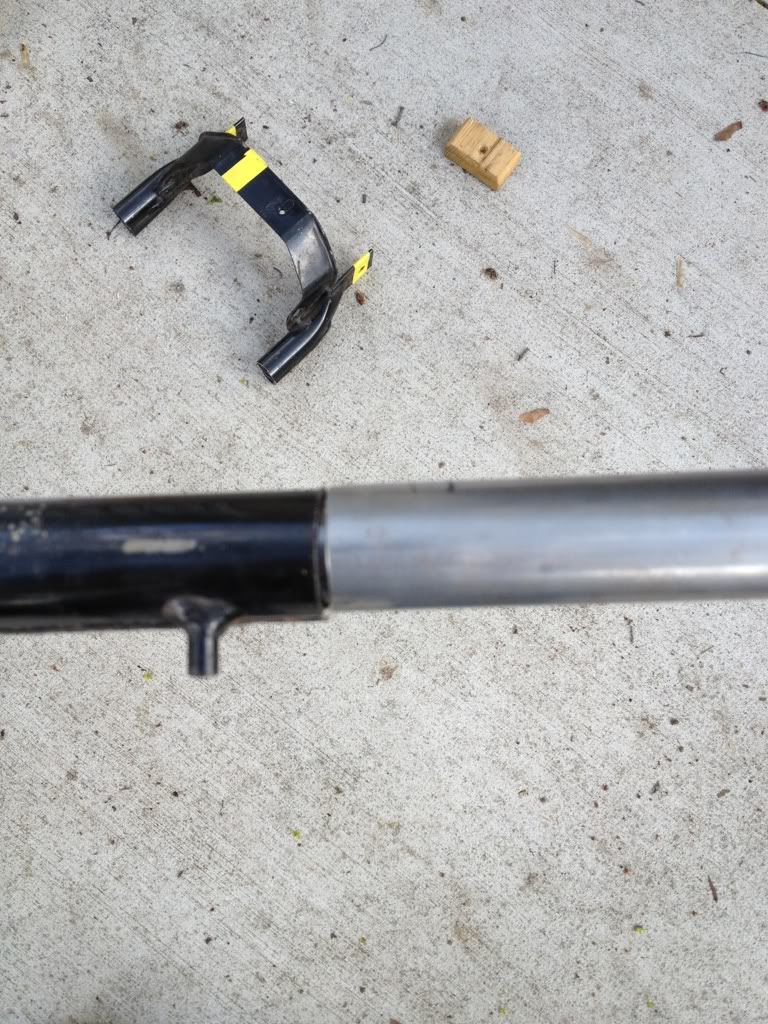
I picked up a tube for the seat hoop. I have to bend it and weld it on. Once that?s done I can begin to build the new battery box and places to hide the other electrical components.
Original jet needle
New needle
I also bought an o-ring kit from cyclerings. This includes all of the hard-to-find o-rings for these bikes. It?s very well organized. Check out the old/new rings for the choke. About time these were replaced!
It wasn?t all good though. At one point I somehow managed to spray carb cleaner directly into my EYE while spraying the tiny passages to make sure they were clear.
OUCH OUCH OUCH.
Here?s the offending cleaner. NOTE: I was wearing safety glasses (foreground) at the time of the ?incident.? They slipped a little off my nose and the cleaner bounced around inside the carb and came in from the side ? directly by the glasses and onto my eye with a lot of pressure. 15 minutes of rinsing by staring at the shower head and everything was OK.
Done for now. I still have to polish the float bowls. The rubber plug covering the pilot jet came from yet another supplier.
NEXT UP: This week I plan to finish the carbs, rebuild the master cylinders, and hopefully (finally) paint part of the engine. I?m now thinking to paint the lower engine black (except for the polished case covers) but do the head and valve cover in silver.
I picked up a tube for the seat hoop. I have to bend it and weld it on. Once that?s done I can begin to build the new battery box and places to hide the other electrical components.
")