• Required reading for all forum users!!!

    Welcome!
    Register to access the full functionality of the GSResources forum. Until you register and activate your account you will not have full forum access, nor will you be able to post or reply to messages.

    A note to new registrants...
    All new forum registrations must be activated via email before you have full access to the forum.

    A Special Note about Email accounts!
    DO NOT SIGN UP USING hotmail, outlook, gmx, sbcglobal, att, bellsouth or email.com. They delete our forum signup emails.

    A note to old forum members...
    I receive numerous requests from people who can no longer log in because their accounts were deleted. As mentioned in the forum FAQ, user accounts are deleted if you haven't logged in for the past 6 months. If you can't log in, then create a new forum account. If you don't get an error message, then check your email account for an activation message. If you get a message stating that the email address is already in use, then your account still exists so follow the instructions in the forum FAQ for resetting your password.

    Have you forgotten your password or have a new email address? Then read the forum FAQ for details on how to reset it.

    Any email requests for "can't log in anymore" problems or "lost my password" problems will be deleted. Read the forum FAQ and follow the instructions there - that's what we have one for...

  • Returning Visitors

    If you are a returning visitor who never received your confirmation email, then odds are your email provider is blockinig emails from our server. The only thing that can be done to get around this is you will have to try creating another forum account using an email address from another domain.

    If you are a returning visitor to the forum and can't log in using your old forum name and password but used to be able to then chances are your account is deleted. Purges of the databases are done regularly. You will have to create a new forum account and you should be all set.

  • In order to help others find info on a particular bike, be sure to put the year, make or model of bike that you are asking a question about, in the Topic Title. This will allow people to pass by posts they have no interest in.

Goin' German and Italian for a change

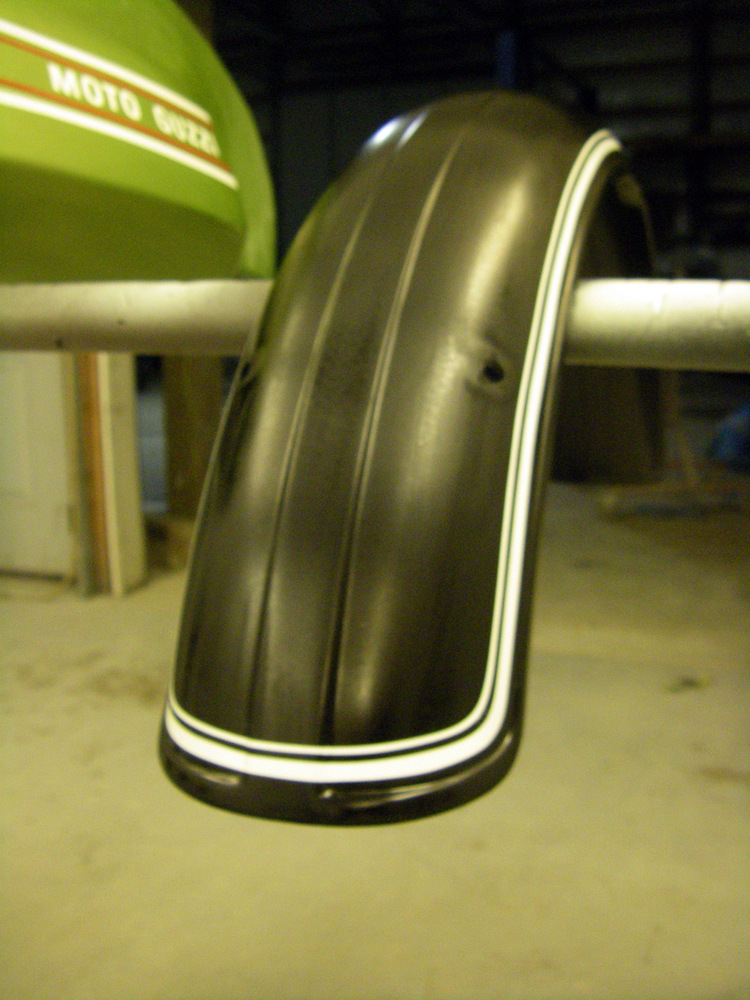
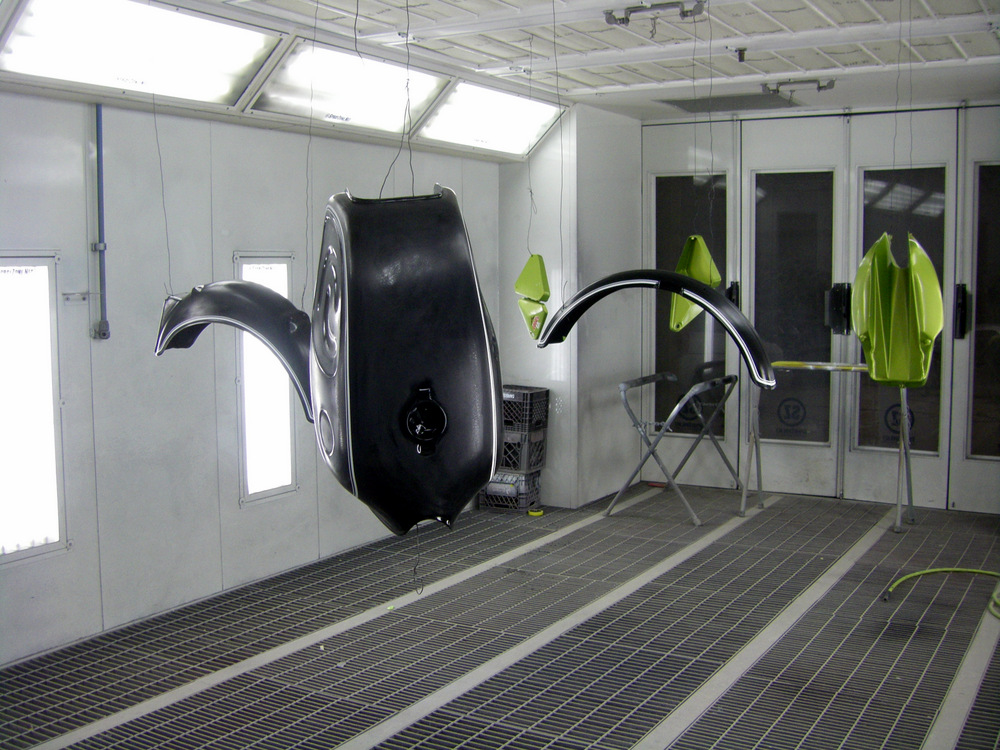
Fantastic as always Larry! Having just been there myself and knowing how much effort's involved, that's a huge amount of progress for 7 hours work! I wish I could get it done that quick :D

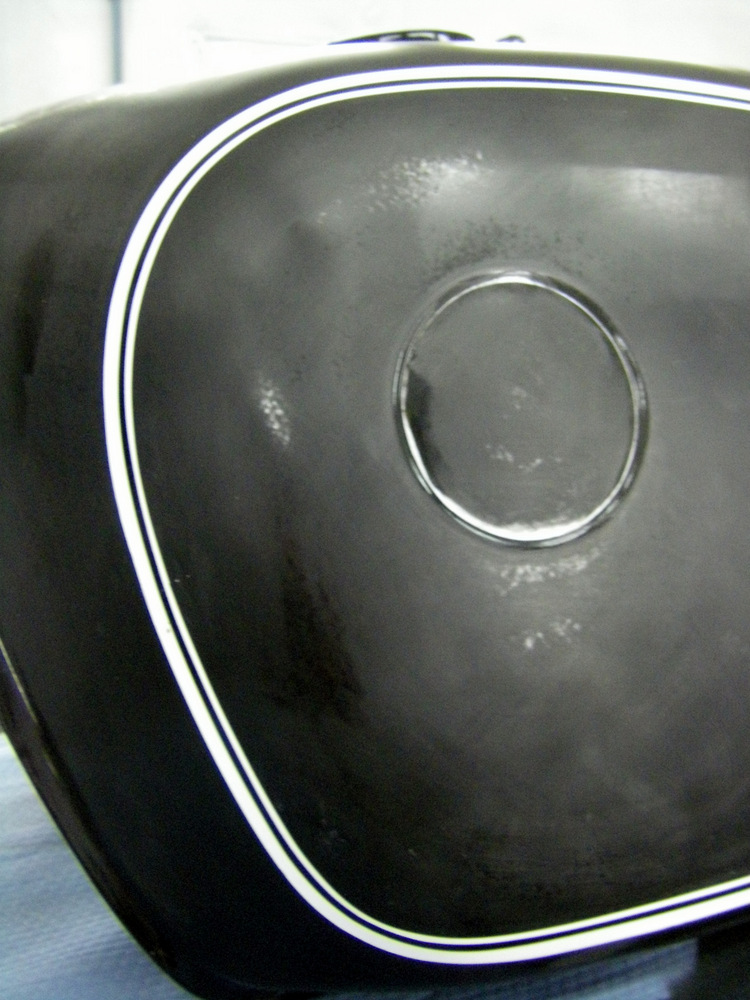
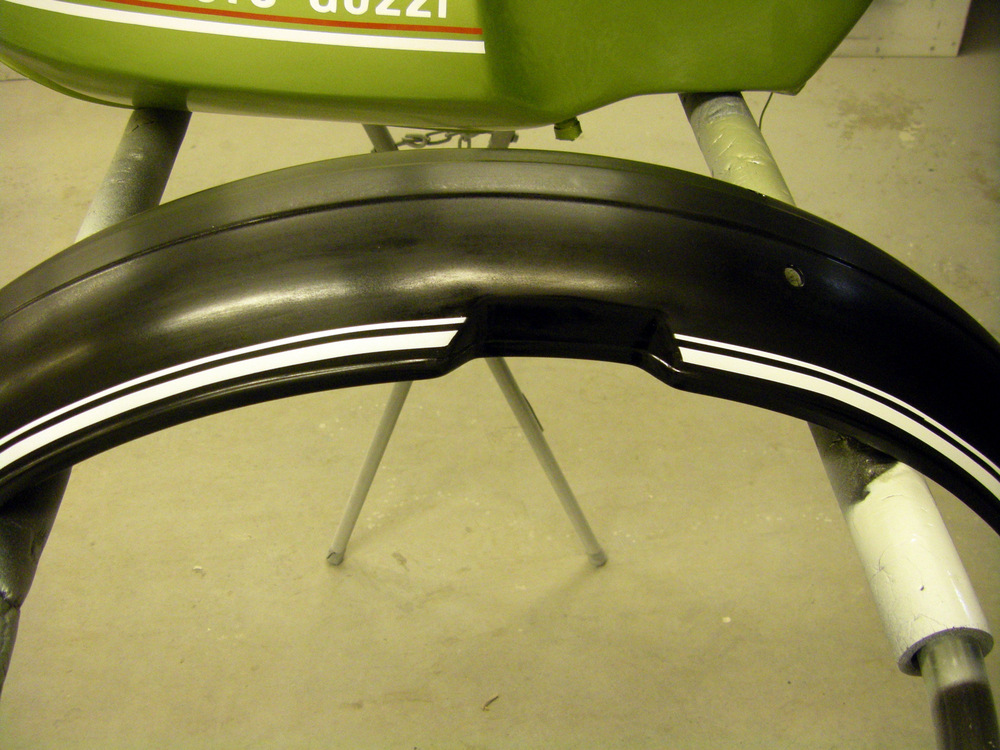
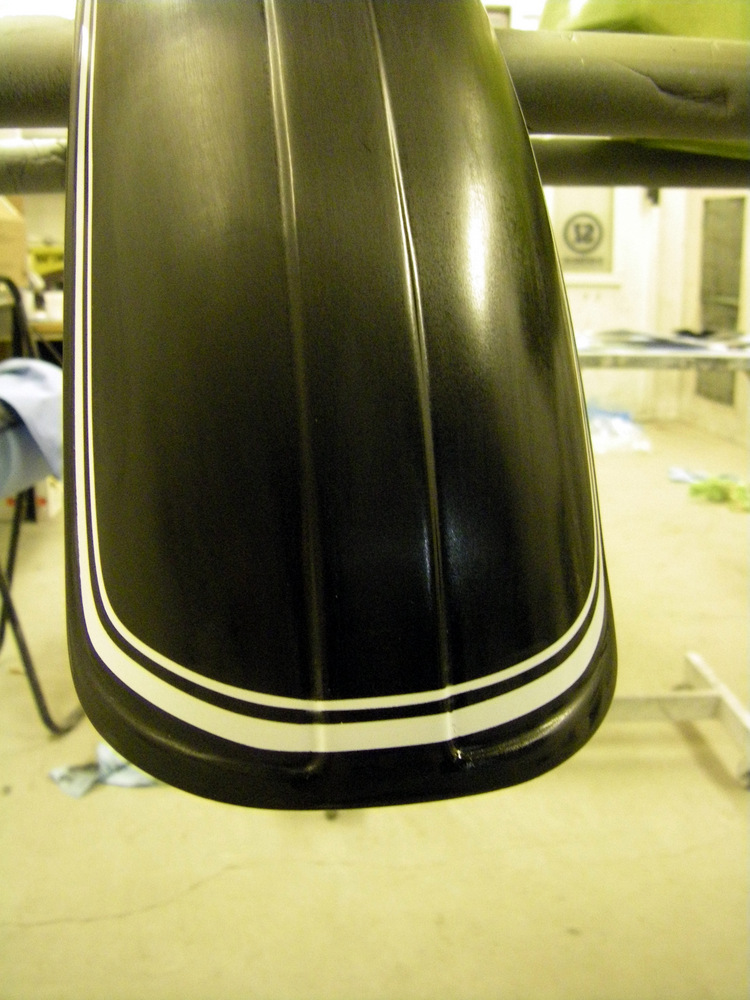
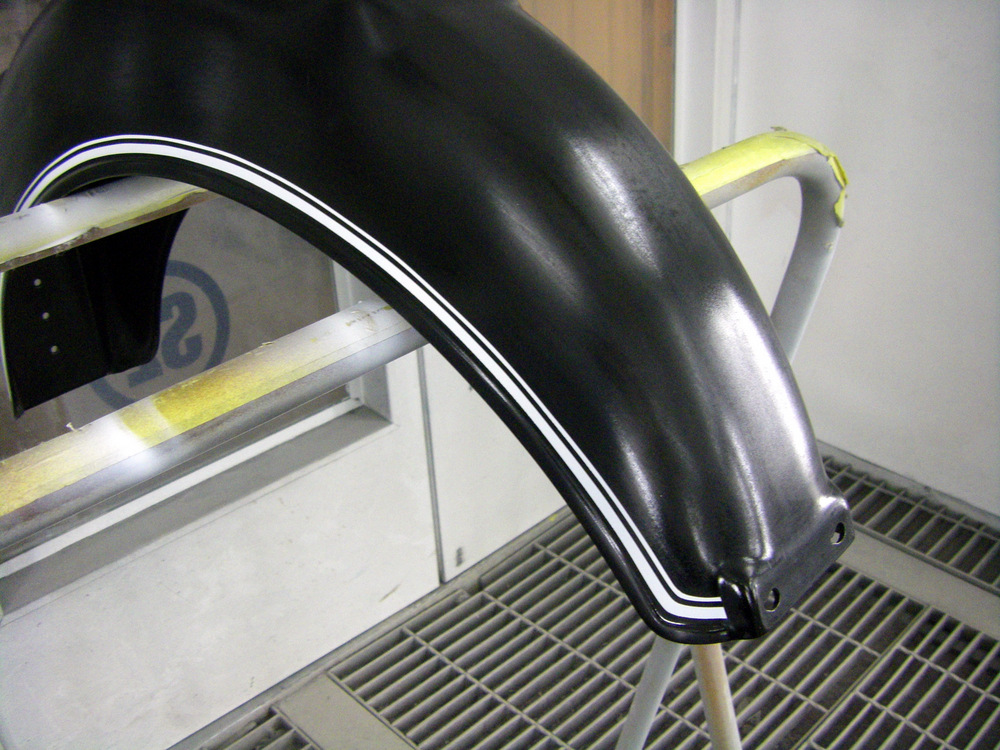
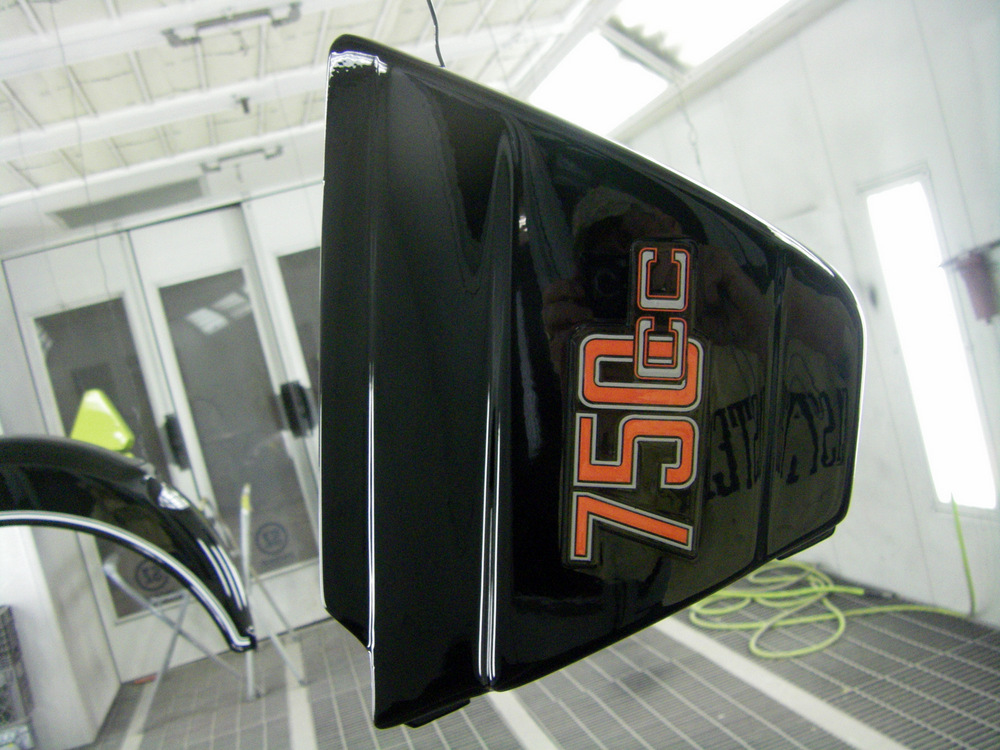
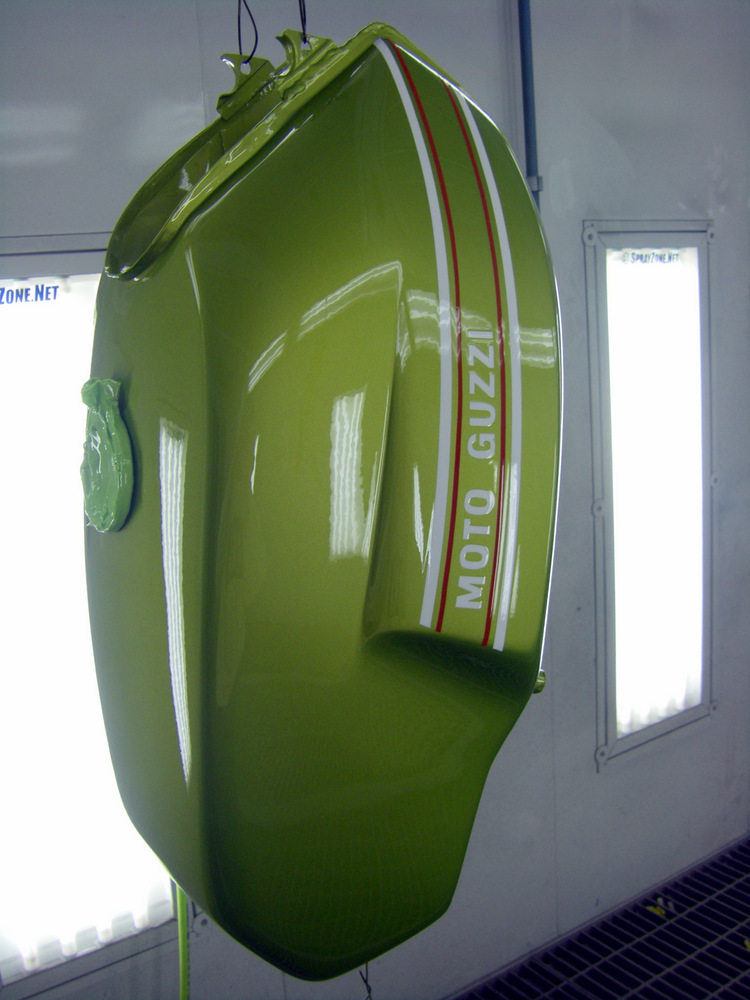
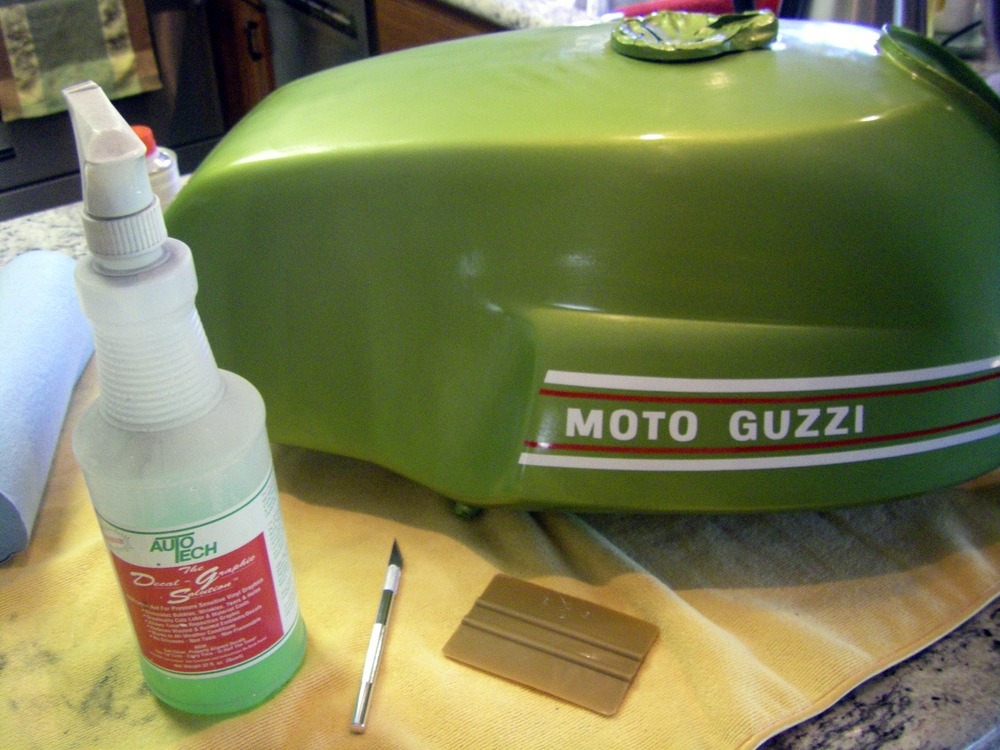
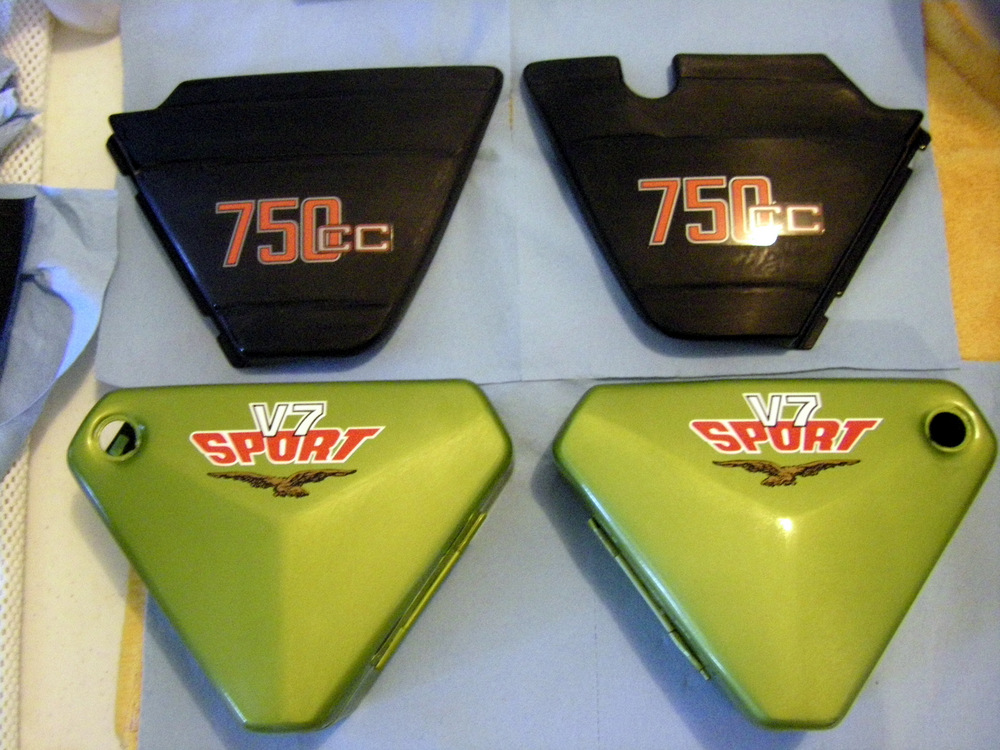
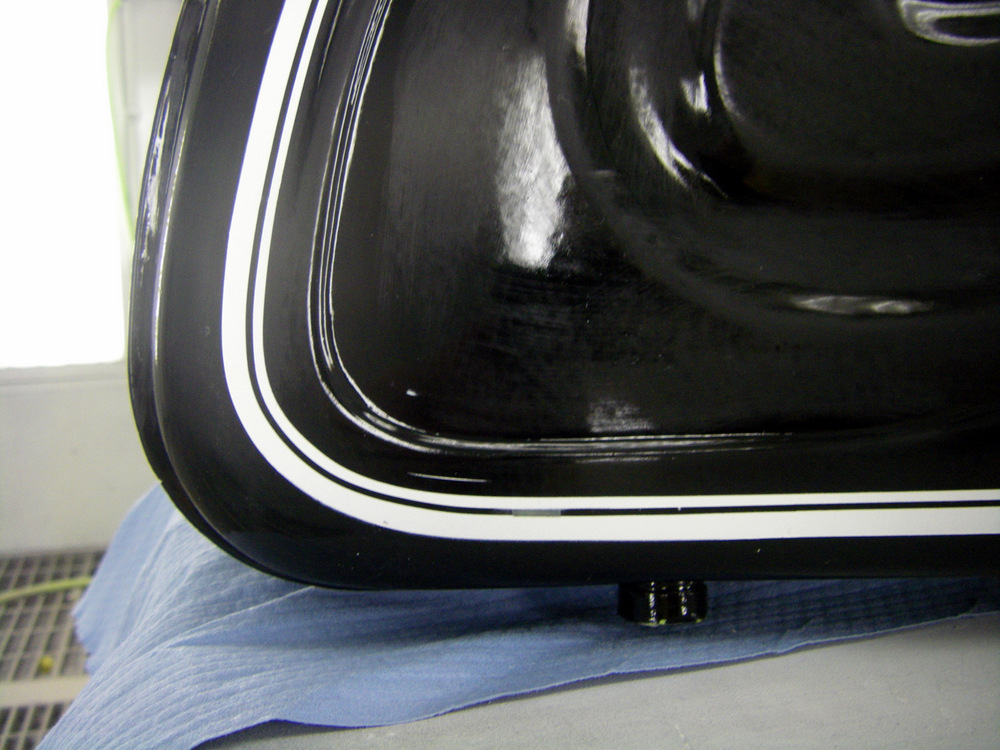
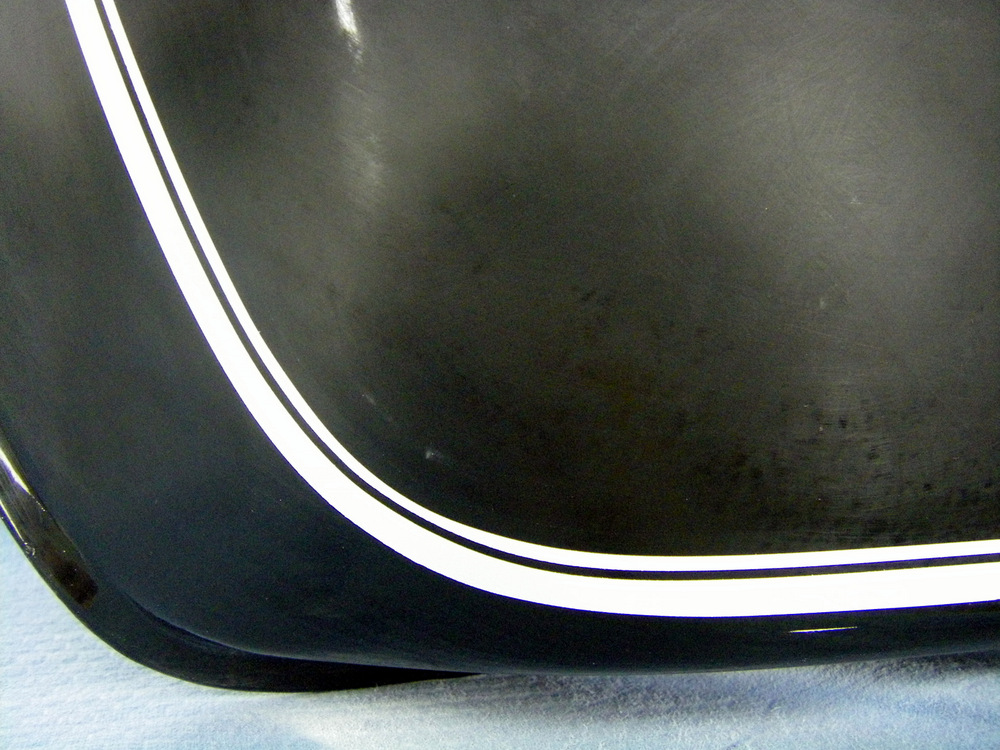
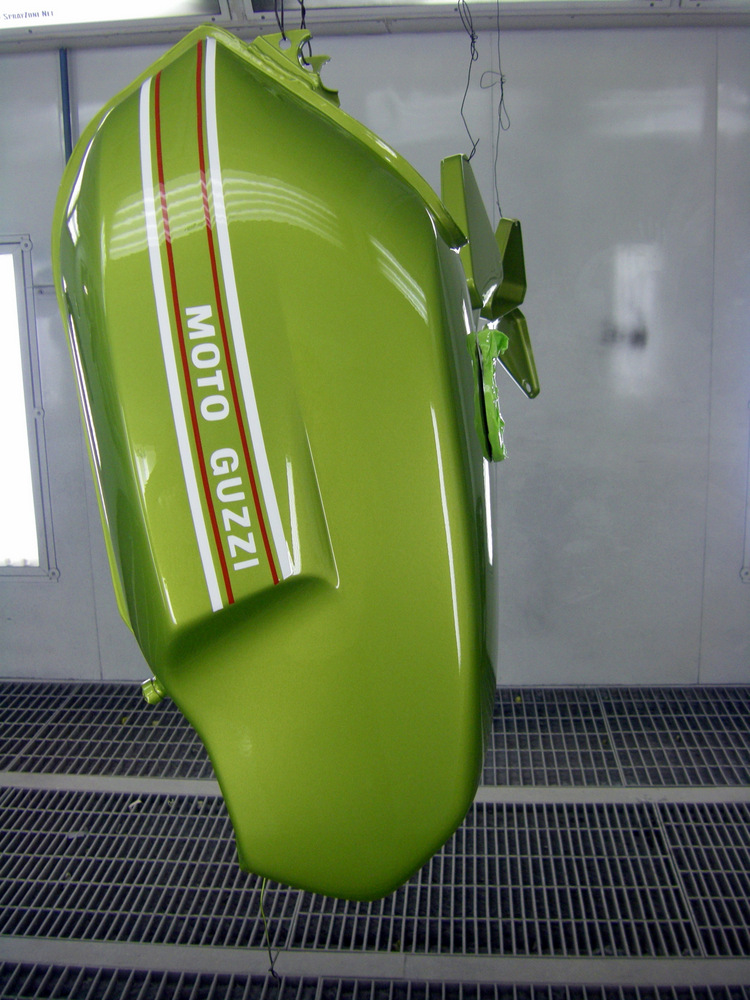
With that 750 decal, yeah it looks a bit crooked with the bottom line of the cover, but it looks aligned with the top lines of the cover... might pay to do some Googling and see if you can tell how the covers sit just in case?

Looking a bit closer at the 600 decal you posted earlier, it looks like the decal might actually be correct the way it was aligned.

I'd just hate to see you get done with it and find it's supposed to be different...
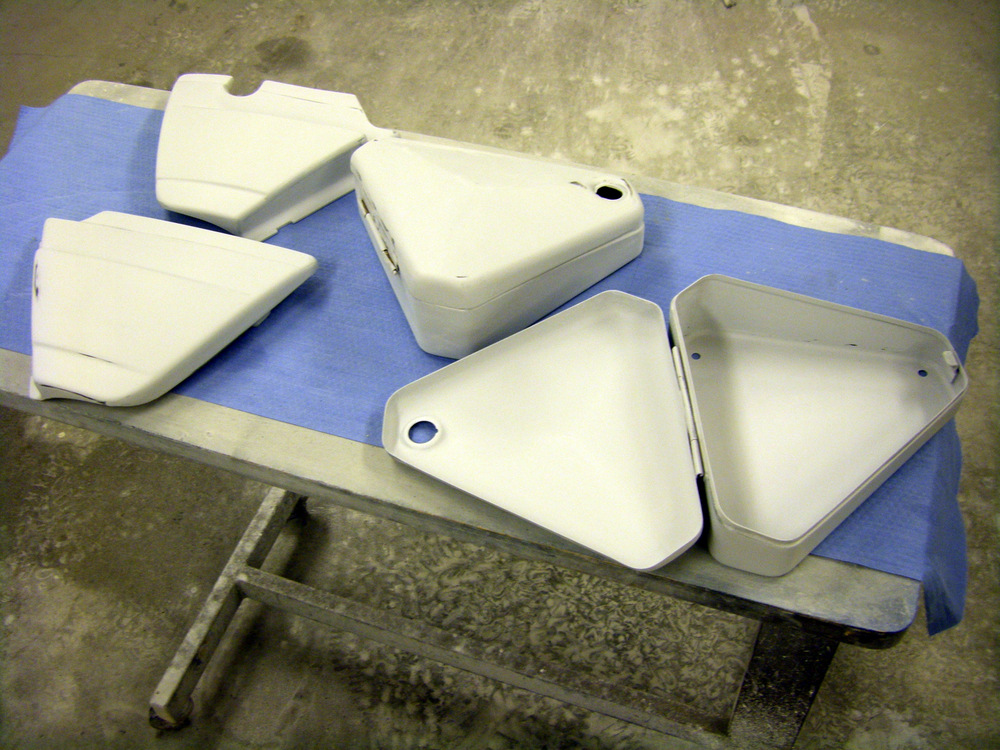
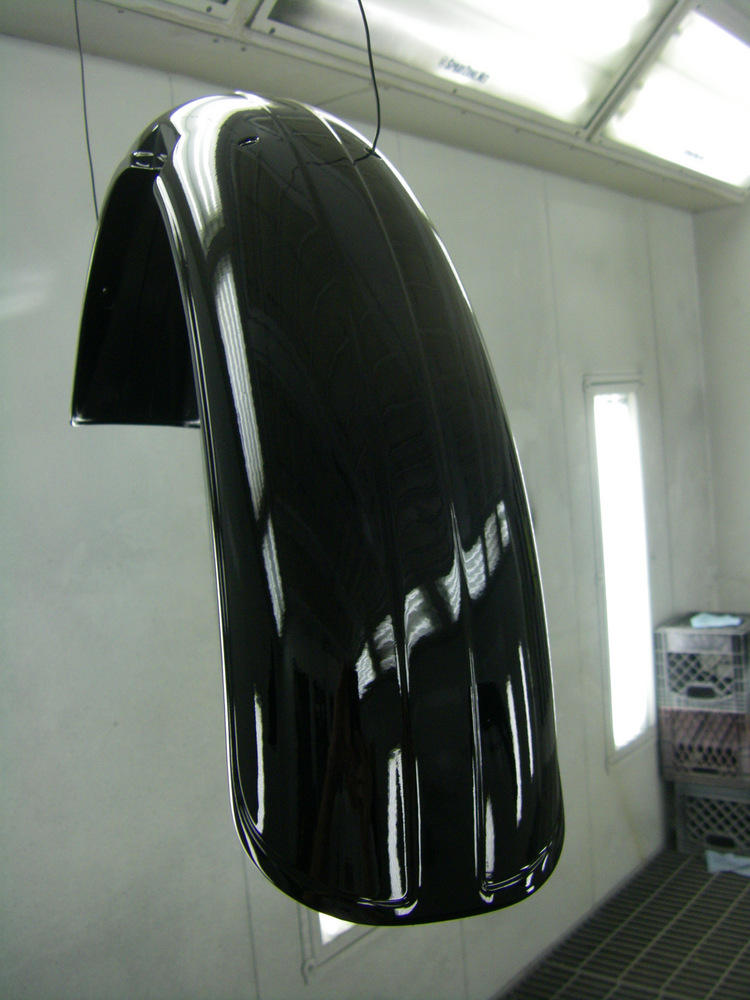
 
I hear ya, Pete. Even the owner wasn't sure, and he knows these bikes pretty well. An investigation is underway. Would hate for it to be wrong.
 
Given the age it's always possible there was some variance in the factory I guess... wasn't uncommon back then from my understanding of things. I was a little too young to take note back then of course :D

I'm 100% confident you'll get it sorted though!
 
Two weeks of the same ol' same ol'. Is there anything more boring then pics of another stage of priming and blocking..(3rd time),,probably not. But the parts are final block sanded and now ready for color.

Guide coat always. Even after the third time, low spots show up that need attention.


I probably have as much time into these tins as the rest of the parts combined. They were rough, inside and out, but look pretty nice now.


These were a breeze.


To avoid build up it's always good to sand the primer until you just break through..then you know it's been taken down as far as it'll go and the lows spots filled.


The insides of the Guzzi boxes almost as nice as the outside. Will look good when they're painted and you open them up

.

Pretty stoked at how well the BMW tank turned out, especially going black.


Guzzi tank was NOS, but had a few low spots that needed to be addressed, but all is well.


The booth at the shop I'm at was being used so I'll have to wait till next Saturday (hopefully) to start colors. Can't wait. I'm not used to having to push the pause button for a week in-between stages.
 
Last edited:
Fantastic work as always Larry! Yep, gets tedious with the primer, guide coat, and sanding, but definitely well worth it.

Everything is looking nice and smoooooth... hope you can get some colour on next time, can't wait to see them!
 
This is where all the hours of block sanding and prep start to show. I hate sanding as much as the next guy, but it's so critical to insure a nice finished product.

Flying parts.. Took almost 2 hrs. to hang these, clean them, and spray them with a sealer before the base coats can start.


Never sprayed two projects together before. I started with the black for the BMW. I didn't want to chance even a tiny bit of the metallic from the Alien Green for the Guzzi coming through the gun and spoiling the black. I always put a "handle" on parts to keep them from spinning while spraying.


Hard to tell in the pics, but the fenders turned out great. Really crisp lines and there's not a wave to be found. Again..block sand..block sand..block sand.


The tank turned out nice, too. Doesn't even have clear on it yet. Check how clean the reflection is already. It's gonna be killer all polished.


Maybe one of the coolest shades of green..ever. Looks nice even in matte.


The time I spent on these was ridiculous.


This tank knocks me out..it looks so organic..like something Jules Verne would've come up with.


A few coats of blending clear to protect the color before decals.


The inside of the boxes have a nice finished look to them, too.


Last edited:
The BMW tank is so nice and straight..Tobin's gonna be stoked.


Having a booth with a baking application..love it..30 minutes at 150 degrees..ding..all ready.


I'll go to some 600 to sand these parts before decals and pin stripes. Finally feeling like some progress after weeks of looking at primer..:) Both Tobin and Simon have been incredibly patient, so I know they'll be glad to get their parts back.
 
Last edited:
Making the inside of the boxes and no doubt the underside of the tank that good looking is just plain showing off. haha.
Nice work, Larry.
 
Beautiful results. Looks as though you have done this before.

I will be sending you a PM shortly. Watch for it.
 
Last edited:
Absolutely fantastic Larry, they're looking awesome! So very jealous of that booth :D
 
Today was decal and pinstripe day. 7 hrs. of layout, masking..10 minutes of spraying. My brain hurts.

This is always been the most stressful part of painting bikes for me..the decals..you only get one shot at it. Careful layout and positioning with masking tape markers. The Guzzi tank came out nice..whew.


Having this special decal application solution helps a lot. Way better then soapy water. It lets the decal slide a bit and there are no bubbles or residue. A quality hard squeegee is nice to have, too.


The decals for the BMW side covers were like refrigerator magnets.. Won't be able to totally bury them in clear, it would take a quart..but still better then factory which didn't have any clear on them at all. The red, white and gold colors on the Guzzi is a nice contrast..pure Italian.


On to the BMW tank. In all the years I've been doing this, these may be the hardest pin stripes I've ever laid out..and they look so simple. One side took 2 hrs. the other side 4 hrs. to match the first. Insane.


I had the tank all masked up and ready to spray when I noticed the stripes were a bit different from side to side..so off the masking came, only to have to redo the front half again..argh. It's hard to tell until it's masked.

The pin stripes are 1/16" and 3/16" with a 1/16th in between.


Literally 10 minutes to spray them.


I only wait about 20 minutes to unmask. You wanna do it while the paint is still flexible.


Turned out pretty nice. I'm happy with it. I didn't have time to do the fenders. You want to mask and shoot..mask and shoot so the tape stays put. I'll try to get them done tomorrow then the clear coats start.


Thanks for looking.
 
Last edited:
Quietly following in awe.... Your reflection looks rather pleased in the picture of the BMW tank.
 
Thanks dorkburger. Yeah, it's always pleasing to see the results when they turn out right..not so much when they don't..:p 
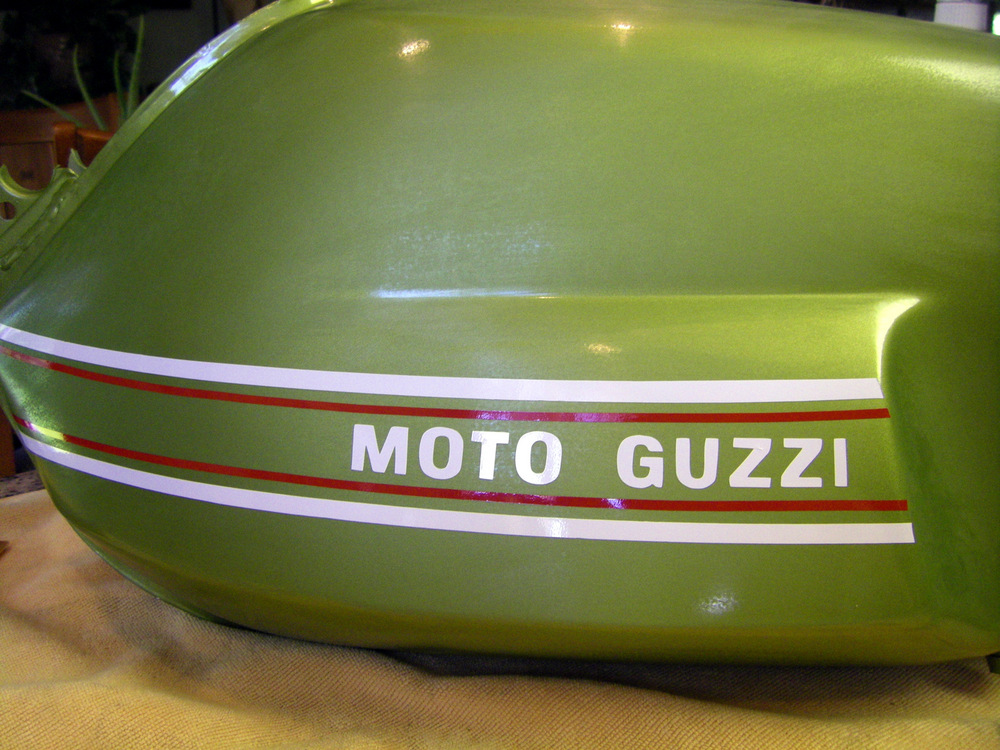
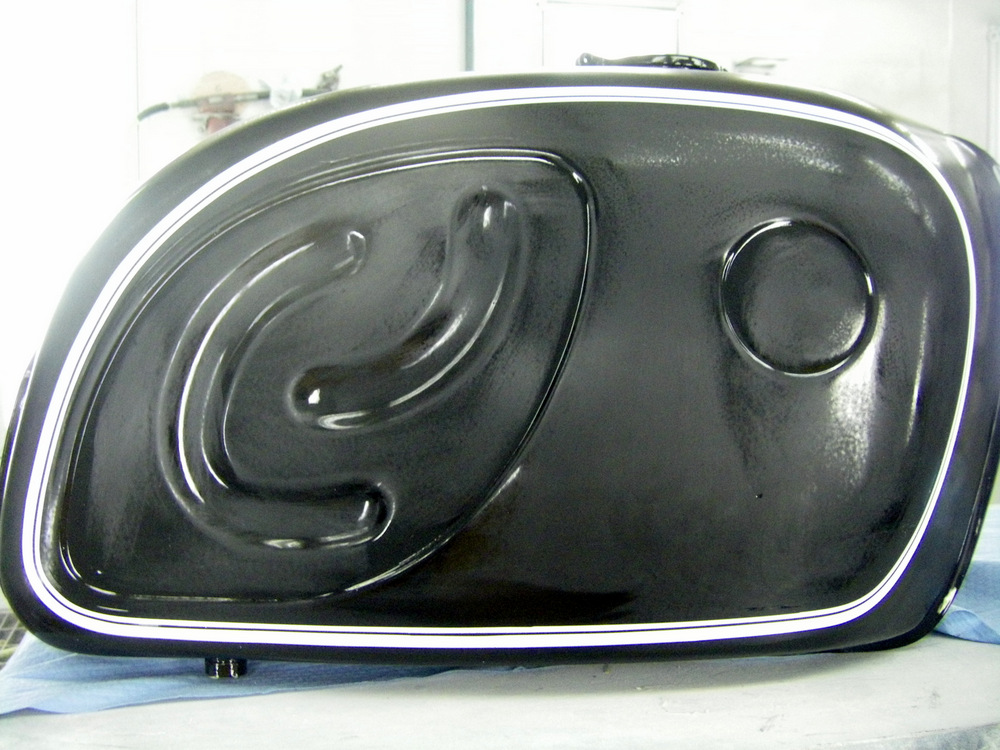
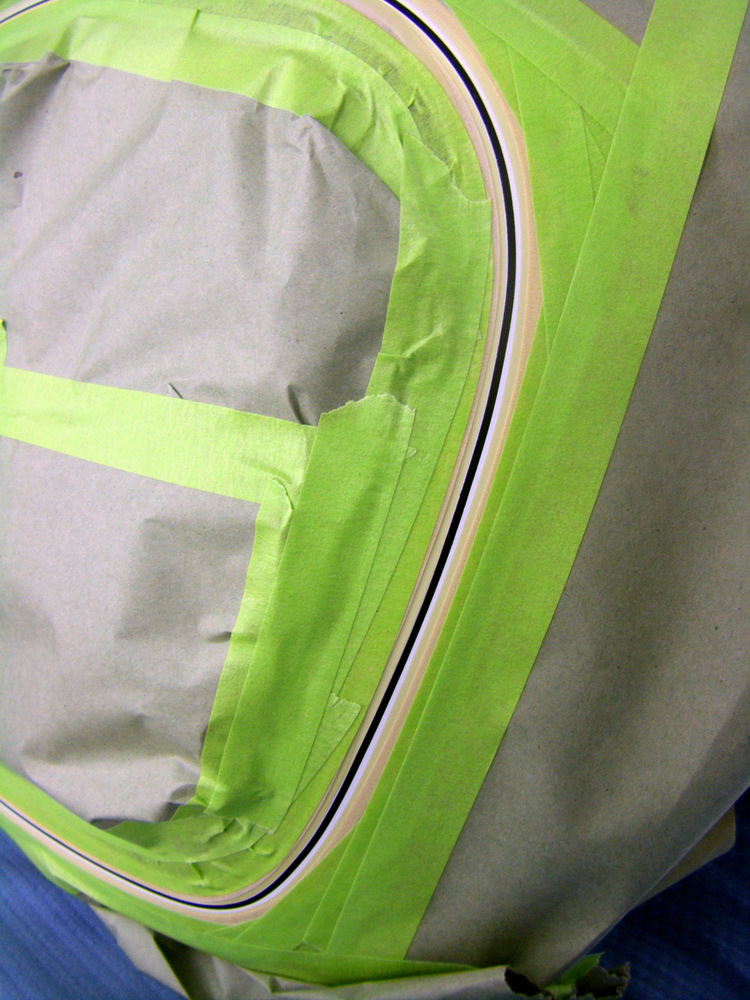
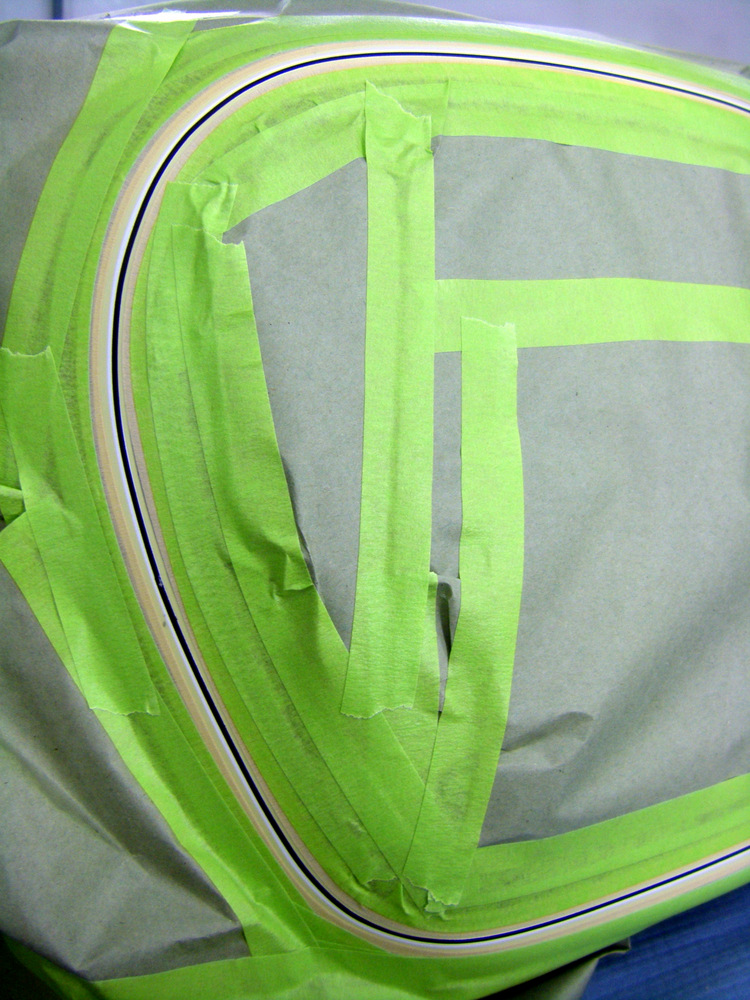
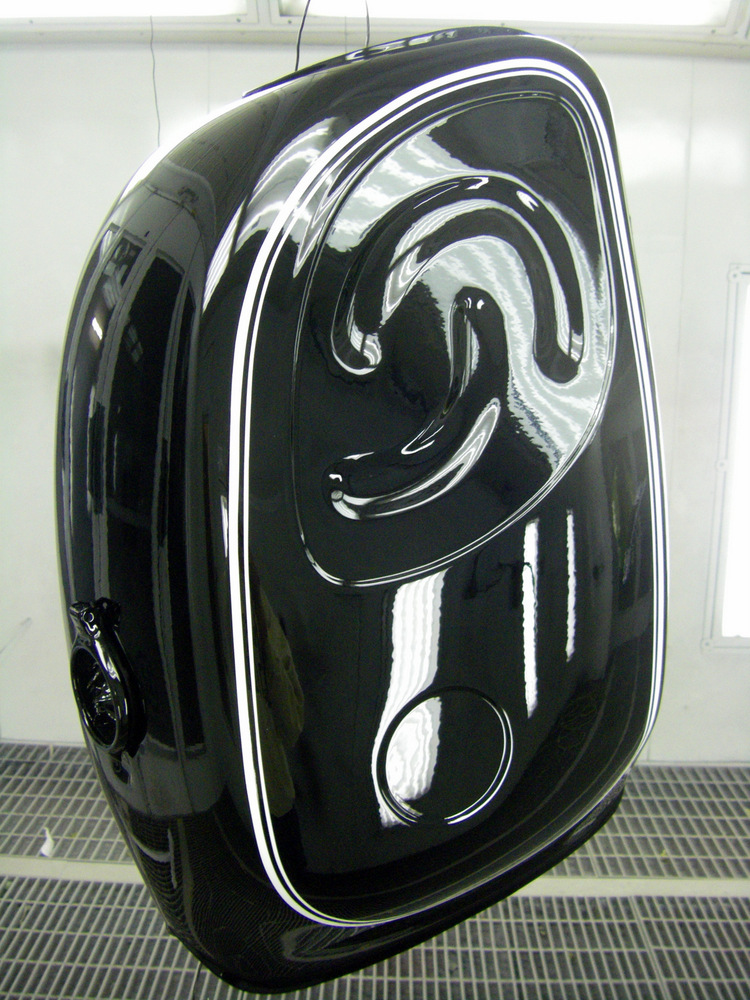
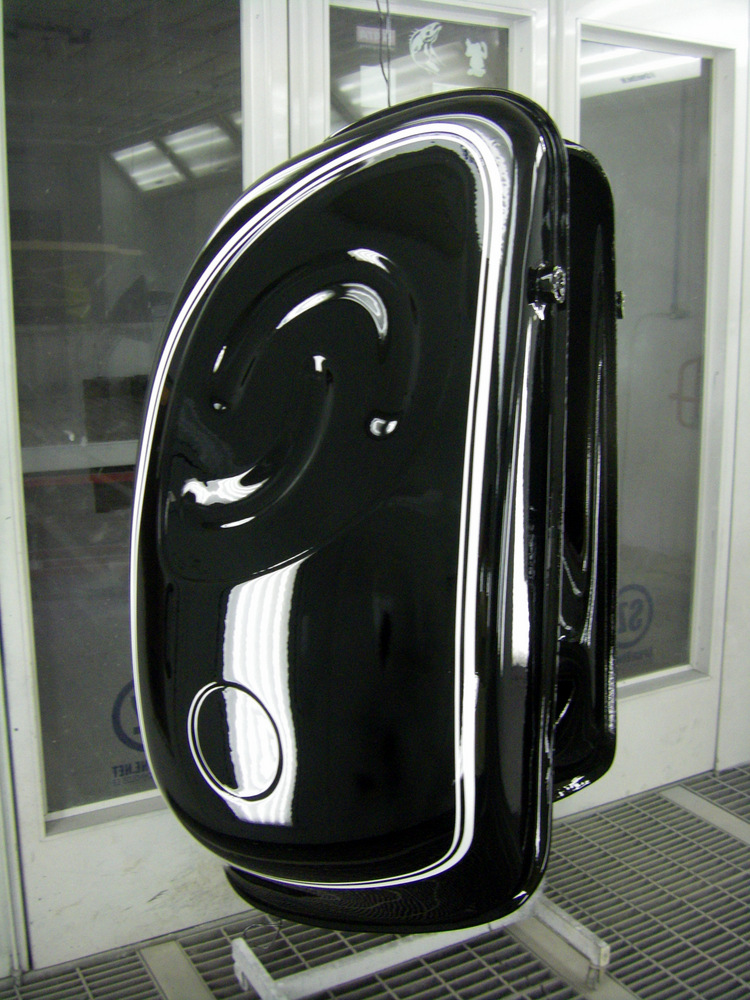
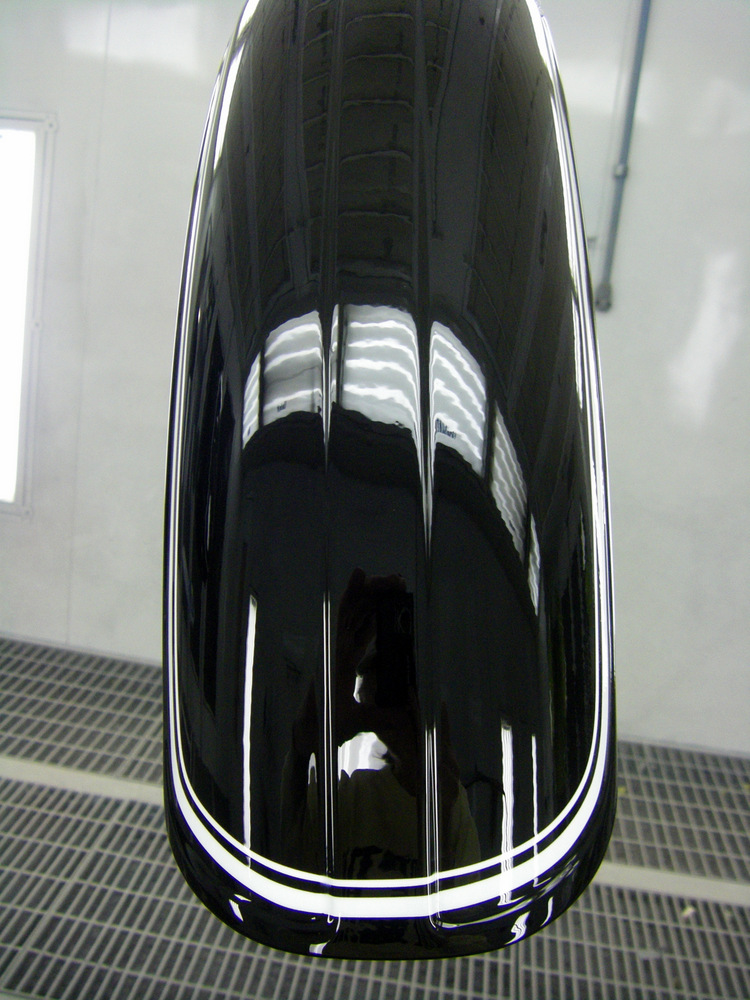
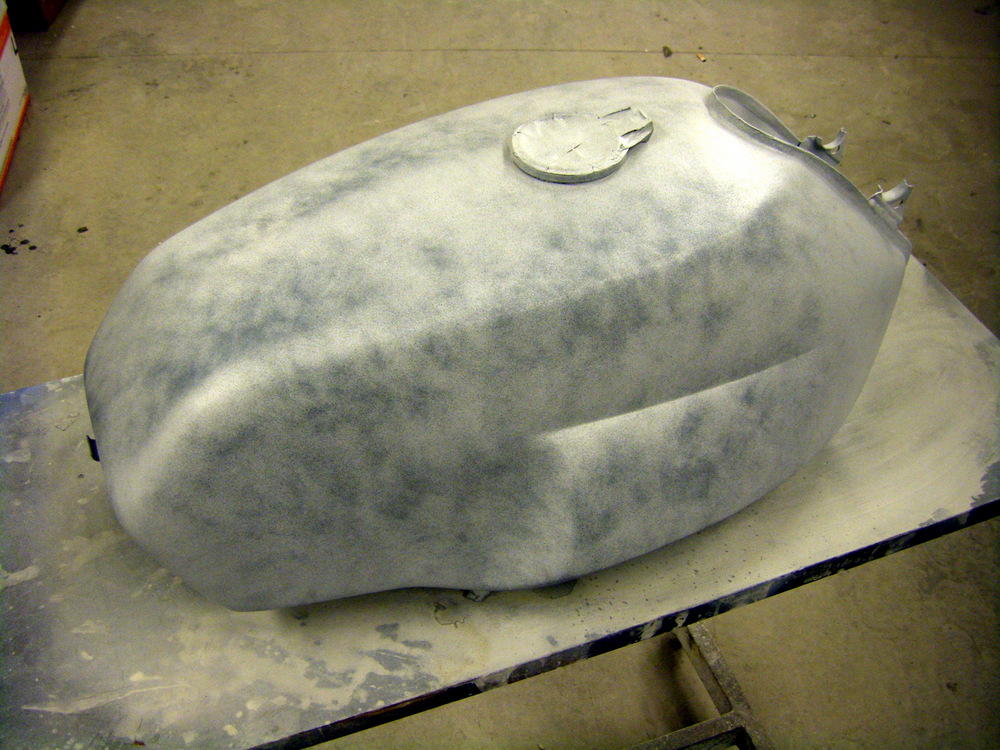
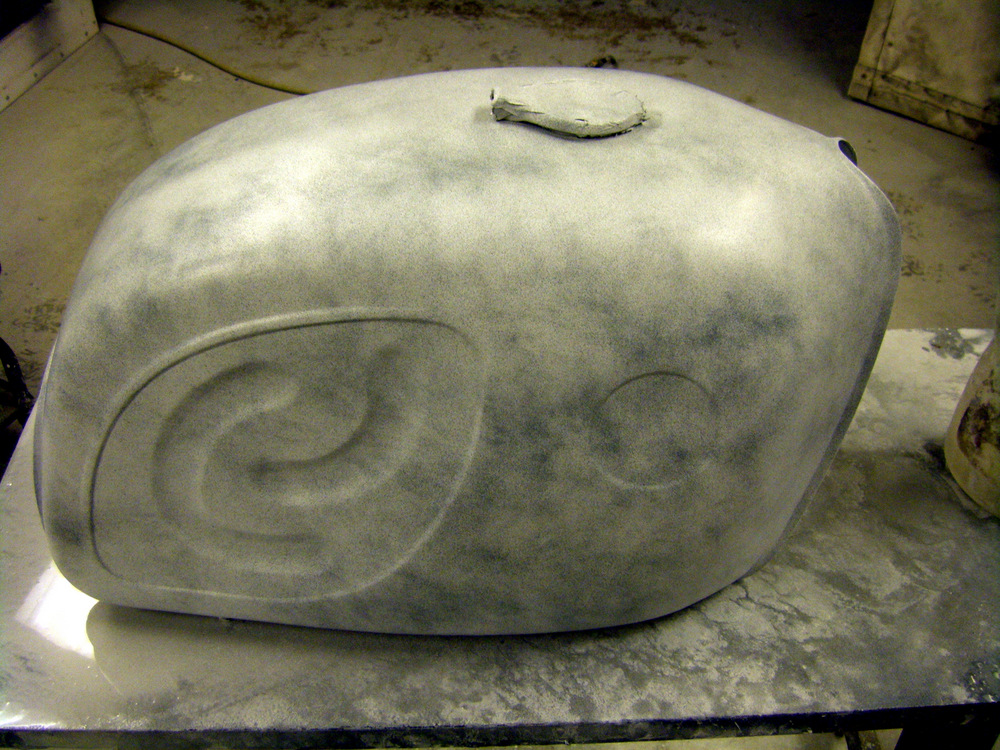
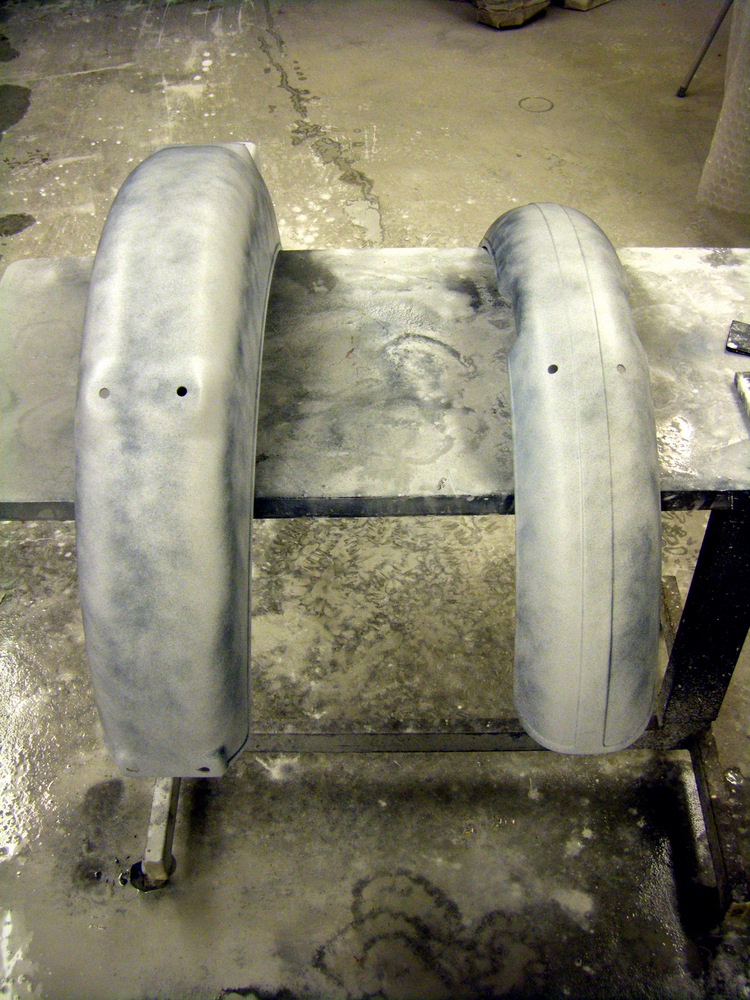
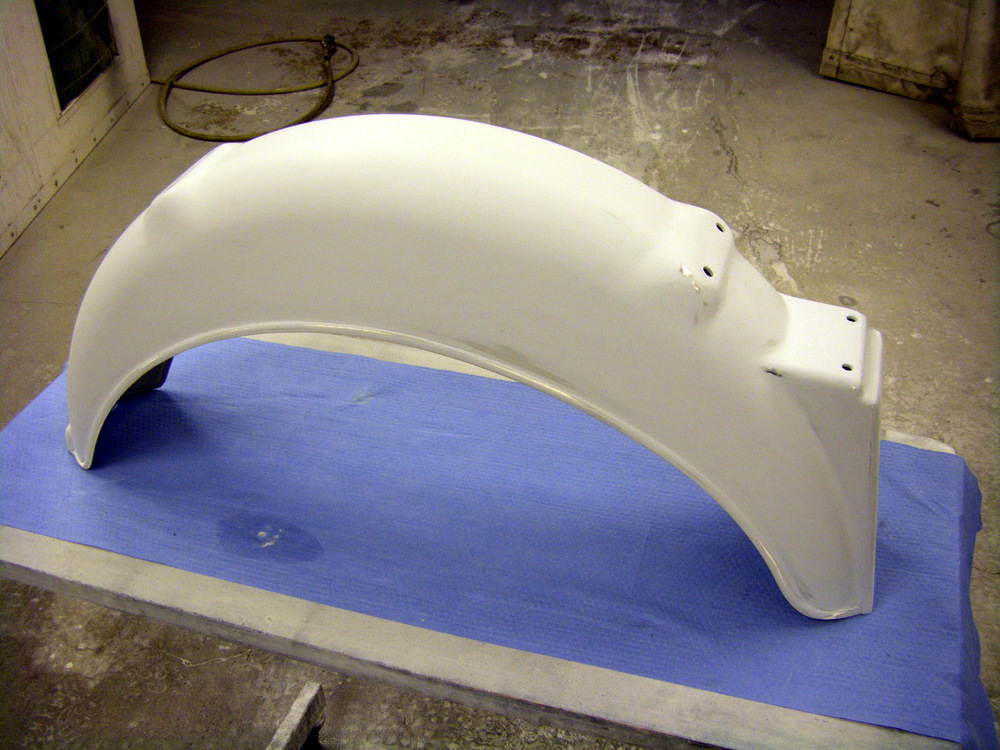
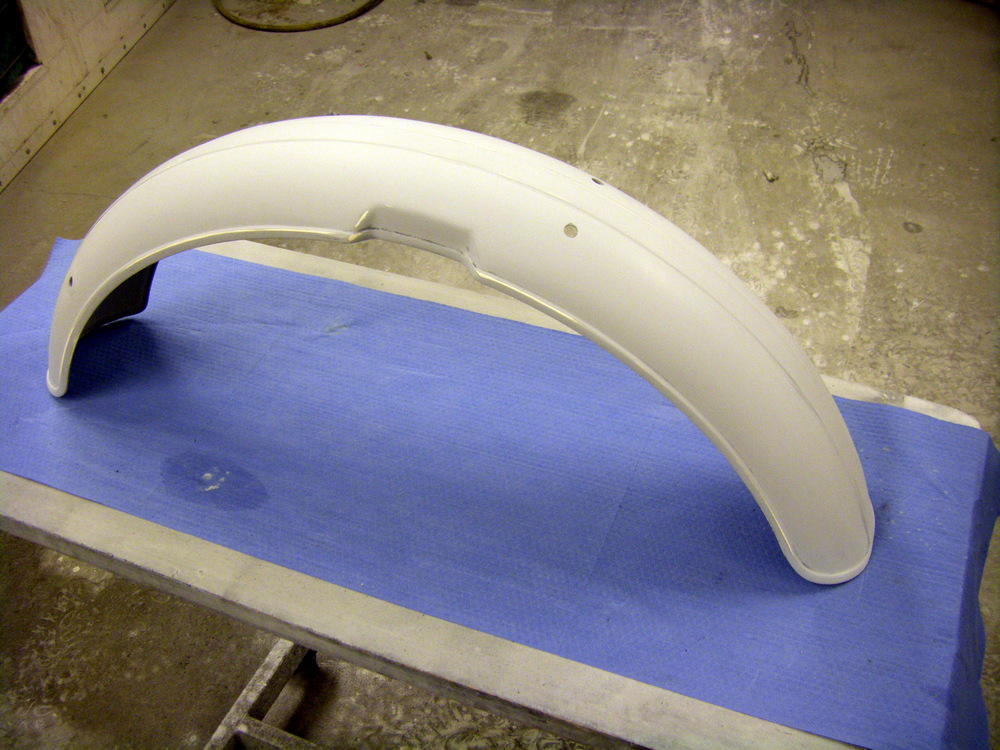
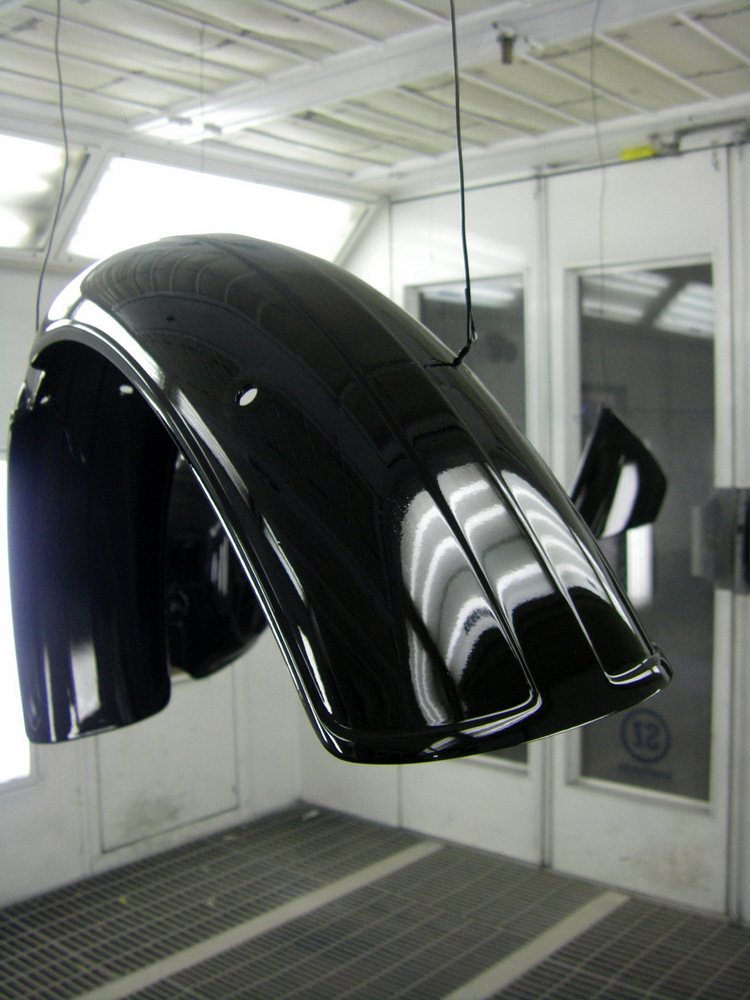
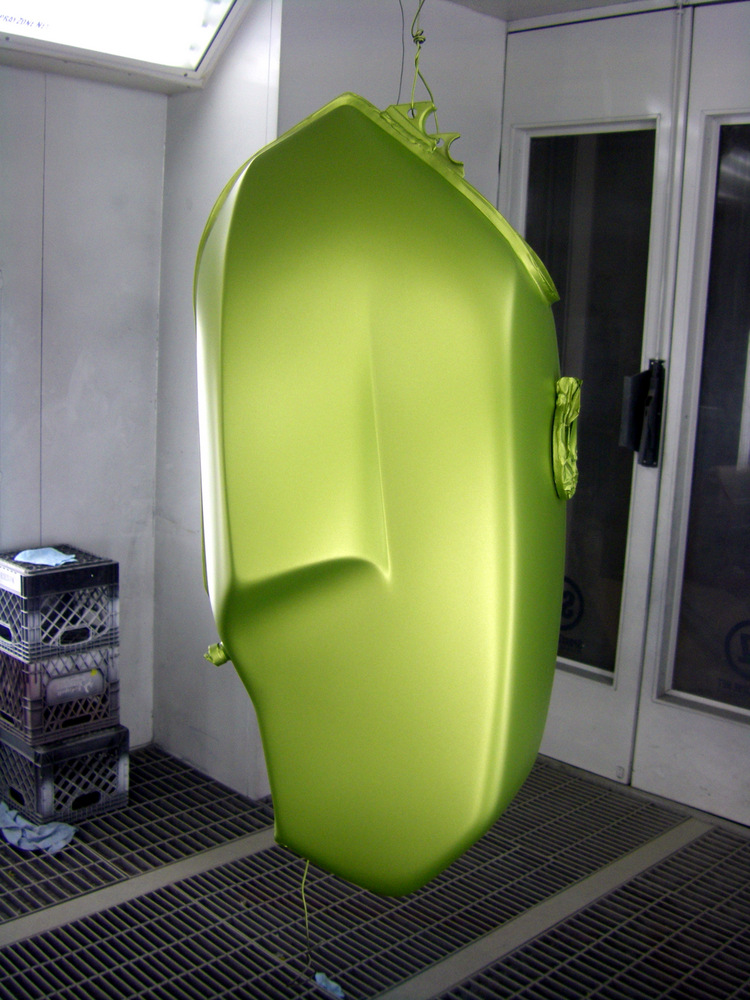
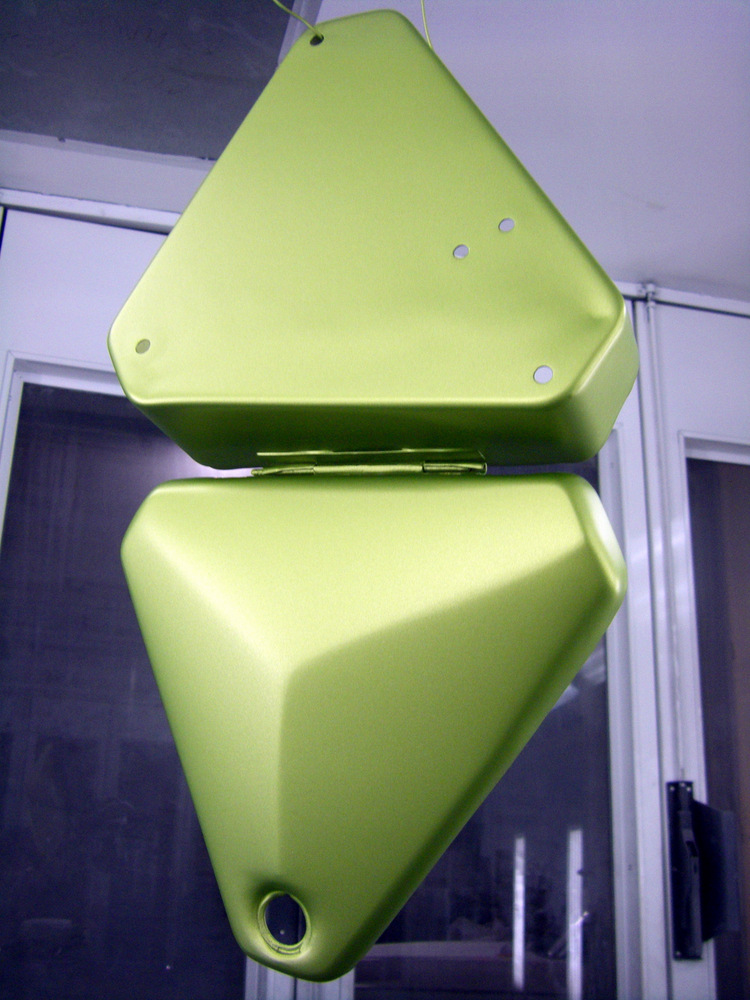
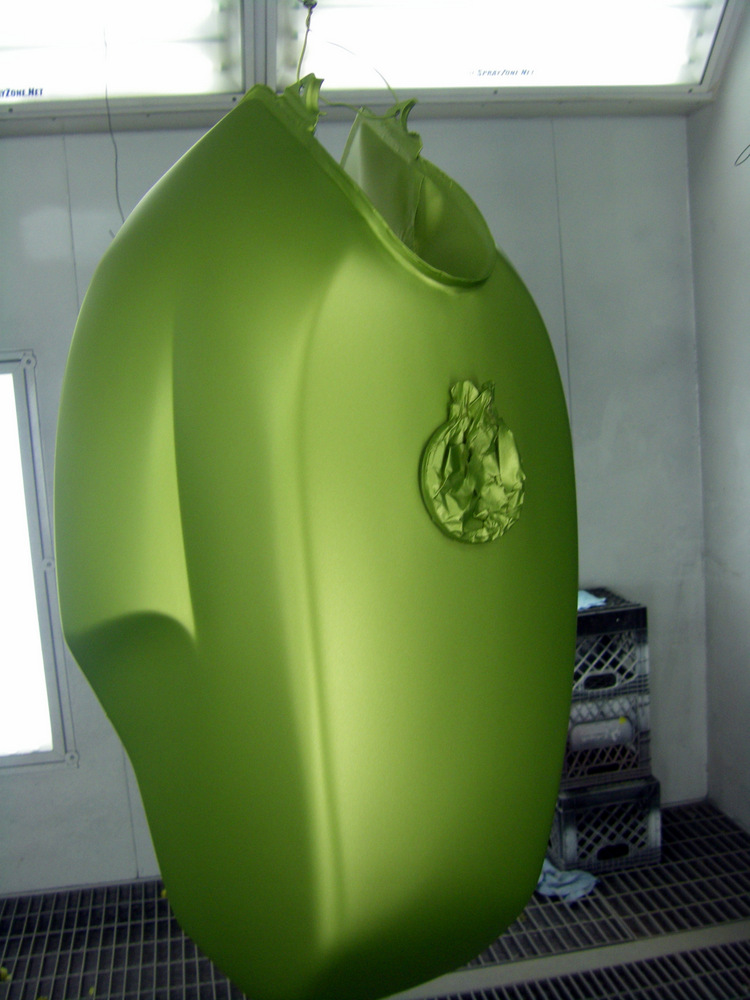
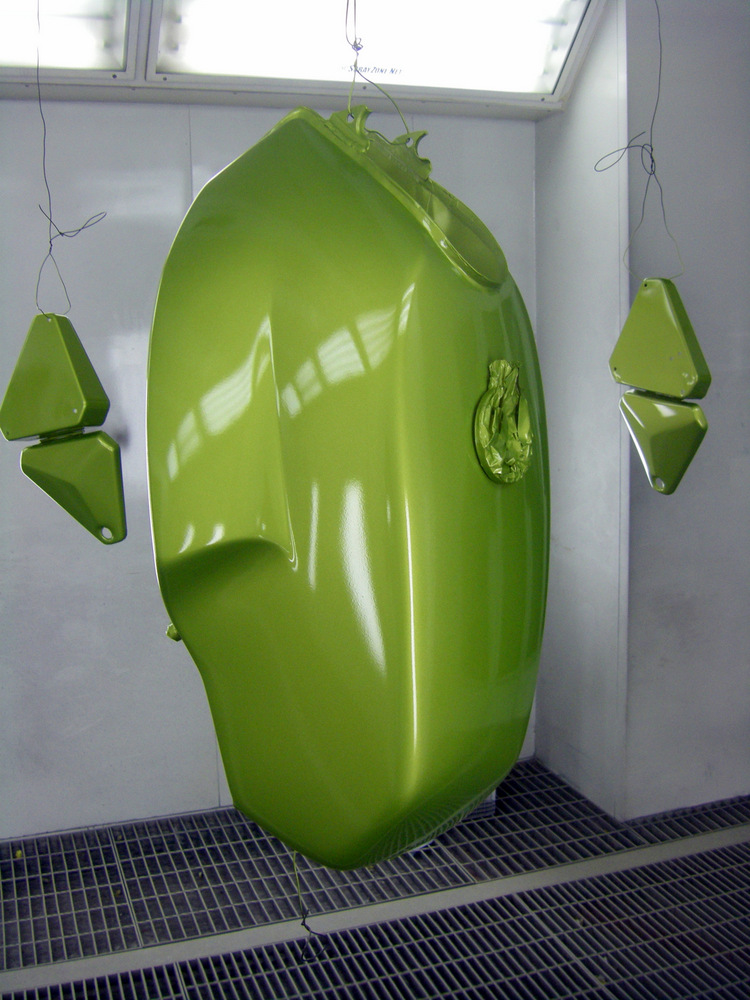
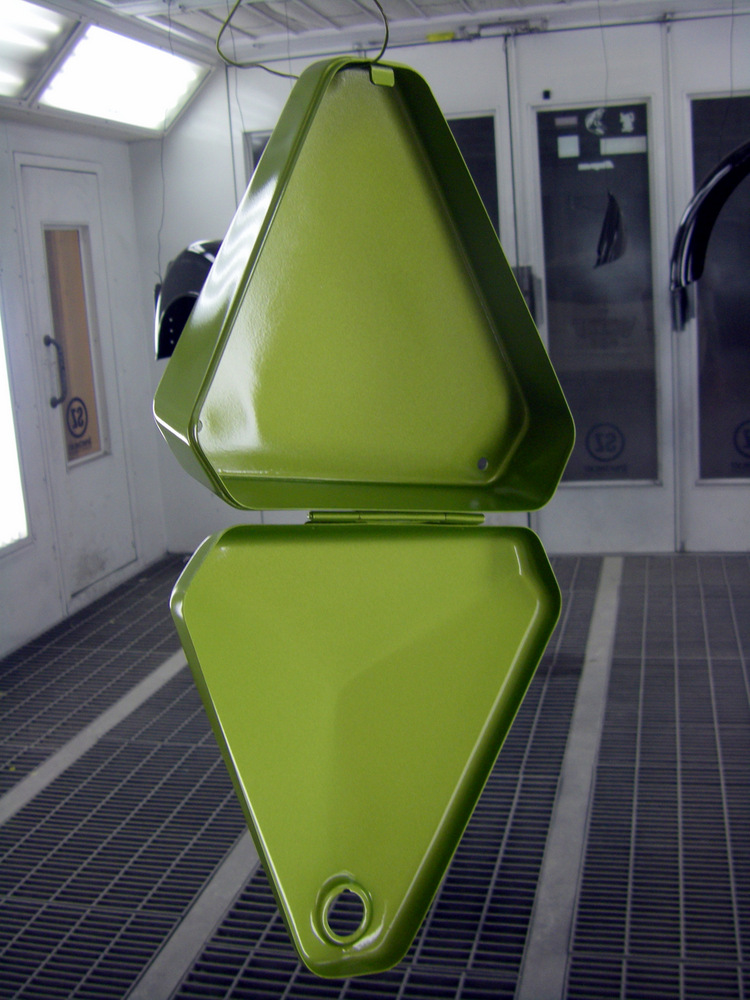
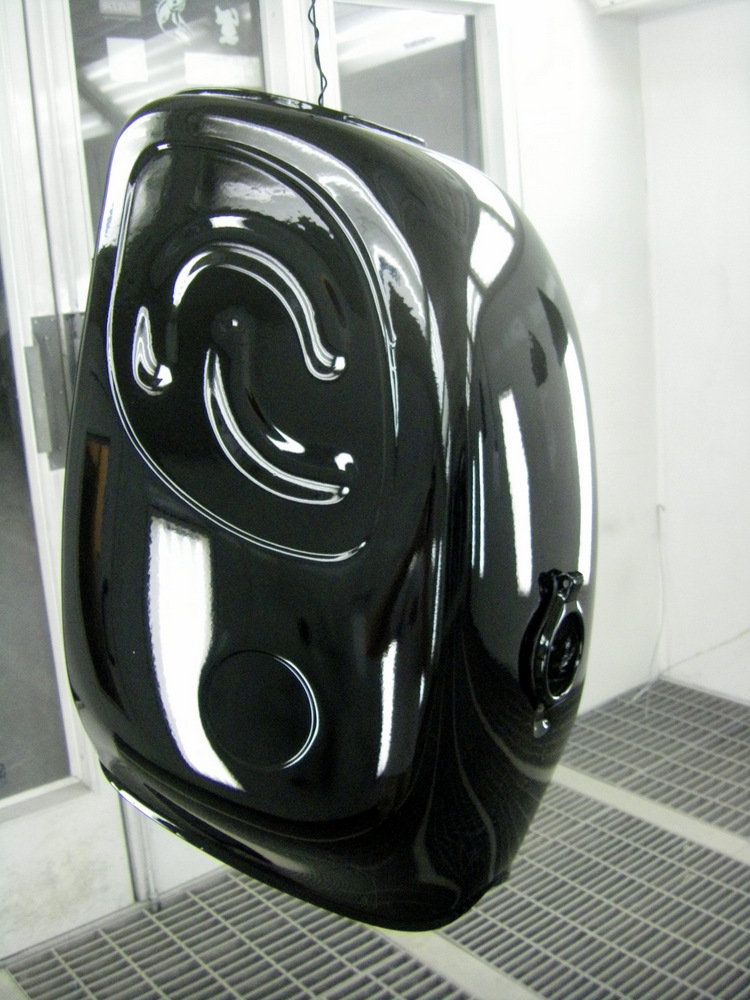
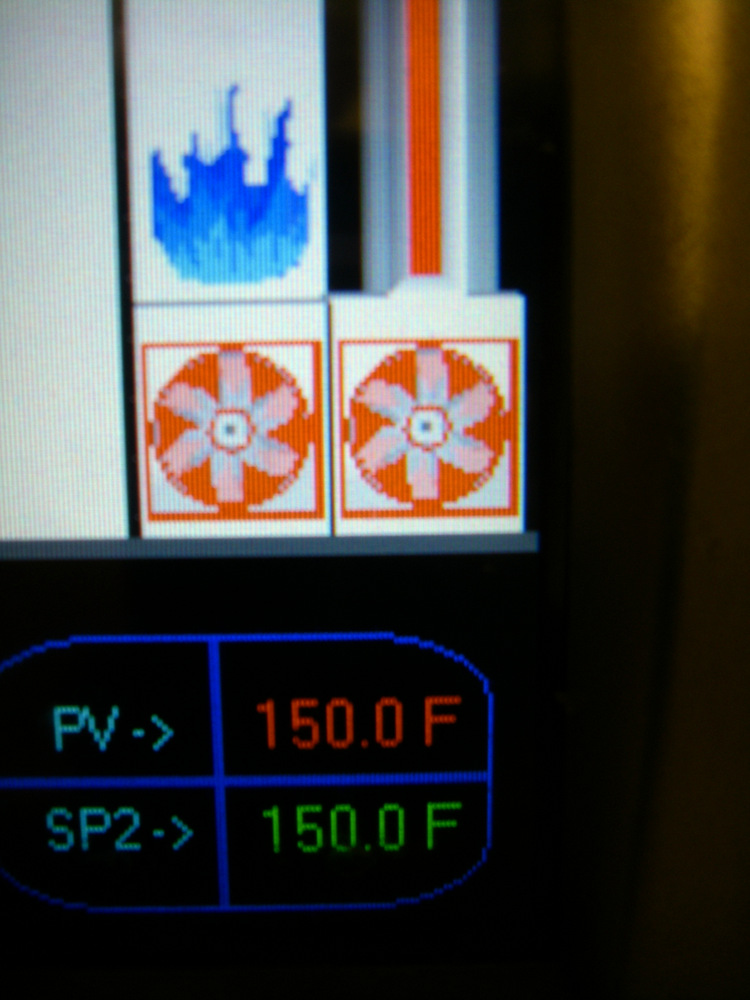
So far so good....so far..
 
Fantastic as always Larry, looking forward to see the finished product all cleared over and shiny :D

I had enough fun with the Suzuki decals on the Kat, and they were just vinyl stickers on top of the clear, so I can only guess how awkward it is making sure those decals sat on right enough so you're happy to do the clear.
 
Thanks, Pete. There's only one problem. I knew that although it looked pretty good after I unmasked it..it didn't look quite right. Dammit. The 1/16th inch black between the 2 white stripes was too narrow. After talking with Tobin, I realized that I had just plain made a mistake. Sooo..back into masking mode to widen it out just a bit which narrowed the wider stripe just a little, but needed to be done. It, too, can be a little skinnier and still look right.


The results are subtle..but better. A pain going backwards, but it would've never set right with me or Tobin whose very meticulous about them, as he should be. Hopefully now I can get the fenders striped..correctly, and get ready to shoot some clear.

 
Last edited:
Bugger it wasn't quite right Larry, but definitely the time to fix it now, and if you don't, yeah you'll be kicking yourself every time you look at it even if noone else notices...
 
Yesterday the booth at the shop was in use, so today I went in and striped the BMW fenders and started the clear coats.

Another 2 hrs. of trying to get the front fender as close to factory as possible. Learned my lesson last week on what should be the correct widths.


The stripes end at the forks and have a slash cut on them.


The rear fender a bit easier with no hump down the middle to deal with.


Back in the booth they go.


Five coats of clear later..


Last edited:
Really happy that the tape laid down and stayed put. No blow outs around them at all. This is why this kind of 1/16" and 1/8" Fine Line tape costs $16 a roll..worth every penny.


I didn't forget the V7 Sport..


I'm pretty sure all the parts that don't have decals have enough clear on them. I'll block sand the parts that have decals with some 600 and give them 3 more coats to bury them a bit more. There's finally a light at the end of what has been a very long tunnel.

Thanks again for the interest. :)
 
Last edited:
Back
Top