Chip repair
Chip repair
Two more questions if I may:
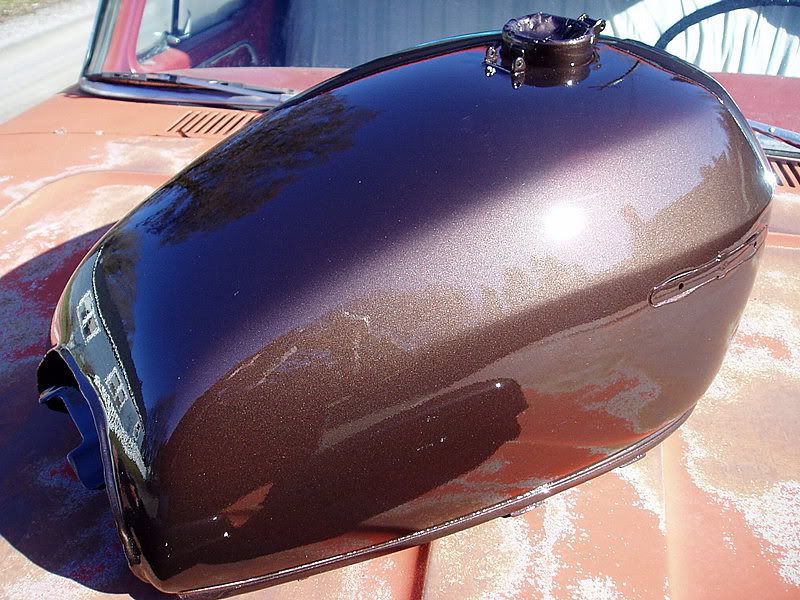
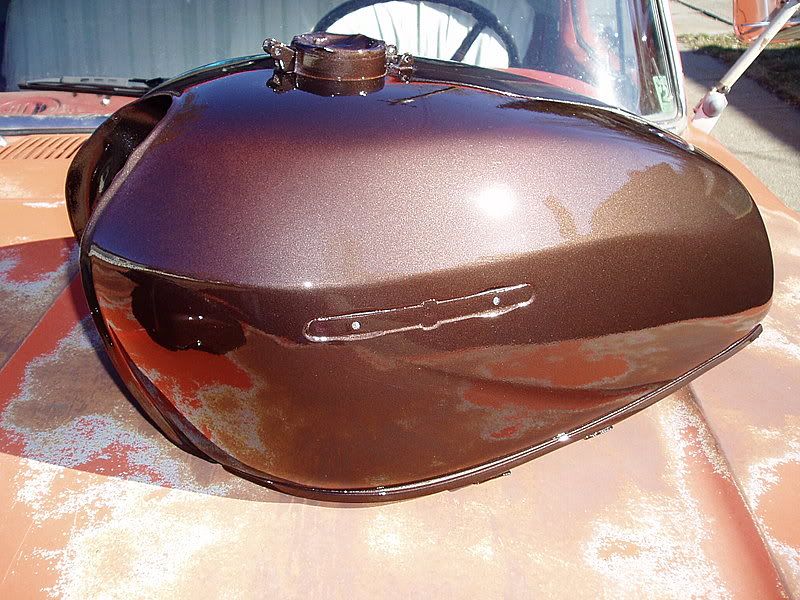
1. If the petrol tank has a reasonable coat of paint on it and I just want to fix a few stone chips or very small dents and change colour, then is it necessary to sand the tank right back to metal all over as you see in a lot of the videos and pics on various sites? If you don't have to sand it all the way back to metal then what needs to be done to prepare the tank for painting? Do you still need a primer? Which is best?
It is not necessary to take the tank right down to bare metal, what you would be doing then is called "spot repair". However, if the chip are right down to the metal, you will need to level the chipped area to the height of the surrounding paint, by either doing some careful filling of the chip with some surfacing putty, or by taking down the level of the paint surrounding the chip by sanding.
Both methods will work, but can yield dramatically different results depending on the preperation. When doing either type, I find it easier to sand the entire piece to be worked on, then do the repair. This ensures that everything will stick, since you have already roughed up the area, and if you need to extend the original repair area, you don't need to redo any sanding since the entire piece is already done. This saves time, and make sure to wear some nitrile or latex gloves while handling sanded parts, to keep the oils from your hands from transferring to the part, and soaking into the freshly opened surface. Fingerprints are NOT your friend!
Whenever I paint a vehicle I go over it one last time with a fine sanding sponge on "fingerprint patrol". Anywhere that it has been touched will have a small amount of residue transferred to the surface, and it can ruin your day when everything looks perfect, except for that one tiny spot where the paint pushes away from a fingerprint, usually right in the middle of the largest open area on the part.
I usually give the chipped area a sanding with some sanding sponge to give the putty something to grab on to, and then skim over the chip with surfacing putty. Surfacing putty sands quickly and easily, so be careful when sanding it smooth to match the height with the rest of the surface. If possible, use a high grit sand paper, say 600-800, on a sanding block, moving it back and forth over the putty while keeping the block as flat on the surface as possible. Be careful to not apply too much pressure since sanding could pull the putty right out of the depression if the paper really gets a hold of it while sanding.
Once sanded smooth and flat with the height of the rest of the surface, you should be able to clearly see the outline of the chip, and where the surfacing putty has filled. Follow this up with some primer (2-3 coats to seal the repair, sanding in between coat to disguise the profile of the repair), and you are ready for paint.
You could also take down the level of the surrounding paint to match up with the chip, but I don't recommend this method, it will open up more of the old paint and primer, and could cause a halo effect around the repair area when painting if not sealed properly.
If you decide to go this route, the area around the repair must be sanded down with a sanding block, usually with the same 600-800 grit paper. You will be applying more pressure to remove the old paint and primer.
Feather the edge so that it extends at least as far away from the repair as the repair is wide. In essence, what you are doing here is creating a new face on the part, one that is hopefully not too far off from the original level of the paint. The greater the difference in height between the chip and the topcoat, the more likely the repair will be visible.
If using this method, once the edge is feathered out, cover with surfacing putty, and try to recreate the level of the original surface with carefull sanding with a block similar to option #1. Seal up the repaired area with 2-3 coats of primer, finish sand with a sponge, and get ready for paint.
Make sure when using either repair option, that you let the primer fully flash off between coats, and give it a light sand in between coats of primer, this will help hide the ring around the repair by giving it a more uniform surface. I usually would feather the edge of the primer over the repair back about 20-40%, and recoat it on the next coat of primer. Once again, we are trying to disguise where the repair was done as much as possible. When sanded, primed, sanded, primed, sanded, primed, then finish sanded, the repair should look like a smoothly feathered blotch over the original sanded paint finish, and it should not have any distinct edging to it, whatever edges you see now will be magnified once the paint is applied, so try and get things as smooth as possible.
When doing a dent repair, scuff the inside of the depression with a low grit paper, like a 60 or 80 grit to rough it up so the filler really sticks in there. I use fiberglass to fill dents, most people use a bondo type polyester filler. If using a polyester filler, make sure to go over it with fiberglass to seal it! Polyester fillers are NOT waterproof, and turn into a hard sponge. They will draw in moisture, and will rust the metal behind them until they pop the filler right out. You can seal it with a surfacer, this is different than primer! Surfacers are specifically meant to go over primers, to completely seal the repair area. Once filled, sealed, and sanded smooth, proceed with priming and paint as usual.
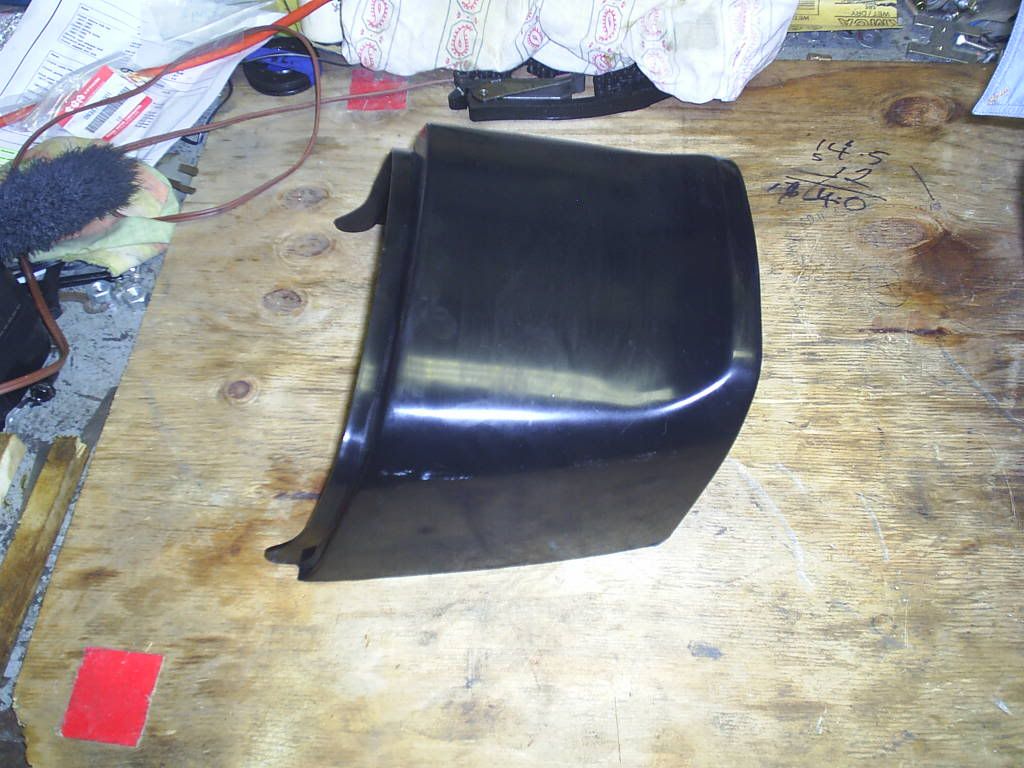
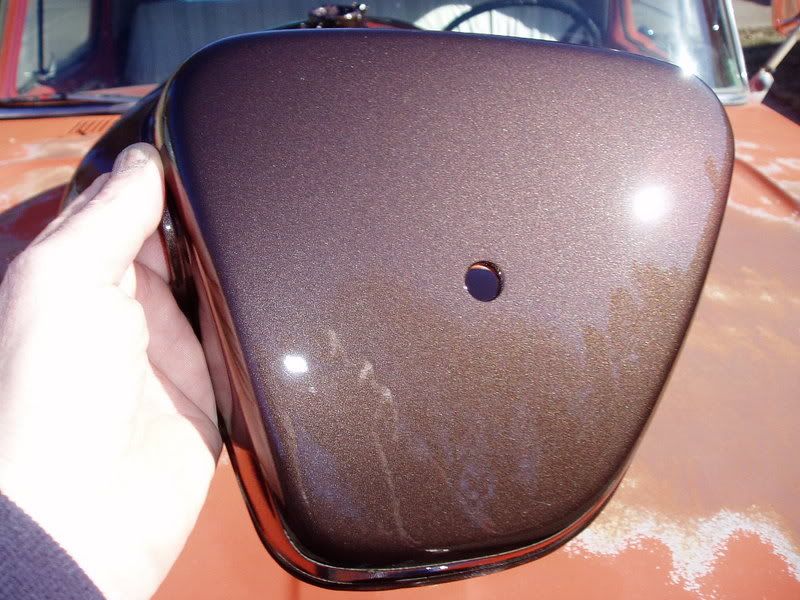
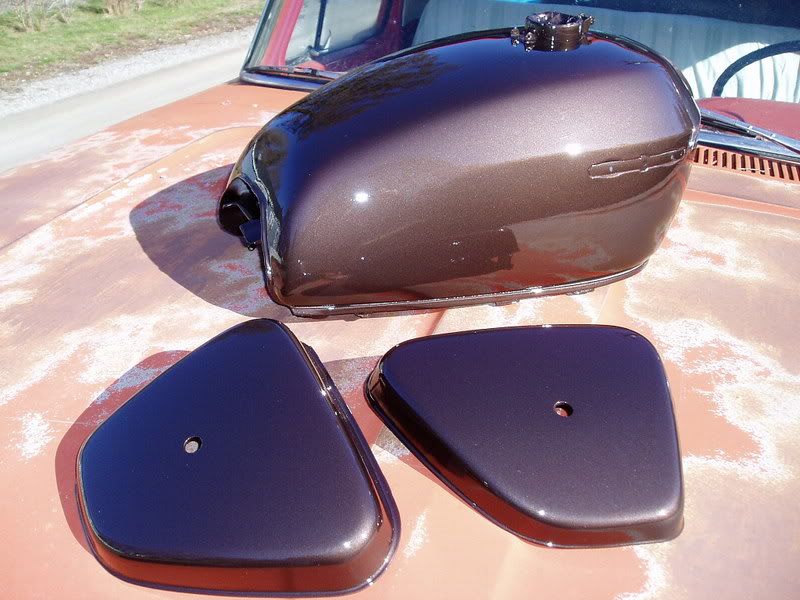
2. If spraying a new part that is plastic as in the duck tail part below, is there a process or any special preparation, or product used to bind the primer to the plastic? This piece bought brand new feels really shiny and slippery to the touch?
What you have there is a fresh from the mold, injection molded plastic part. There will be a film of mold release agent over the surface of the part. Give the part a nice hot sponge bath in soapy water. Dish soap works the best, and leaves little to no residue. Once the part is clean, put on your nitrile or latex gloves, and give the plastic a light scuffing with a fine sanding sponge, or you could wet sand it with 1000 grit paper.
Plastic and paint don't stick to each other very well unless an adhesion promoter is used. I prefer the PPG sponge and wipe adhesion promoter, but it is a one use item, so after you open it, whatever isn't used, get disposed of since it will not keep once opened. One set (sponge and wipe) is enough to clean and prep 1-2 full size plastic bumper covers for a car, so unless you have a complete set of new plastics to paint, it's not really cost effective, but it does a great job.
Adhesion promoter is also available in a spray can, a little pricey, but more cost effective in the long term if you only need to paint one or two parts in the short term.
Either will work, and is mandatory to paint plastics and not have to worry about the paint flaking off the first time it is flexed. Do not use self-etch primer on plastics unless it is formulated for plastics! Metal self-etch doesn't really stop eating away at plastic, whenever it gets hot, it keeps working away, and will loosen your paint and cause flaking.
When your part is coated with adhesion promoter as per instructions on the can/bag/whatever, let it set up as per instructions, and then prime/paint as usual.
if you have any more questions, feel free to ask, and remember to take tons of pics!
EDIT: Primers are generally based off of the same chemistry, so most primers will do the trick for you, even the old style laquer primer will work well. Just don't try and use primer to fill a stone chip, this will not work since the primer contracts when curing, and will cause nothing but headaches down the road when an overly thick spot of primer delaminates from the surface and voila, the chip reappears.
Hope this helps,