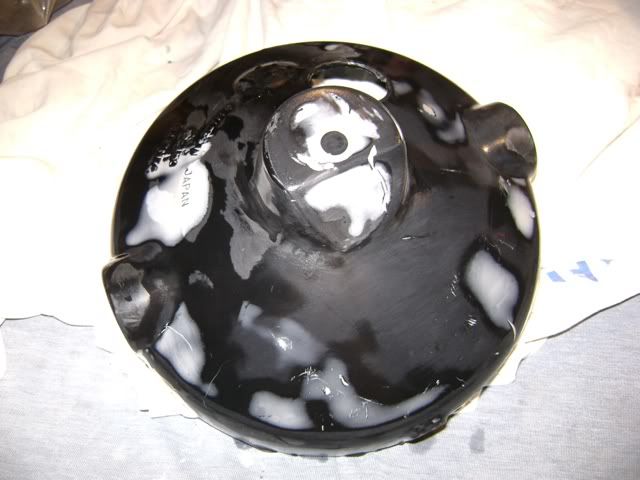
You do and I'll haunt you to the ends of the earth.Bugger it, I am just going to rattle can the thing flat black and call it done.
")
Required reading for all forum users!!!
Welcome!
Register to access the full functionality of the GSResources forum. Until you register and activate your account you will not have full forum access, nor will you be able to post or reply to messages.
A note to new registrants...
All new forum registrations must be activated via email before you have full access to the forum.
A Special Note about Email accounts!
DO NOT SIGN UP USING hotmail, outlook, gmx, sbcglobal, att, bellsouth or email.com. They delete our forum signup emails.
A note to old forum members...
I receive numerous requests from people who can no longer log in because their accounts were deleted. As mentioned in the forum FAQ, user accounts are deleted if you haven't logged in for the past 6 months. If you can't log in, then create a new forum account. If you don't get an error message, then check your email account for an activation message. If you get a message stating that the email address is already in use, then your account still exists so follow the instructions in the forum FAQ for resetting your password.
Have you forgotten your password or have a new email address? Then read the forum FAQ for details on how to reset it.
Any email requests for "can't log in anymore" problems or "lost my password" problems will be deleted. Read the forum FAQ and follow the instructions there - that's what we have one for...
If you are a returning visitor who never received your confirmation email, then odds are your email provider is blockinig emails from our server. The only thing that can be done to get around this is you will have to try creating another forum account using an email address from another domain.
If you are a returning visitor to the forum and can't log in using your old forum name and password but used to be able to then chances are your account is deleted. Purges of the databases are done regularly. You will have to create a new forum account and you should be all set.
You do and I'll haunt you to the ends of the earth.Bugger it, I am just going to rattle can the thing flat black and call it done.
Bugger it, I am just going to rattle can the thing flat black and call it done.
Arrrhhhhh, thanks Dale, so much for the greatest laid plans of mice and men
Many many thanks for the offer Dale, but it really is not practical right now, as I said, it is not just the gun, it is the applicator behind the gun, and I am really happy with the product and the way it goes down is really great, so a top of the range gun ain't going to help me, anyway, i would need a compressor, and a booth etc etc.....
Bugger it, I am just going to rattle can the thing flat black and call it done.
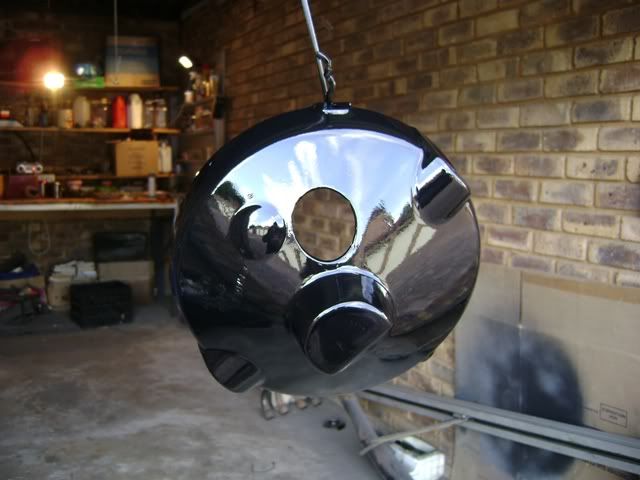
And relax okes, no flat black happening on my bike, not now, not ever, the only thing flat black on my bike is the tyres.
Just playin' with y'all.
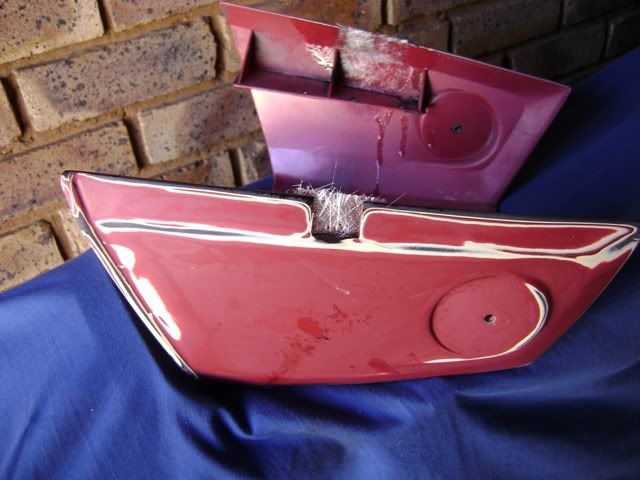
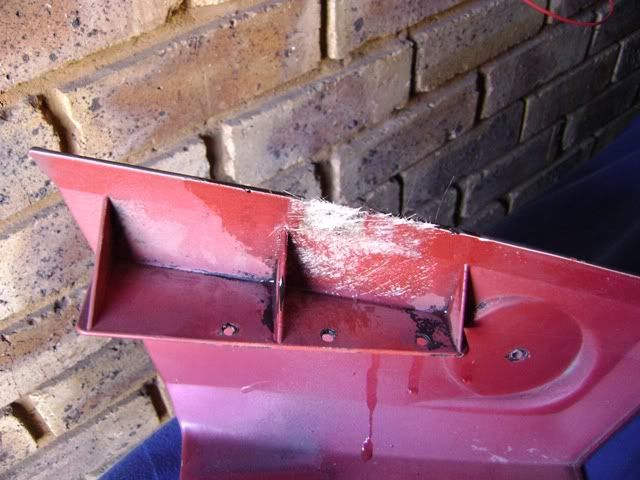
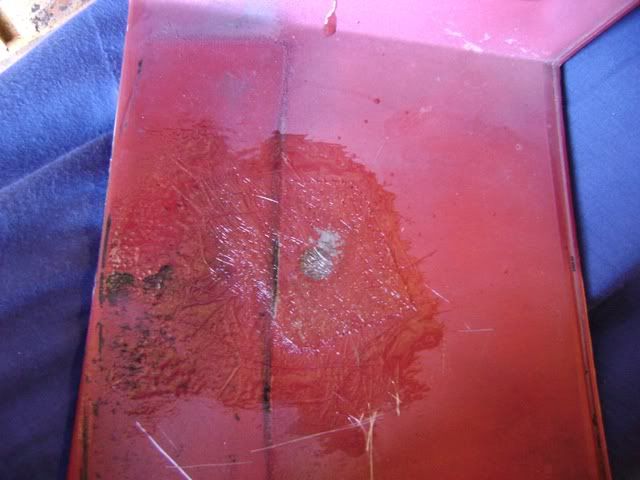
 ..I thought it was unbelievably expensive.. Now that you've taken it as far as you have, you might want to re-prime the covers. Clear coats and base coats that've been sanded into and broken through on, sometimes react very badly to new base coat being applied directly on top. The couple coats of primer should seal that danger off. Let it set for a couple of days. Sorry to hear about the re-do, but believe me when I tell you, it still happens to the best of them. I, also, have to once in awhile take a step or two backwards, (and it never gets any less frustrating) but..it's all in the learning process.