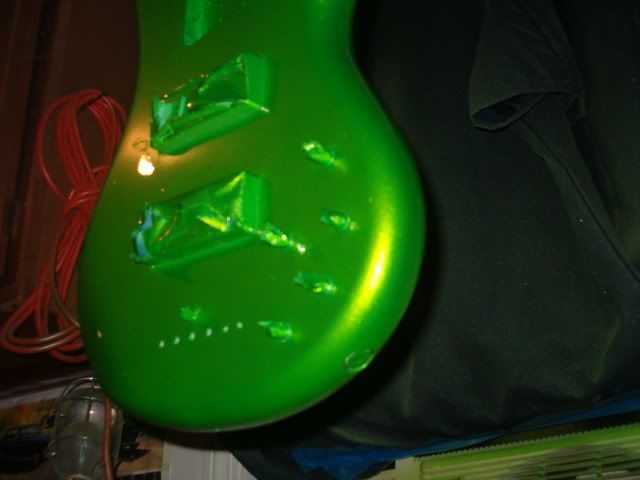
The reason for asking if the compressor keeps up with the paint gun was to find out if the pressure is dropping in the tank because too much air was being used by your gun. if the air pressure drops too low, the paint wouldn't be atomized as well as it should be and you end up with a textured surface.
when I'm using the 1-HP compressor in my garage, the compressor will start and run quite often while spraying. try not to worry about it unless the pressure starts dropping below 80 psi or so.
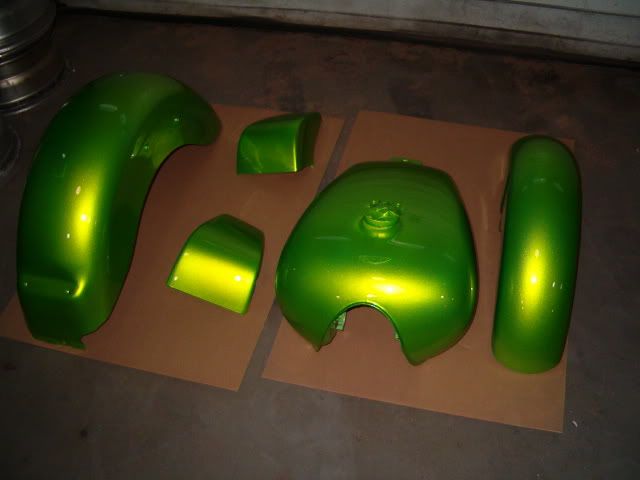
The compressor I use is a 1 HP 6.9 scfm @40 psi (195 L/min) and had no problem keeping up while shooting things like this. http://www.thegsresources.com/_forum/showpost.php?p=1489519&postcount=81
when I'm using the 1-HP compressor in my garage, the compressor will start and run quite often while spraying. try not to worry about it unless the pressure starts dropping below 80 psi or so.
The compressor I use is a 1 HP 6.9 scfm @40 psi (195 L/min) and had no problem keeping up while shooting things like this. http://www.thegsresources.com/_forum/showpost.php?p=1489519&postcount=81


")
 Ask me how I know..
")