C
Cdnpt1
Guest
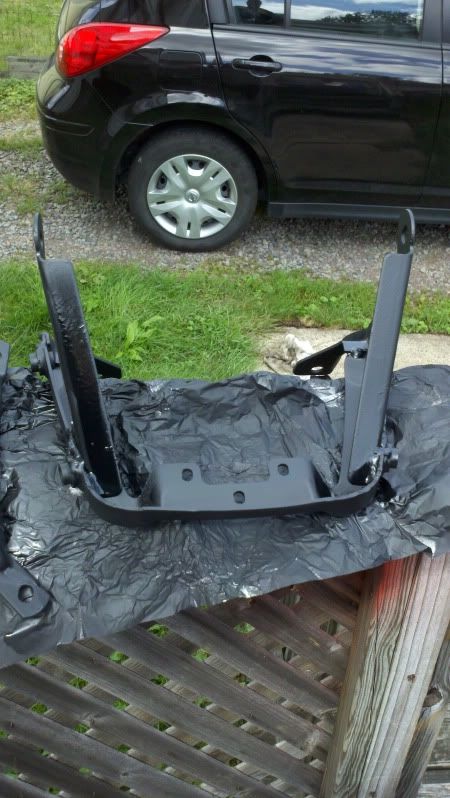
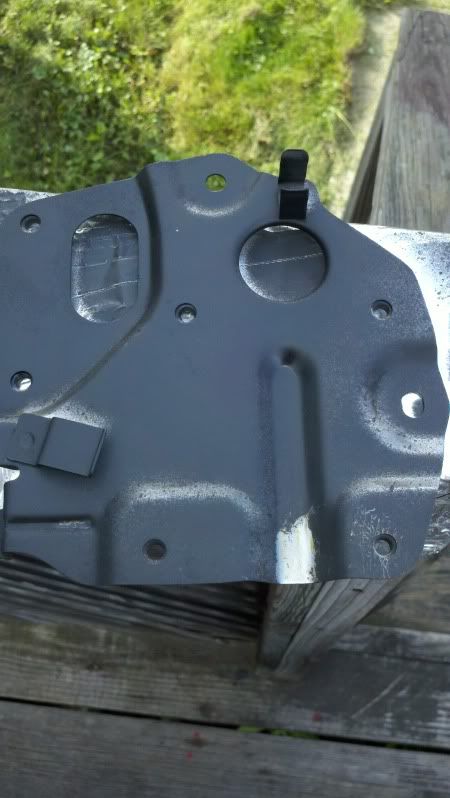
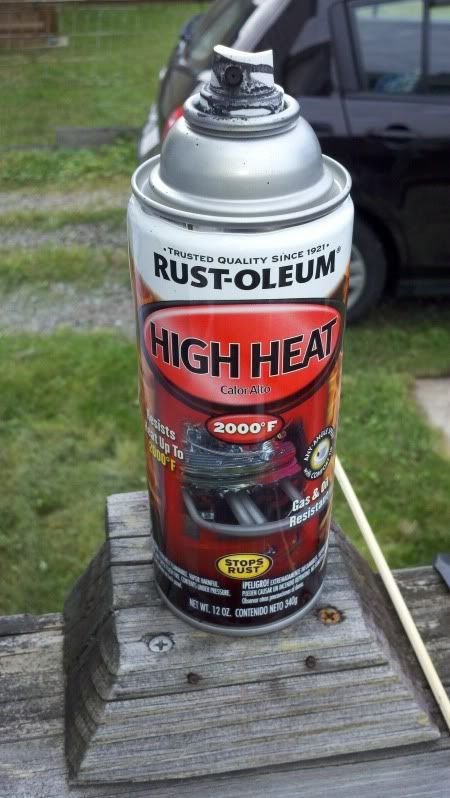
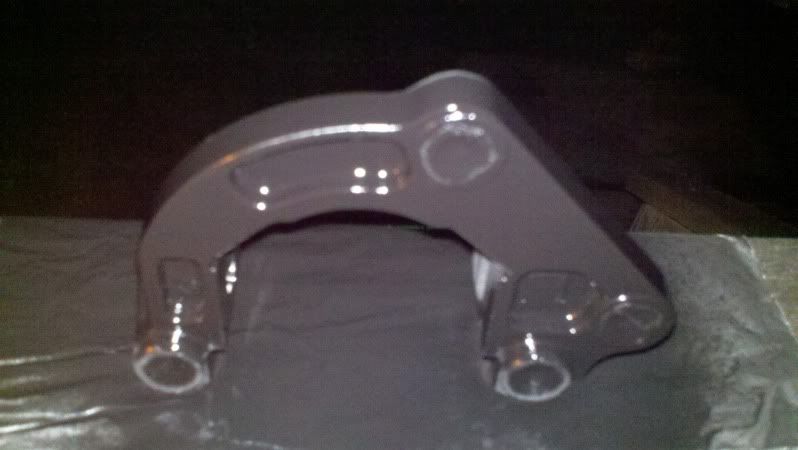
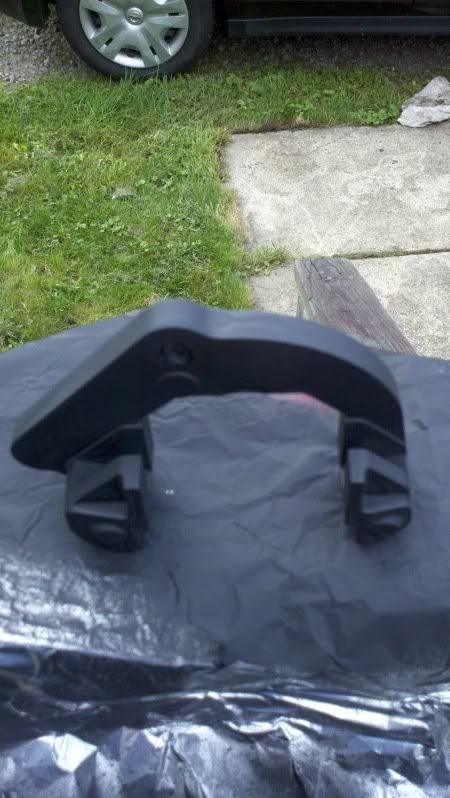
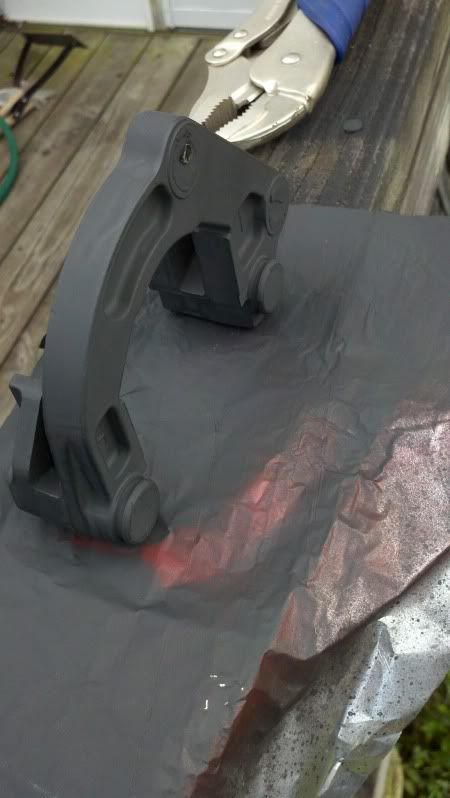
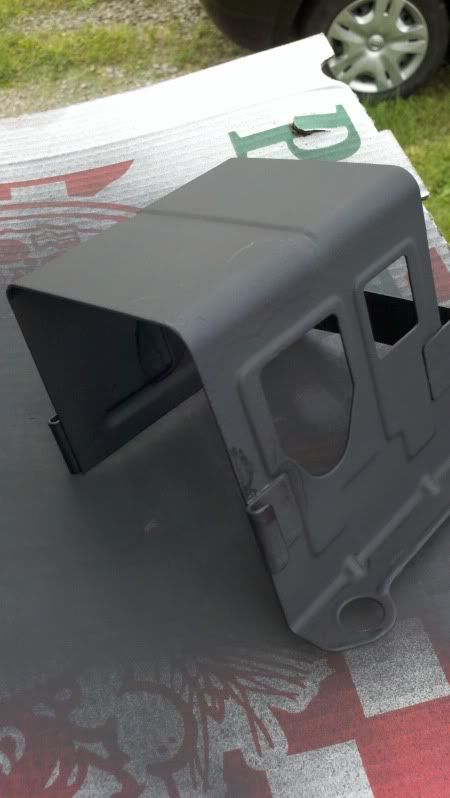
What are you using for your black paint? Does it match up with the frame pretty well? Looking really good!
Required reading for all forum users!!!
Welcome!
Register to access the full functionality of the GSResources forum. Until you register and activate your account you will not have full forum access, nor will you be able to post or reply to messages.
A note to new registrants...
All new forum registrations must be activated via email before you have full access to the forum.
A Special Note about Email accounts!
DO NOT SIGN UP USING hotmail, outlook, gmx, sbcglobal, att, bellsouth or email.com. They delete our forum signup emails.
A note to old forum members...
I receive numerous requests from people who can no longer log in because their accounts were deleted. As mentioned in the forum FAQ, user accounts are deleted if you haven't logged in for the past 6 months. If you can't log in, then create a new forum account. If you don't get an error message, then check your email account for an activation message. If you get a message stating that the email address is already in use, then your account still exists so follow the instructions in the forum FAQ for resetting your password.
Have you forgotten your password or have a new email address? Then read the forum FAQ for details on how to reset it.
Any email requests for "can't log in anymore" problems or "lost my password" problems will be deleted. Read the forum FAQ and follow the instructions there - that's what we have one for...
If you are a returning visitor who never received your confirmation email, then odds are your email provider is blockinig emails from our server. The only thing that can be done to get around this is you will have to try creating another forum account using an email address from another domain.
If you are a returning visitor to the forum and can't log in using your old forum name and password but used to be able to then chances are your account is deleted. Purges of the databases are done regularly. You will have to create a new forum account and you should be all set.

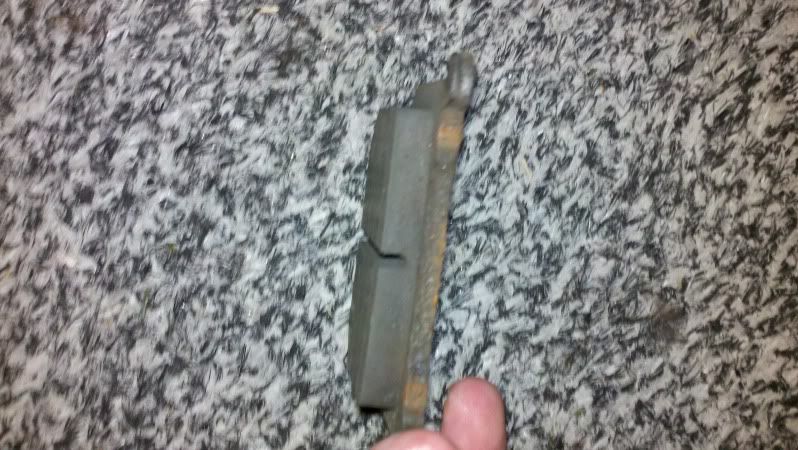
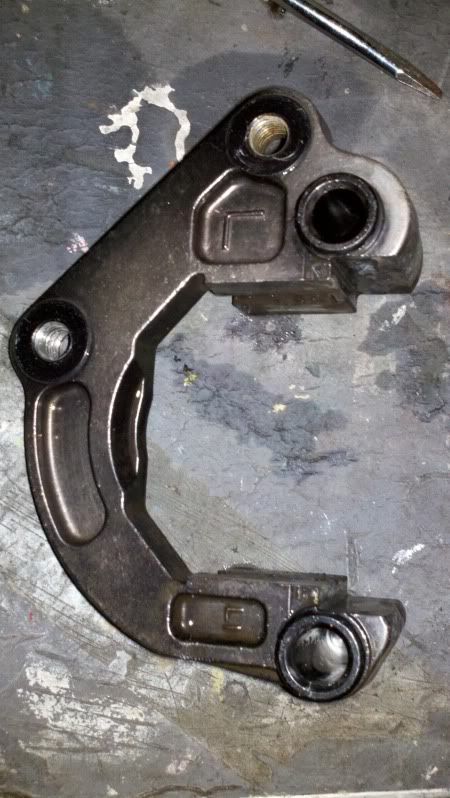
This IS looking good, I'll have to make a point to stop back and check on your progress. i actually found this thread by searching "caliper rebuild GS450", which is what I plan to do after I finish with electrics...I'm very tempted to do the brakeline upgrade now.
By the way, what kind of shocks are those?
")
Do the break line upgrade. total piece of cake, should last longer than the rubber lines.
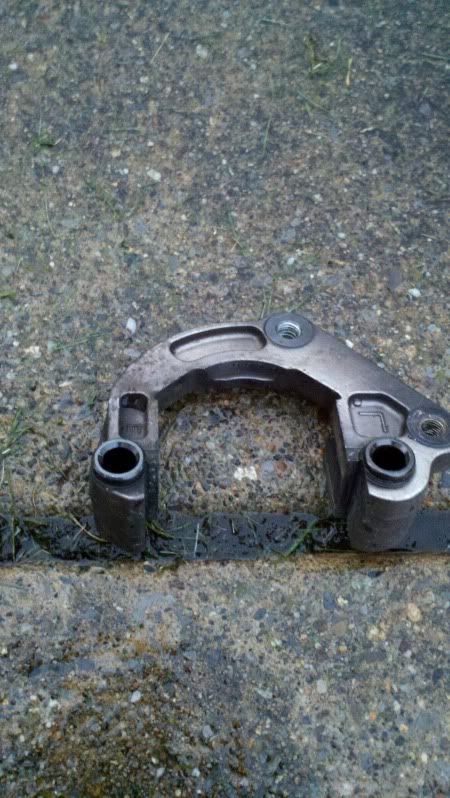
Did you get the info you were looking for on the caliper rebuild?
The shocks were some form of generic, no markings no box. paid $80 for them delivered from ebay. I think they might be emgo. they were just a tiny bit shorter than the 'stock' ones that were on there.


Yup, I planned to do some baking in the next day or two.
might save all the stuff that needs baking and do it together.
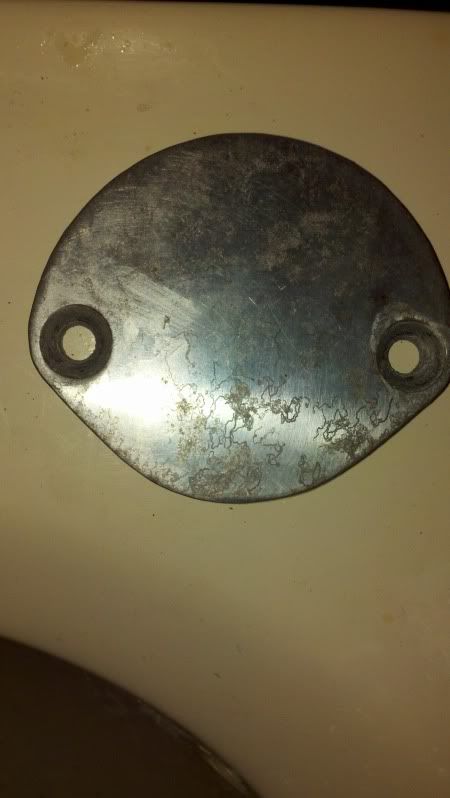
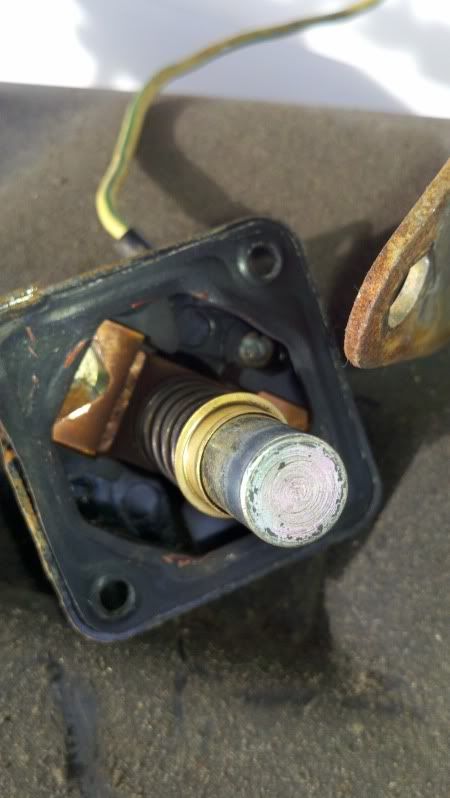
And I was planning on scraping back a bit and running a ground from the plate to the frame and another from the plate directly to the negative on the battery.
I'm pretty sure thats how the previous (and perhaps even the original) wiring went.