• Required reading for all forum users!!!

    Welcome!
    Register to access the full functionality of the GSResources forum. Until you register and activate your account you will not have full forum access, nor will you be able to post or reply to messages.

    A note to new registrants...
    All new forum registrations must be activated via email before you have full access to the forum.

    A Special Note about Email accounts!
    DO NOT SIGN UP USING hotmail, outlook, gmx, sbcglobal, att, bellsouth or email.com. They delete our forum signup emails.

    A note to old forum members...
    I receive numerous requests from people who can no longer log in because their accounts were deleted. As mentioned in the forum FAQ, user accounts are deleted if you haven't logged in for the past 6 months. If you can't log in, then create a new forum account. If you don't get an error message, then check your email account for an activation message. If you get a message stating that the email address is already in use, then your account still exists so follow the instructions in the forum FAQ for resetting your password.

    Have you forgotten your password or have a new email address? Then read the forum FAQ for details on how to reset it.

    Any email requests for "can't log in anymore" problems or "lost my password" problems will be deleted. Read the forum FAQ and follow the instructions there - that's what we have one for...

  • Returning Visitors

    If you are a returning visitor who never received your confirmation email, then odds are your email provider is blockinig emails from our server. The only thing that can be done to get around this is you will have to try creating another forum account using an email address from another domain.

    If you are a returning visitor to the forum and can't log in using your old forum name and password but used to be able to then chances are your account is deleted. Purges of the databases are done regularly. You will have to create a new forum account and you should be all set.

Valve spring removal

Larry D

Forum Sage
Past Site Supporter
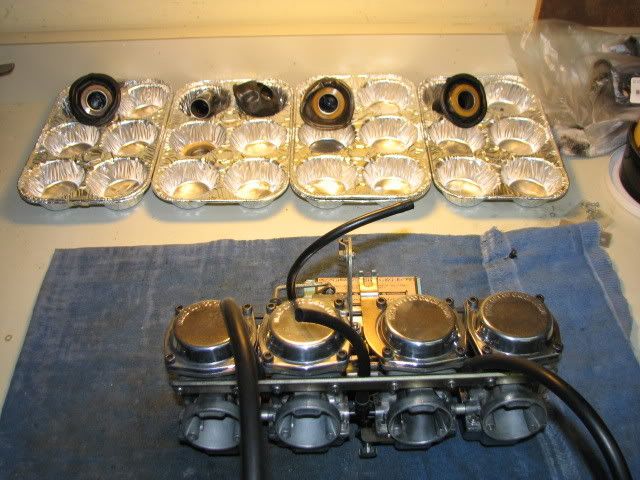
I removed some of my valve springs tonight. I thought I'd share some pics.

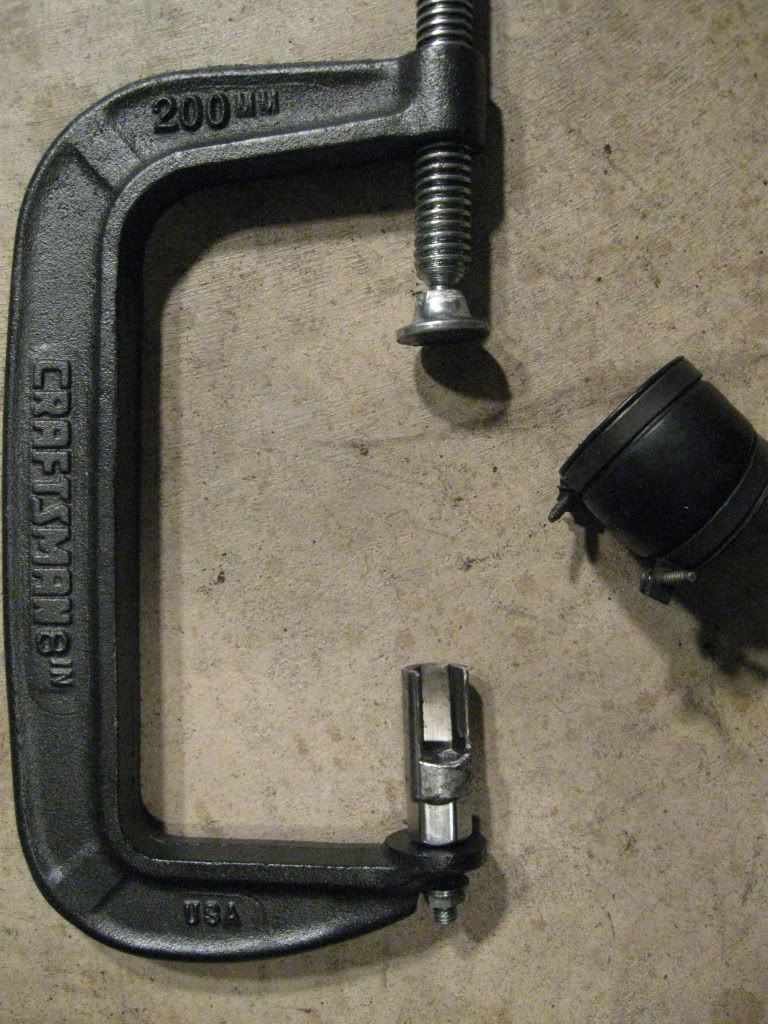
First I'd like to introduce the main tool. It's a wonderful piece of engineering from the depths of bwringer's garage. A large c-clamp with a cut-out socket bolted to one end. I put the boot there for scale.

IMG_0451.jpg


IMG_0453.jpg


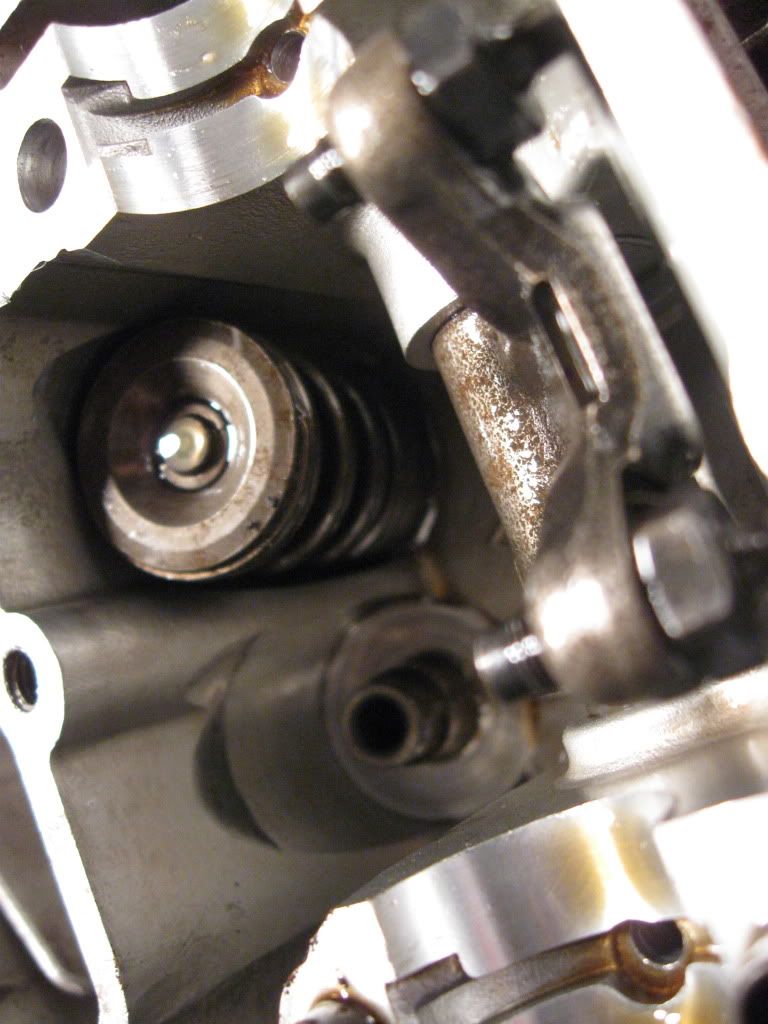
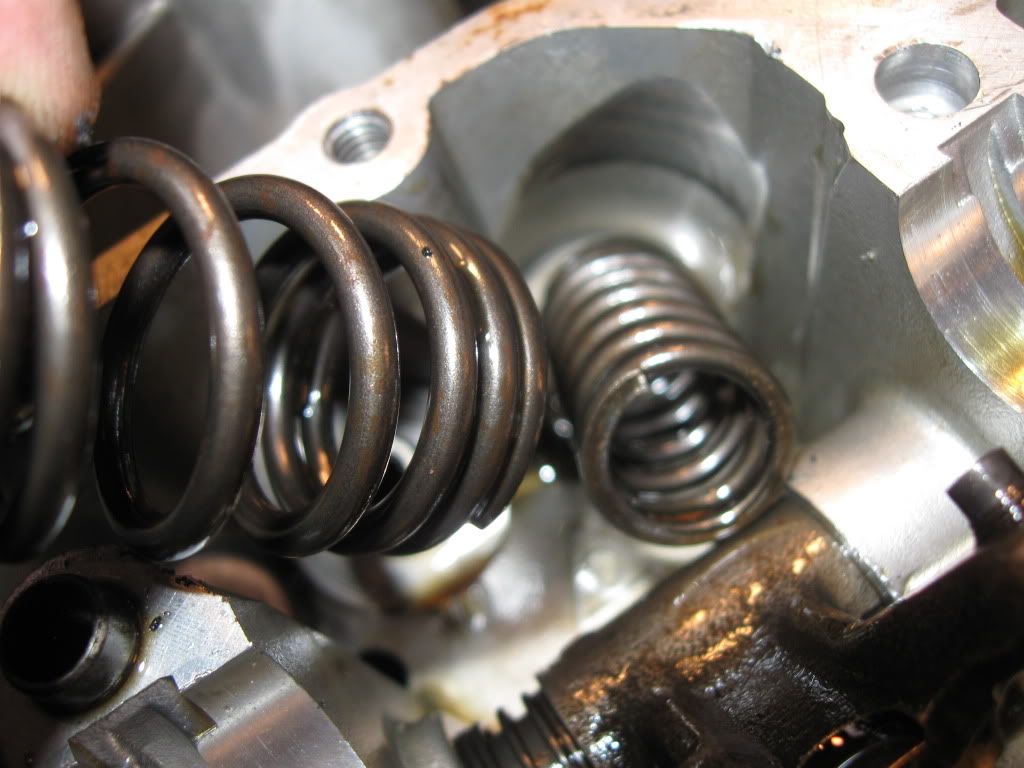
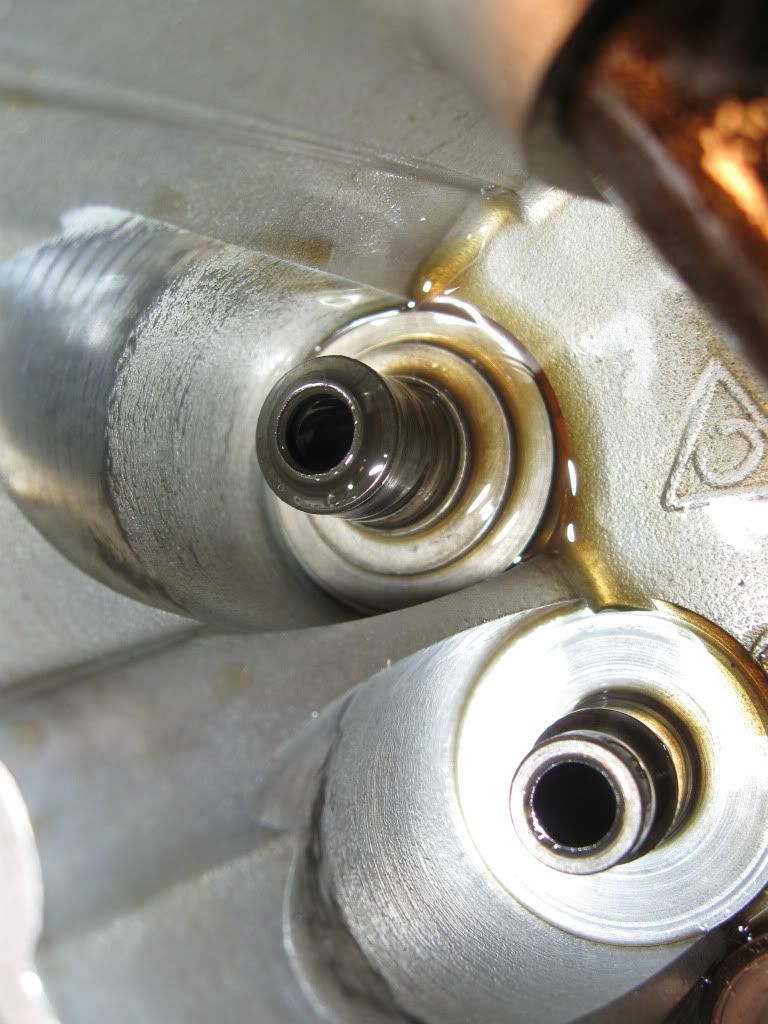
Next is our patient. One of 16 valve springs from an '81 GS750. The one next to our patient has already been removed.

IMG_0454.jpg


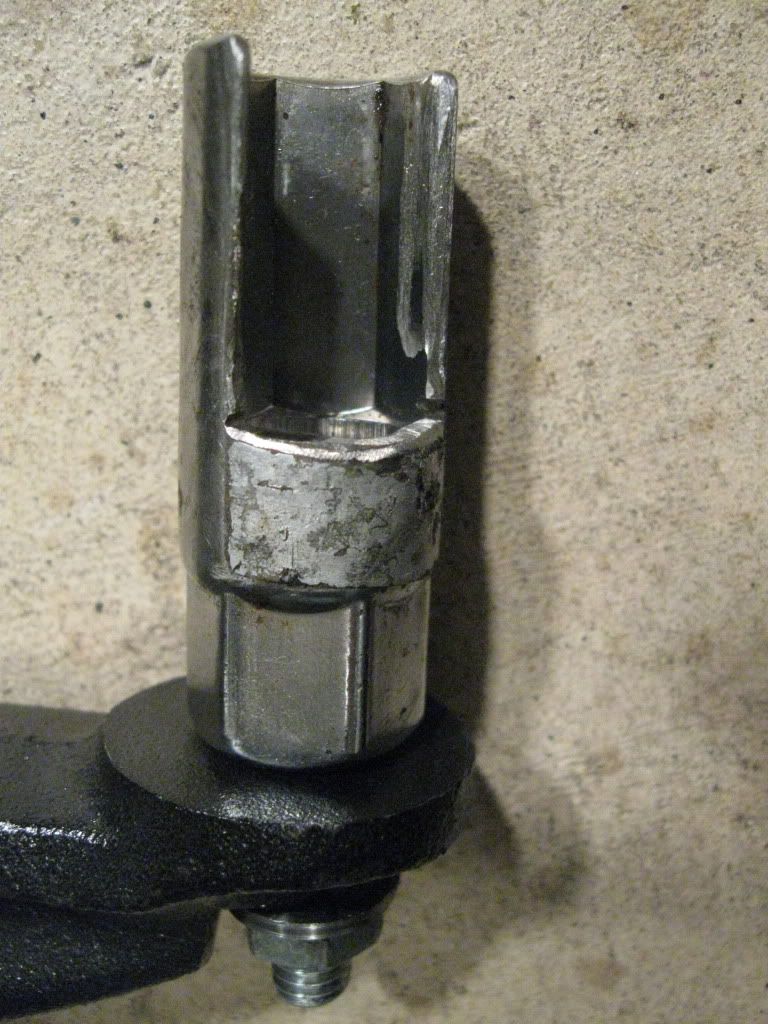
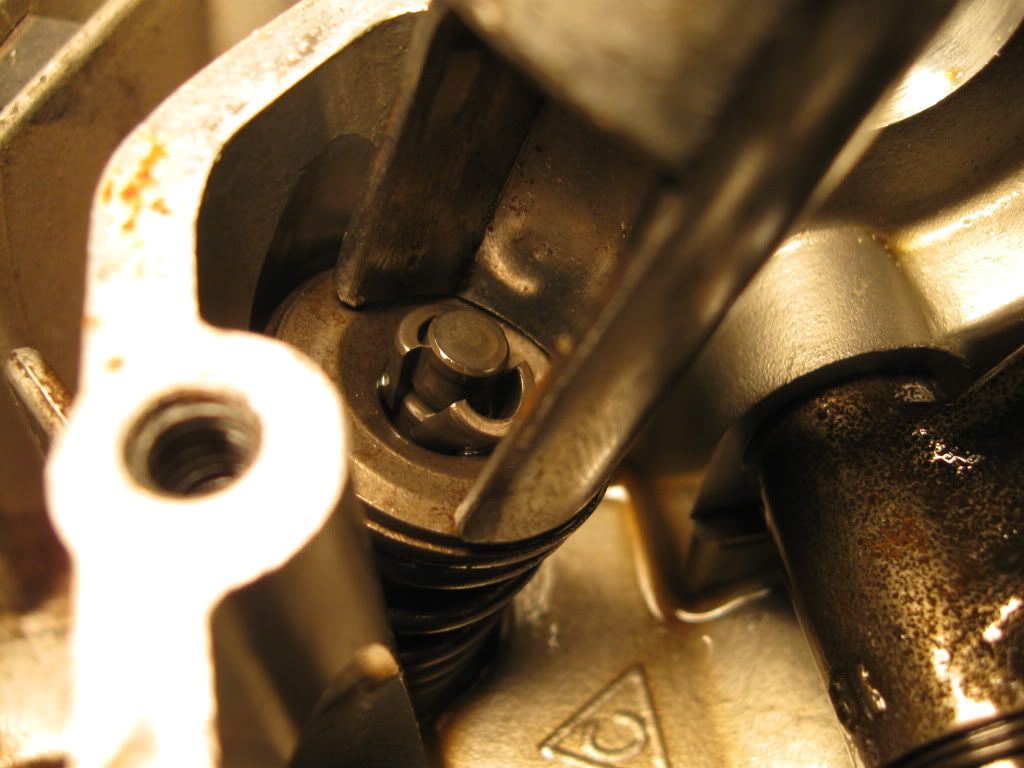
Next, open up the clamp and postion it over the valve.
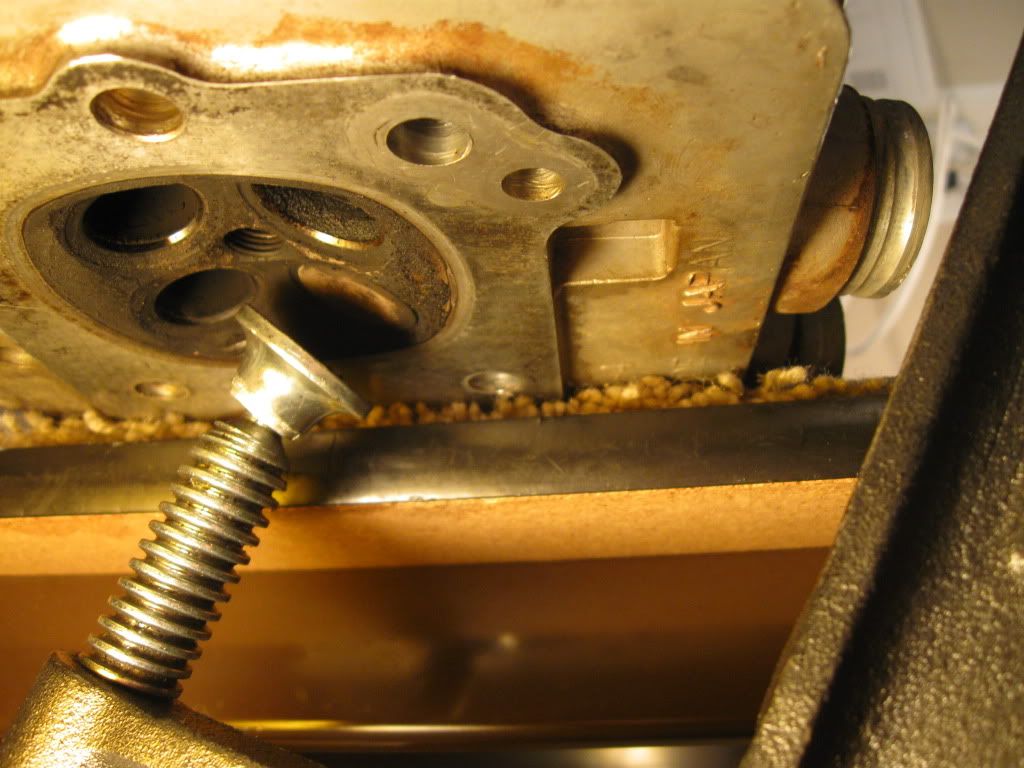
IMG_0455.jpg
 
Then take the socket and place it over the spring. Take care to position the opening so a small pair of needle nose pliers will fit in easily. Tighten the c-clamp to loosen these aggravating little keepers.

IMG_0457.jpg


Reach in with the pliers and take out the keepers. It's sorta like the the childhood game "Operation".

IMG_0458.jpg


Loosen the c-clamp and let the valve fall out. Then remove the springs...yep, there's two of them.

IMG_0459.jpg


Here's what we're replacing, valve stem seals. Grab it with the pliers and gently twist and pull.

IMG_0460.jpg
 
The final piece is some kind of retainer thingamabob. I found it easiest to grab it with the pliers, it comes right out.

IMG_0461.jpg


Finally after a successful operation, it's important to stay organized. This is my method.:)

IMG_0462.jpg
 
It's easier to remove them with something like a spark plug socket and a small hammer. A quick wrap usually dislodges the valve keepers. You would need the C clamp for the reinstall...
 
Last edited:
So, just take a socket, place it over the spring, wack it with a hammer to release the keepers and the whole she-bang should just come out.......makes sense. I guess the keepers are contained in the spring.

The way I am with tools, I think this is much safer for me. I'd have parts flying everywhere.:)
 
Steve is a movie star !! Very well done, Sir.

Thanks for the link Cliff, I'd never viewed that before.:)
 
Thanks, but the "movie star" can still learn. :eek:

I have only done one 16-valve head, but I like that idea of a cut-out socket. Much stronger than the electrical conduit I used for the smaller valves. The PVC works well for the 8-valve heads, though.

Also nice to see that someone else is using cardboard sheets and disposable muffin tins for organizing small parts. I line up five of them in front of me when I am doing a set of carbs. The first one gets all the mounting rail screws and other hardware that doesn't matter which carb it goes to, like the enrichener activators. The other four tins get the parts from a single carb each. This picture only shows four tins in use, but you get the idea. :-\\\

IMG_3640.jpg


.
 
I used the same method with PVC instead of a socket on my 8v 1000. Works like a charm. My biggest problem was getting some VERY old valve seals off my salvage head. I wound up having to partially burn them off with a torch.
 
One detail I forgot to mention is that for an 8 valve engine, I used a larger 13/16" spark plug socket with the same type of window cut in it. The smaller socket shown gets attached for 16 valve engines
 
How can one save these pics?? Those are great!! Never know when a rookie mechanic will have to do those things
 
How can one save these pics?? Those are great!! Never know when a rookie mechanic will have to do those things

Should be able to right click and "Save As" to your PC. Can also bookmark the thread, but first is forever.
 
It's easier to remove them with something like a spark plug socket and a small hammer. A quick wrap usually dislodges the valve keepers. You would need the C clamp for the reinstall...

But don't forget the 1/2 tennis ball in the combustion chamber. Stops the valve from depressing when the BIG WHACK from the hammer comes.
 
So, just take a socket, place it over the spring, wack it with a hammer to release the keepers and the whole she-bang should just come out.......makes sense. I guess the keepers are contained in the spring.

The way I am with tools, I think this is much safer for me. I'd have parts flying everywhere.:)

When you hit the spark plug socket with the hammer the collets stay inside the spark plug socket, nothing goes flying anywhere. Job usually takes about 10 minutes for all valves (8 valve head).
 
Great write up Larry!

I've never cut a socket before-aren't they hardend? What did you use?
 
Thanks to this post I made one with old c-clamp.I have a lot of old cheap spark plug sockets that I used and a die grinder to cut them with.there some other way to do it but it works for me.
 
Great write up Larry!

I've never cut a socket before-aren't they hardend? What did you use?

Larry's using the tool I made -- I used a Dremel tool with a cutting wheel to cut the windows in the sockets and deburr the edges so nothing gets scratched. Also, you can use really cheap sockets...

On 8 valve engines, I wrap the socket in duct tape to protect the lifter bores. This is not needed on the 16V engines.
 
Back
Top