Vemco drafting machine
Vemco drafting machine
Your images aren't working for me, so I found this:

Vemco drafting machine
Your images aren't working for me, so I found this:
Required reading for all forum users!!!
Welcome!
Register to access the full functionality of the GSResources forum. Until you register and activate your account you will not have full forum access, nor will you be able to post or reply to messages.
A note to new registrants...
All new forum registrations must be activated via email before you have full access to the forum.
A Special Note about Email accounts!
DO NOT SIGN UP USING hotmail, outlook, gmx, sbcglobal, att, bellsouth or email.com. They delete our forum signup emails.
A note to old forum members...
I receive numerous requests from people who can no longer log in because their accounts were deleted. As mentioned in the forum FAQ, user accounts are deleted if you haven't logged in for the past 6 months. If you can't log in, then create a new forum account. If you don't get an error message, then check your email account for an activation message. If you get a message stating that the email address is already in use, then your account still exists so follow the instructions in the forum FAQ for resetting your password.
Have you forgotten your password or have a new email address? Then read the forum FAQ for details on how to reset it.
Any email requests for "can't log in anymore" problems or "lost my password" problems will be deleted. Read the forum FAQ and follow the instructions there - that's what we have one for...
If you are a returning visitor who never received your confirmation email, then odds are your email provider is blockinig emails from our server. The only thing that can be done to get around this is you will have to try creating another forum account using an email address from another domain.
If you are a returning visitor to the forum and can't log in using your old forum name and password but used to be able to then chances are your account is deleted. Purges of the databases are done regularly. You will have to create a new forum account and you should be all set.
")
Your images aren't working for me, so I found this:


I had (or maybe still have) one similar to this. But mine had (has) an arm with and elbow instead of the beam. I eventually replaced it with a sliding parallel drafting bar and triangles that I have in my office and still use from time to time. I should look and see if I still have the drafting machine. It might be worth something to someone.
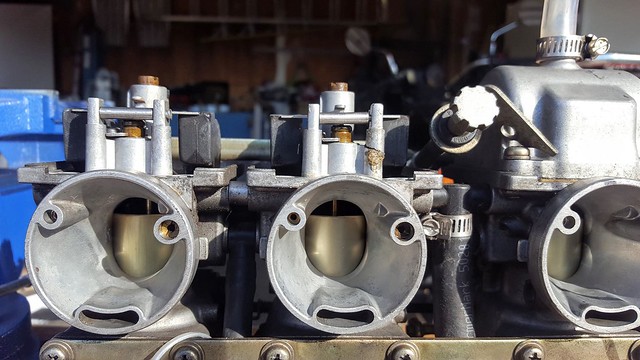
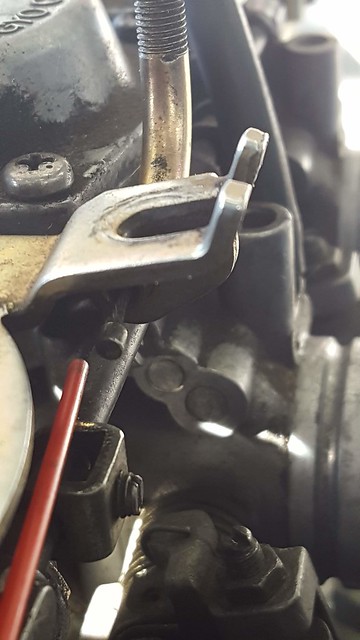
Does working up the energy and desire to do a valve adjustment qualify as wrenching today? I mean .. thinking about having to go out and do it has been laborious!


Ok, 2 months 'til next track day:
Working on fiberglass tailpiece/seat.
Built a support structure that will support my weight and is securely bolted to the frame.
The outfit I ride with Sportbike Track Time (schedule), has already begun it's season in Alabama. 1st day in Michigan will be 4/20/19. Not sure when I'll sign up, depends on forecast.Total sleeper Kat! Where's the first trackday gonna be?
Does it sound like a Harley?

