G
Guest
Guest
Yep Steve I can be quite the procrastinator myself, and you're right definitely don't need extra delays!
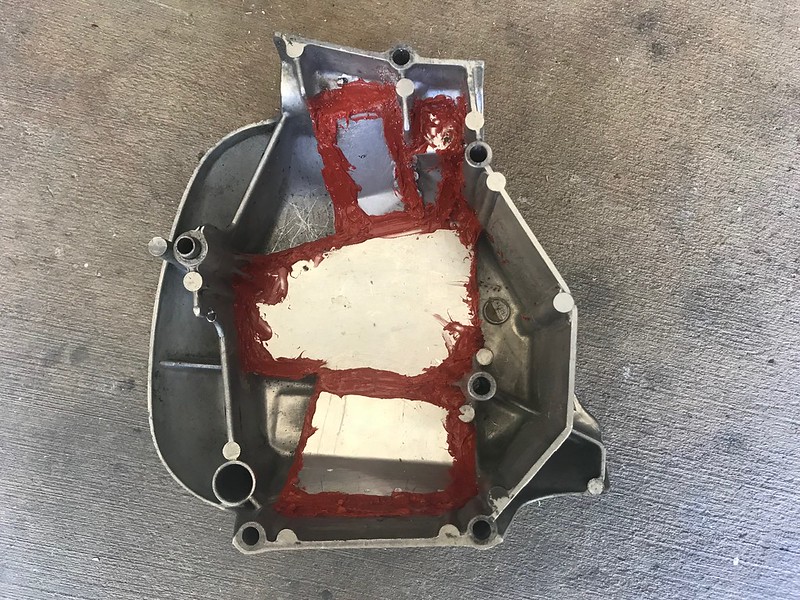
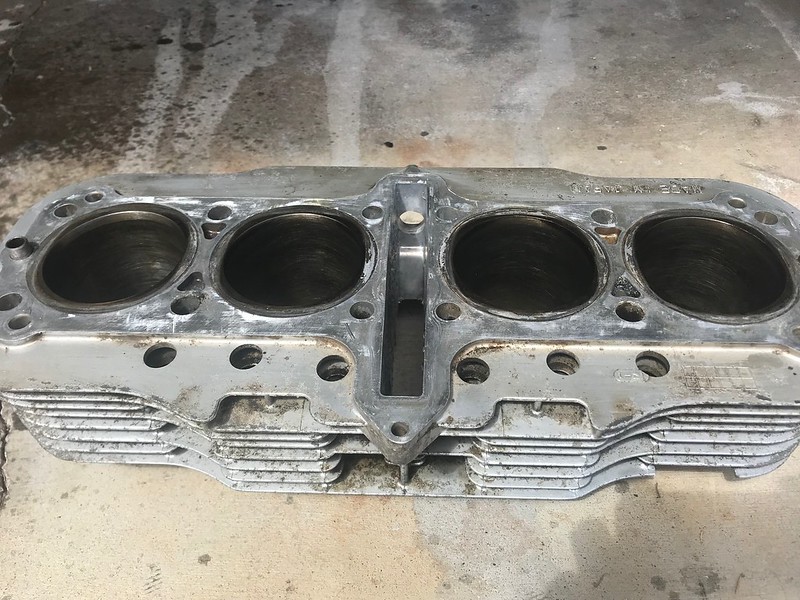
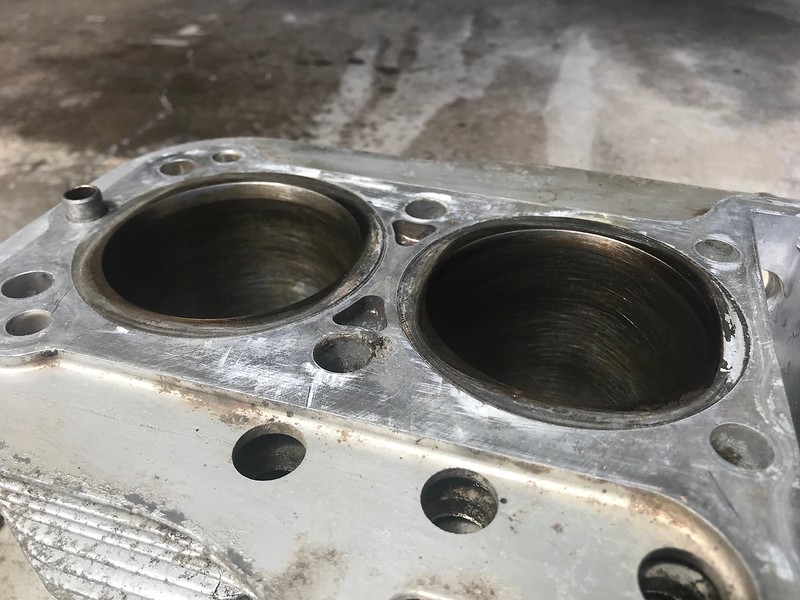
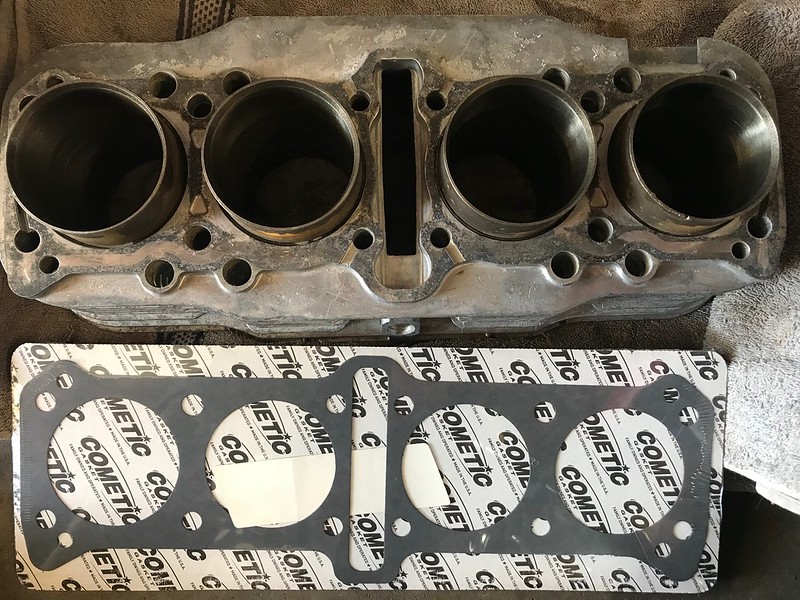
Larry if I can get some decent paint stripper the covers won't take too long, the last lot I used was weak as water and did almost nothing. Prep for the cylinders will be a whole different ball game... I reckon multiple rounds of degreaser, brake cleaner, and pressure washer followed by lots of wire brush action and sanding again like I did with the crank cases.
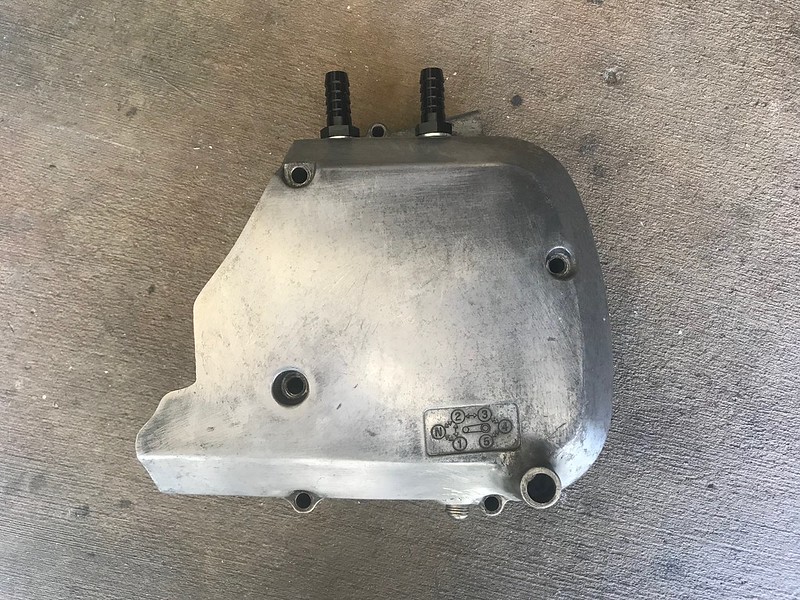
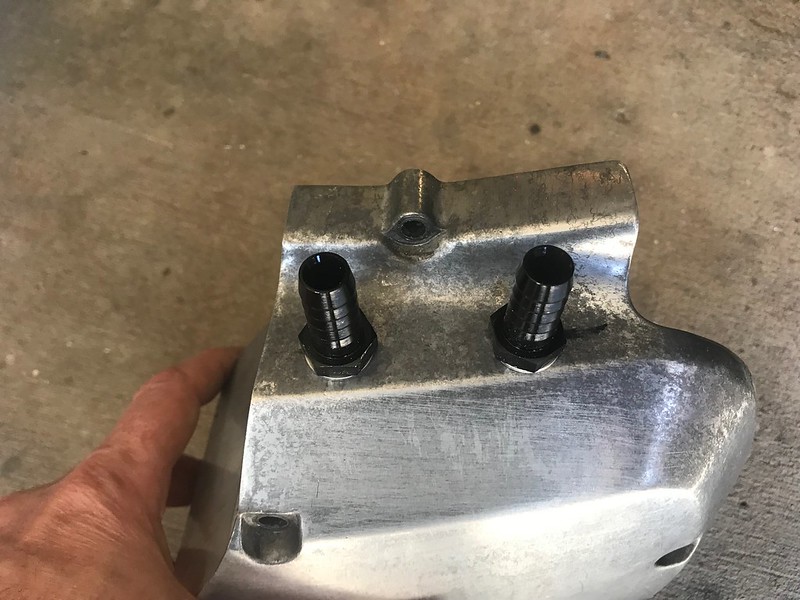
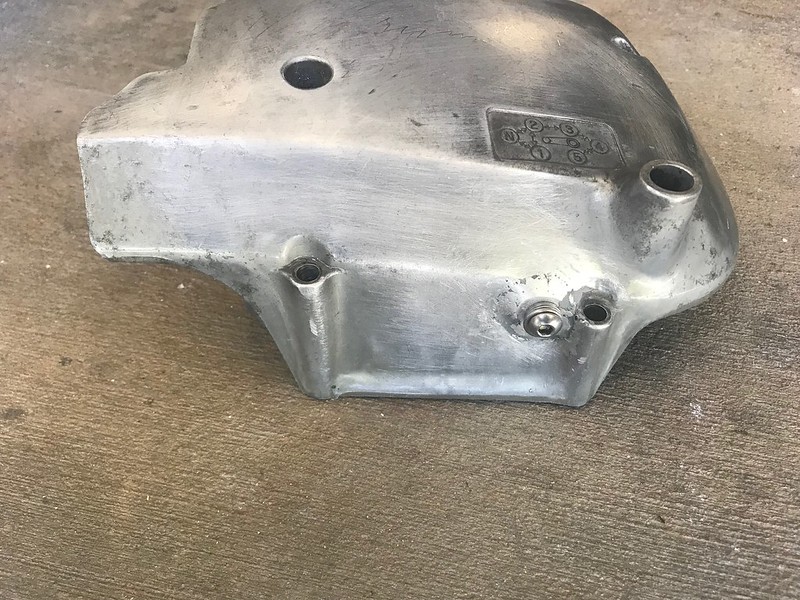
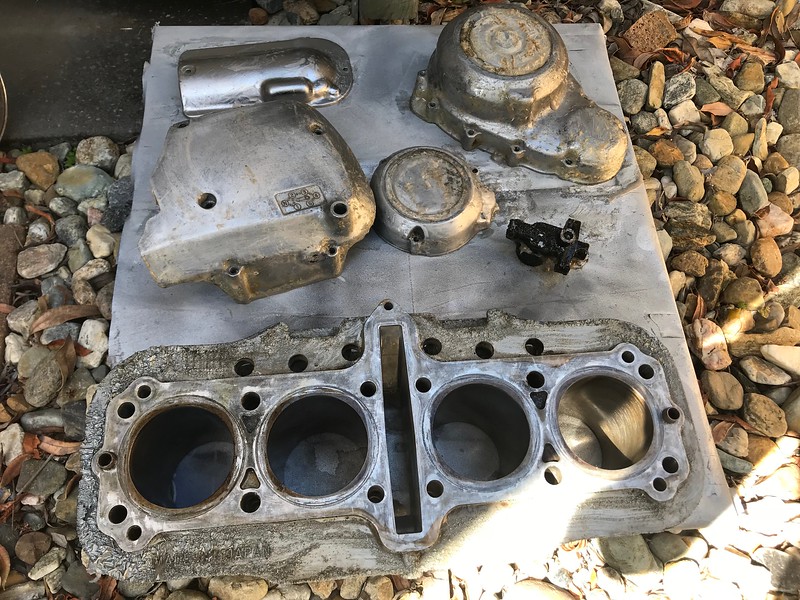
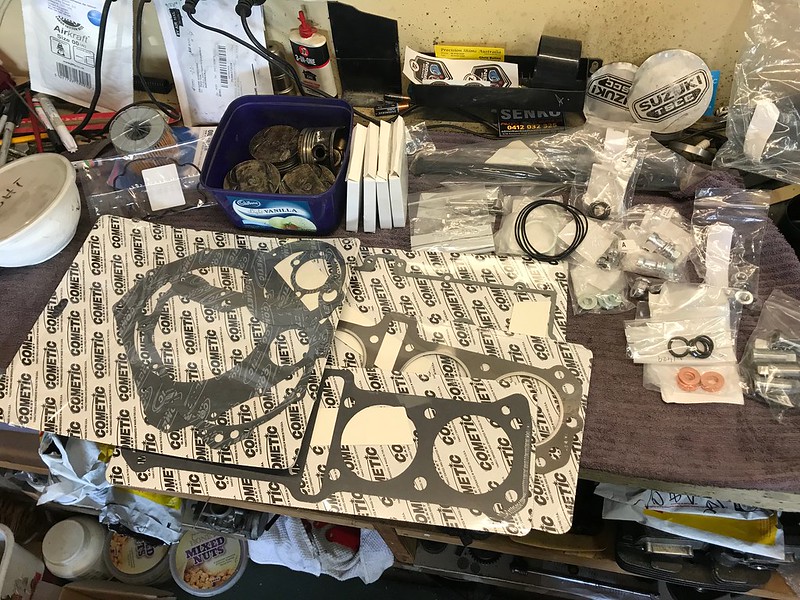
As for the parts... Well bugger me if they didn't arrive today at last...
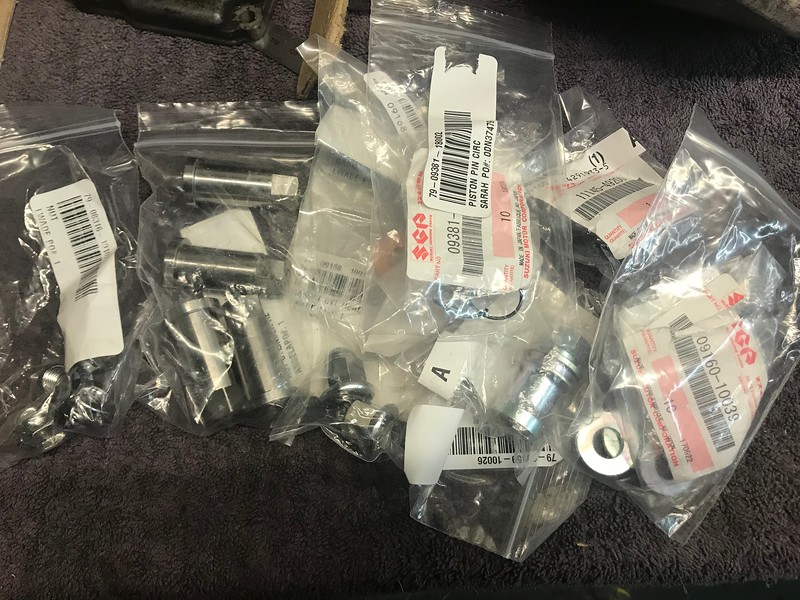 Untitled by starpoint73, on Flickr
I best get honing, cleaning, and degreasing ready for some paint!
Larry if I can get some decent paint stripper the covers won't take too long, the last lot I used was weak as water and did almost nothing. Prep for the cylinders will be a whole different ball game... I reckon multiple rounds of degreaser, brake cleaner, and pressure washer followed by lots of wire brush action and sanding again like I did with the crank cases.
As for the parts... Well bugger me if they didn't arrive today at last...
Untitled by starpoint73, on FlickrI best get honing, cleaning, and degreasing ready for some paint!
") )
)

")