• Required reading for all forum users!!!

    Welcome!
    Register to access the full functionality of the GSResources forum. Until you register and activate your account you will not have full forum access, nor will you be able to post or reply to messages.

    A note to new registrants...
    All new forum registrations must be activated via email before you have full access to the forum.

    A Special Note about Email accounts!
    DO NOT SIGN UP USING hotmail, outlook, gmx, sbcglobal, att, bellsouth or email.com. They delete our forum signup emails.

    A note to old forum members...
    I receive numerous requests from people who can no longer log in because their accounts were deleted. As mentioned in the forum FAQ, user accounts are deleted if you haven't logged in for the past 6 months. If you can't log in, then create a new forum account. If you don't get an error message, then check your email account for an activation message. If you get a message stating that the email address is already in use, then your account still exists so follow the instructions in the forum FAQ for resetting your password.

    Have you forgotten your password or have a new email address? Then read the forum FAQ for details on how to reset it.

    Any email requests for "can't log in anymore" problems or "lost my password" problems will be deleted. Read the forum FAQ and follow the instructions there - that's what we have one for...

  • Returning Visitors

    If you are a returning visitor who never received your confirmation email, then odds are your email provider is blockinig emails from our server. The only thing that can be done to get around this is you will have to try creating another forum account using an email address from another domain.

    If you are a returning visitor to the forum and can't log in using your old forum name and password but used to be able to then chances are your account is deleted. Purges of the databases are done regularly. You will have to create a new forum account and you should be all set.

83 GS 1100ES Getting GSXR Goodies on a Budget!

So parts cost so far:

954 triples $45 ebay
Head bearings $15 ebay
Dust cap spacer $10 local

95 gsxr 750 forks with race tec springs, triples, axle and wheel spacer and fender $125 shipped ebay
New racetec bushings $20 clearance local shop
Fork oil $15 local shop
Seals and dust covers $22 ebay
Speedo drive and cable $10 ebay

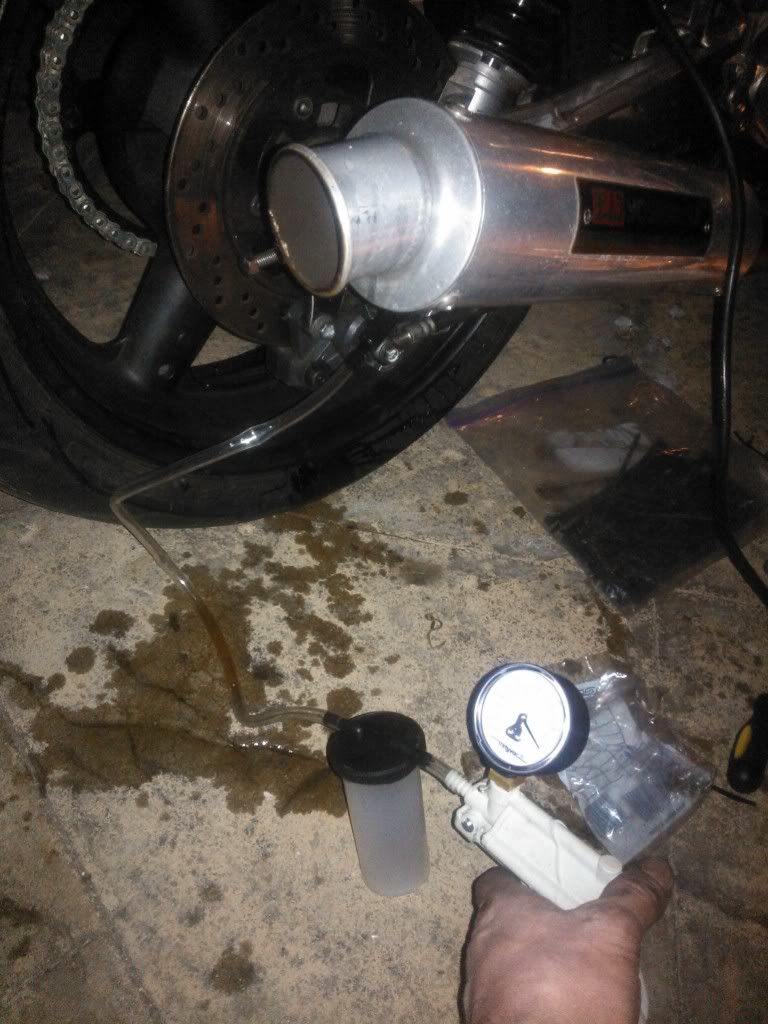
93 gsxr 600 front wheel with rotors $75 Ebay
Front tire $85 installed local shop
Tokiko calipers with good pads and master $40 ebay
Used SS lines $10 local

520 5/8 front sprocket $50 Advanced Precision
Rear 47 tooth sprocket $30 ebay
Chain $ 30 clearance local shop

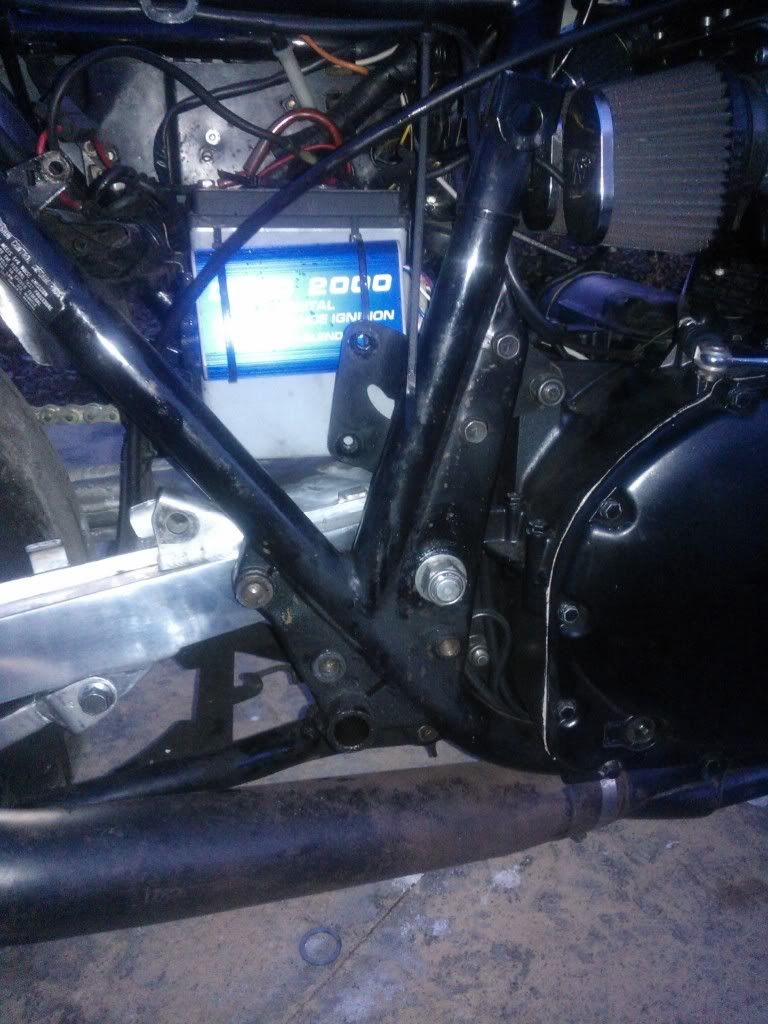
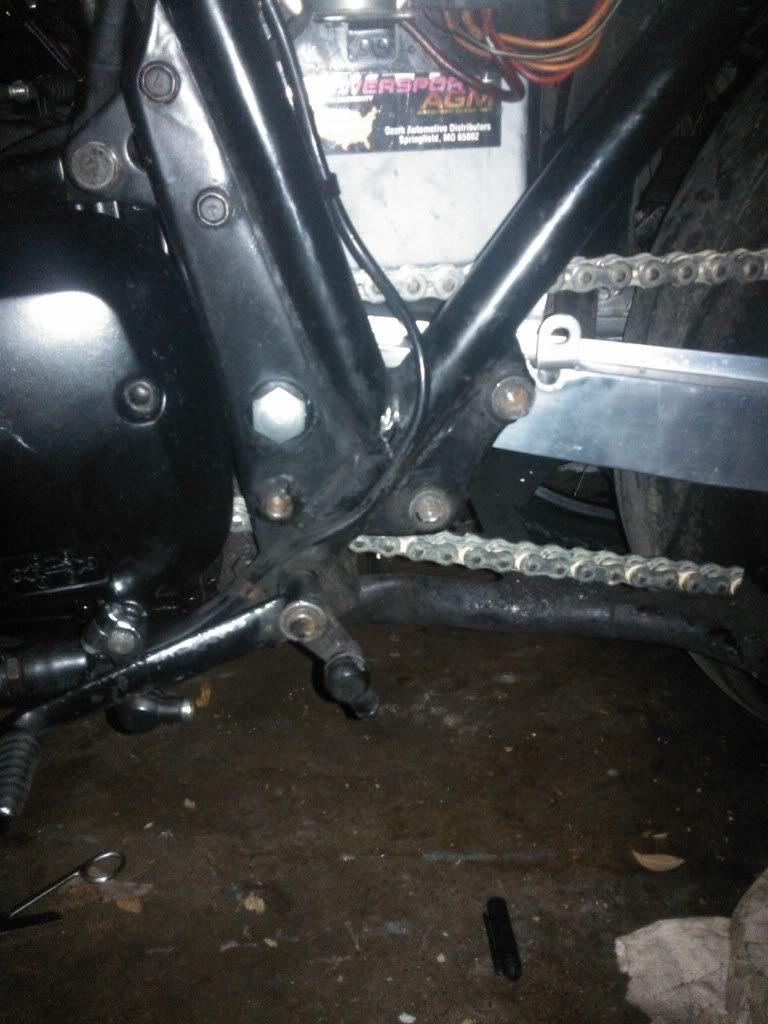
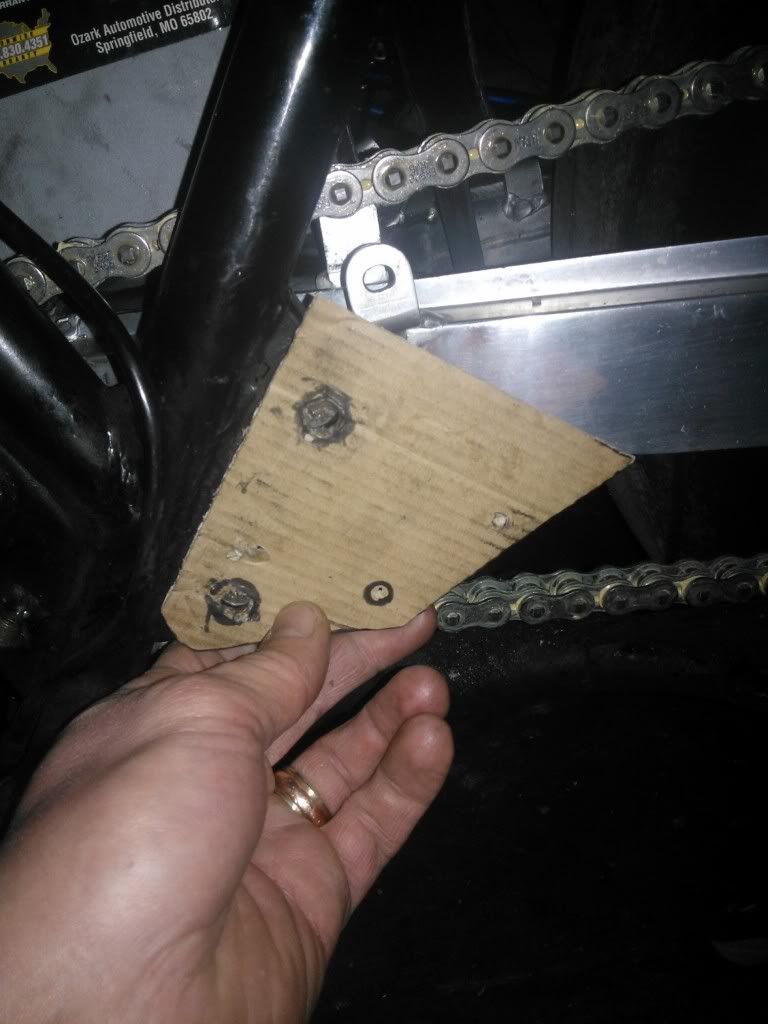
Modified swing arm $50 local shop for materials and help
Srad caliper stay bar Free
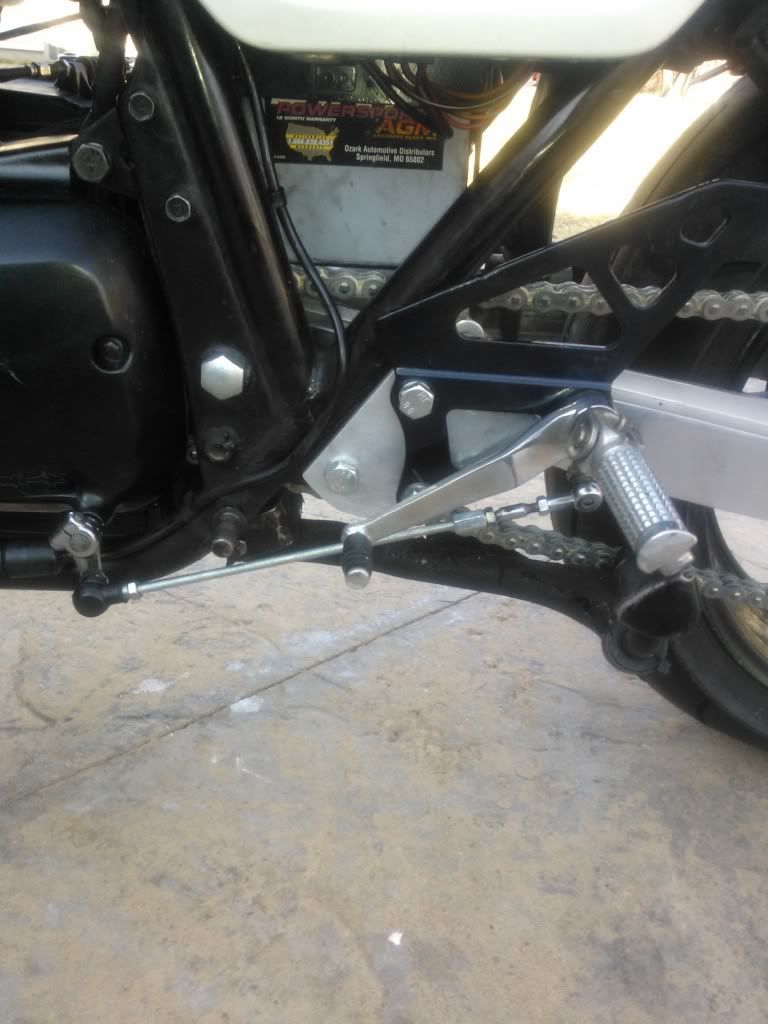
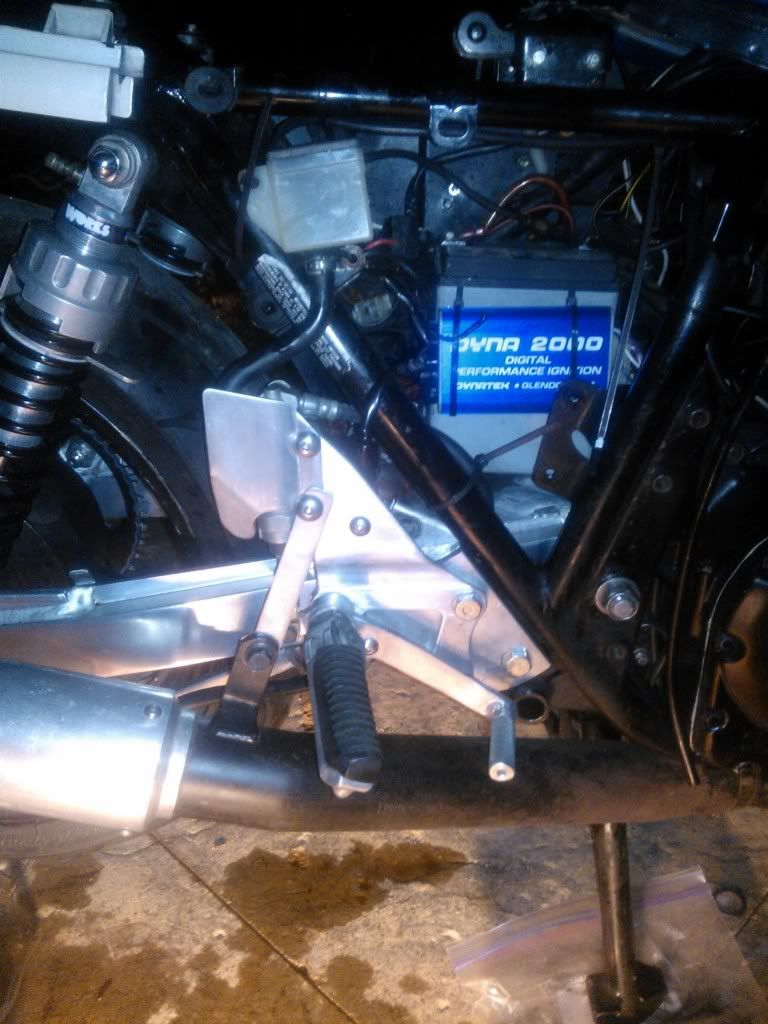
gsxr rearset with master lines and caliper $25 ebay
gsxr shifter rearset $20 ebay
Bandit 1200 Rear wheel with rotor and tire $110 ebay
Katman spacers $30
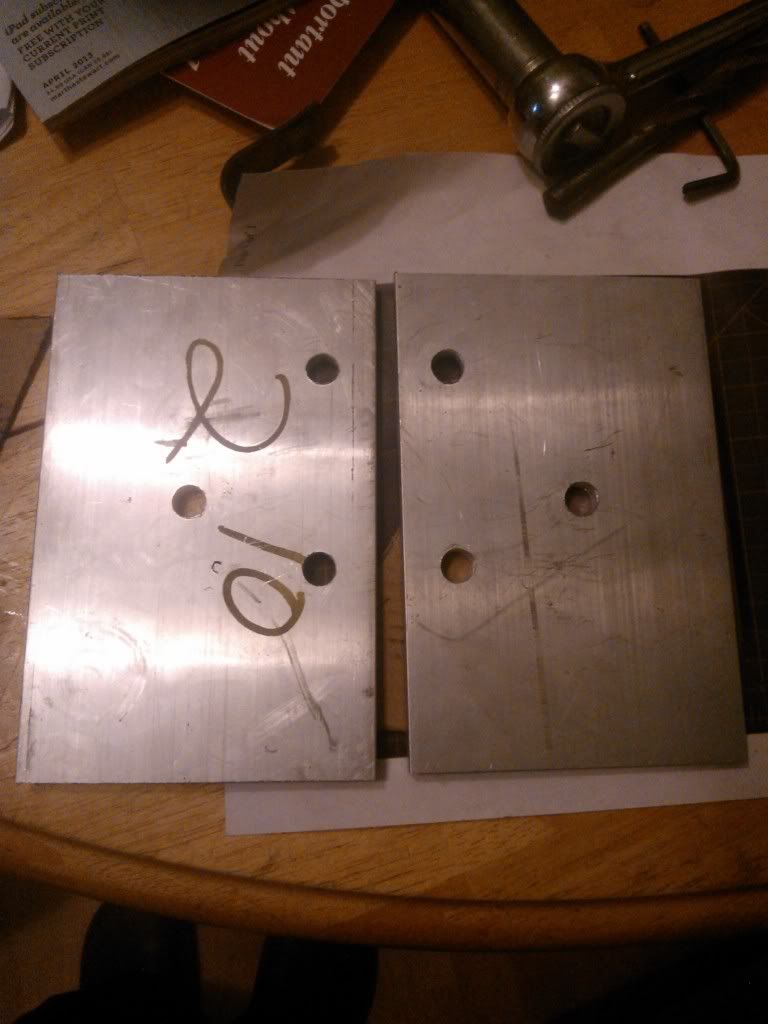
1/4" aluminum plates for rearset brackets $6 metals by the foot


Misc bolts fasterners etc $15

Labor: Free

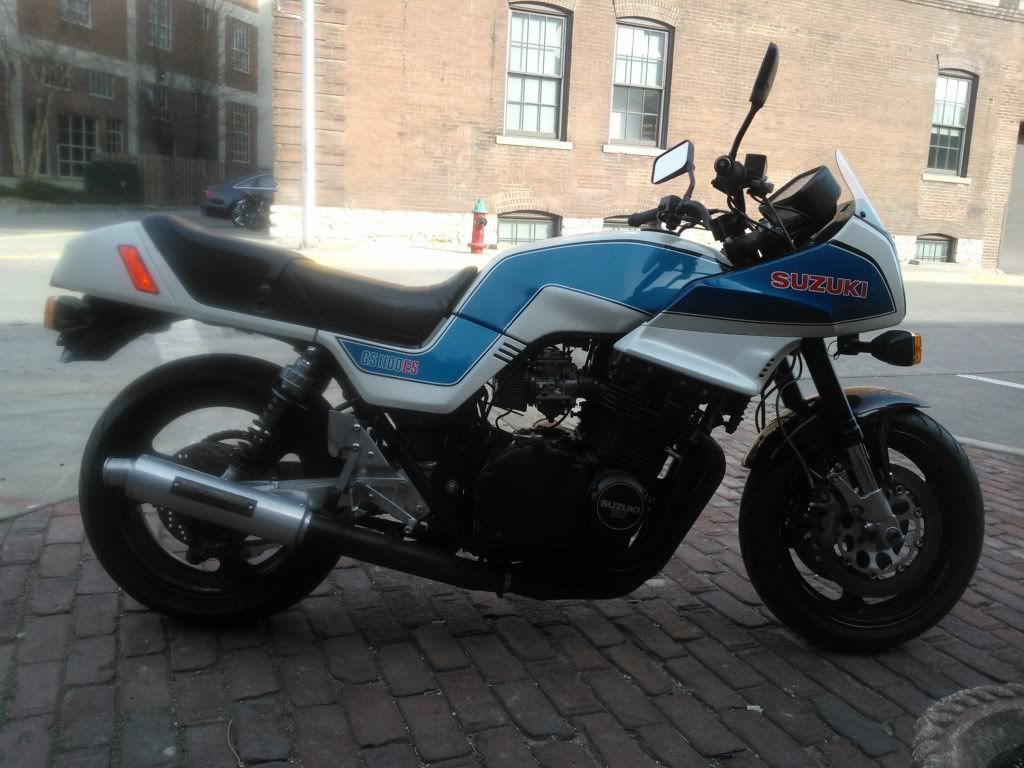
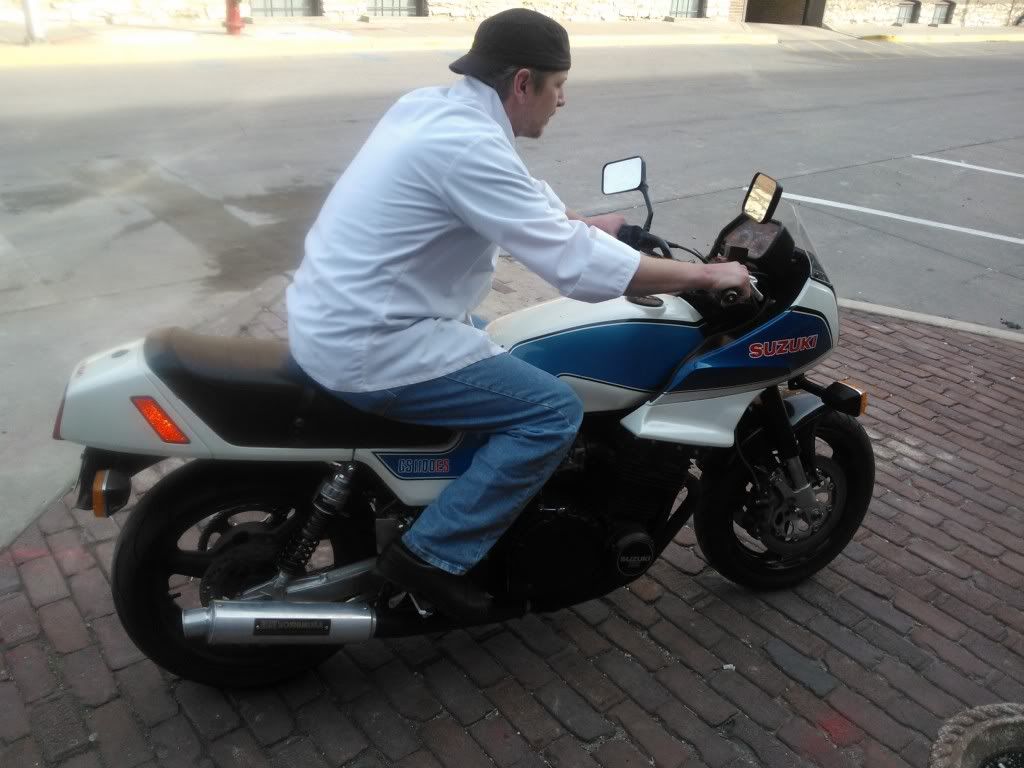
$838 there abouts with the parts accumulated over about a year.

I got really lucky with some killer deals but with some wheeling and dealing and patience they can be found.

I can't hold a candle to some of the other spectacular builds out there but for what I've accomplished and staying under my $1000 budget so far I'm fairly happy.


Still some work to do but getting close.

Nic
 
Last edited:
Started some work on the rearsets.

I'll be using 90 gsxr 1100 rearsets I've had on the shelf for a while.

On the 83 frame there are two mounts welded on the back of a down tube.

The top mount holds the passenger peg bracket and the lower mount is for the driver peg. With the bracket and foot peg removed it looks like this:

temporary_zps20908d07.jpg


Started with some cardboard and used the frame mounts as a reference. The rearset will be located on the upper mount, and using a level I was able to locate where the second mount would need to be. The black circle on the lower right hand :

temporary_zpsce0cae57.jpg


Next was to transfer the bolt locations and the general shape over to the 1/4" aluminum plate I got in the scrap bin for $2 a piece I clamped two of the plates together and set about drilling the mount holes so I have two brackets. One for each side:

temporary_zps31a60ff8.jpg


Initial mock up with whatever bolts/fasteners I could find:

temporary_zps86294559.jpg


Just need to cut them to shape and get some different fasteners.

Still need to get a rod to connect the linkage. The rearset I have did not come with the rod or shifer linkage.

One thing I found is that the GS shift side linkage has a right handed M6 thread, where as the gsxr side of the linkage has a M6 left handed thread :-k

So finding a 9-10" rod like that might be fun unless they are all designed that way.


Nic
 
Last edited:
Awesome build and thanks for all the pictures :D! You're doing a bunch of stuff I plan on doing eventually and it's great to see it documented. The bike is looking great already, it's definitely going to be a head turner ;)
 
Continued on with the rearsets this evening.

Cut the brackets to the shape I wanted with a jig saw and then filed and sanded the rough edges down.

Picked up some M6 threaded rod and a coupler nut to extend the shift linkage. The rod is right handed thread. I used about a 7-8 inch length rod to join the stock GS link bar to the shift paw. The left handed end threaded into the gsxr linkage on the rearset.

temporary_zps1f93f909.jpg


I'll probably strip the paint and lightly polish it to match the brake side rearset. also need to either get a matching peg for the brake side or find a stock one that will fit.

Next was to get the gs brake set up out of the way.

All clear and ready to start installation:

temporary_zps47f2c297.jpg


Next was to trial fit the 90 gsxr 1100 rearset. I used M10 1.25 pitch hex to match the existing mounts:

temporary_zpsb43ff486.jpg


Fit tight and clean. The brake pedal makes contact with the midpipe, but I hadn't bled the brake system yet. It should have enough clearance one there is pressure in the system.

Reservoir hose is way too long!

temporary_zps515eb255.jpg


I swapped the reservoir and hose out with one from a 97 SRAD I had on the shelf:

temporary_zps8ad45a2d.jpg


Flipped the reservoir around and it kinda sits on the stock mount location. Zip tied it in place for now.


Routed the hose around the frame and then on the underside of the swing arm. Got out the mightyvac to bleed the caliper.

temporary_zpsc2b1a7f1.jpg


Brake lever doesn't make contact with the midpipe now. Have about 1/4" when compressed. However, either I still have some air in the system or I've got a problem with the master or the caliper. I tested about an hour after I had got it pressurized and it took a couple more pumps the get the pedal firm again. :confused:

Lastly I had to make a new hanger for the yosh pipe, since it used to mount on the passenger bracket. I had some scrap steel flat so I drilled some holes and located it off the lower master cylinder mount hole:

temporary_zps8e851a67.jpg


I'll probably disassemble the rear caliper tomorrow, and strip and lightly polish the shift side bracket to match the brake side.

Nic
 
Stayed up till around 12 am outside with halogen lamp tweaking a few things. Wife comes out and asks, "Do you realize its midnight?" Time seemed to have gotten away from me :o

Rode down to work this morning and ran into an issue. I never had the kick stand up while I was working on the rearsets and it never occured to check everything with it up...

That being said, the shifter lever is very close to the kick stand, so wearing boots, its a challenge to get my toe under the lever to shift. I kinda have to wigle my toe in to push the kick stand down slightly. I'll have to brainstorm on how to fix that. Also the linkage rod flexes some when shifting which can add to the hastle.

Made it down to work and the brakes are working great. The front end suspension is a little stiff, but I think some fine tuning with the dampening and preload will work that out. If nothing else, I'll drop down to 5W fork oil. Running 7.5 atm.


As it stands right now:

temporary_zps824891d8.jpg


And one with my dumb ass on it to show the riding possition:

temporary_zps14ed8c70.jpg


Seat give me the right height to the pegs, but I'm thinking I'd like to extend the driver scoop of the seat back some and shorten the passenger lump so I can move further back on the seat.


Nic
 
Looking real good........the bike that is.......LOL

I love the rims on the bike, I so wish to do that with mine...one day, and the front forks as well......

The only other thing I would do, is some clipons, and the bike would look amazing....

.
 
I'm still debating the clip ons. I plan on some distance runs this spring so I was thinking comfort right now.

I've been eyeballing a set of 954 coupons with a slight rise built in. Might pick them up for down the road.

Nic
 
SWEET looking ride. I'm always impressed how a modern frontend transforms the look of an old bike.
 
Well done on the cheap... I have a es that I took a monster motor out of and am going to go back to mostly stock... Stock doesn't overheat... Thanks for all the pics..
Curt
 
The easiest way to avoid the chain rubbing with your conversion is to use the stock GS1100 cush and a 3/8" offset sprocket. The cush has .2" shorter sprocket boss height than the Bandit. And if you need more offset on the front sprocket, the splines are long enough to add some shims or rather thick washers from Lowe's. Yes, it does all work.
I have to ask, with the stiff springs in the 750 forks, why the dropped Honda top clamp That makes it more complicated.
Laters
G
 
Back
Top