• Required reading for all forum users!!!

    Welcome!
    Register to access the full functionality of the GSResources forum. Until you register and activate your account you will not have full forum access, nor will you be able to post or reply to messages.

    A note to new registrants...
    All new forum registrations must be activated via email before you have full access to the forum.

    A Special Note about Email accounts!
    DO NOT SIGN UP USING hotmail, outlook, gmx, sbcglobal, att, bellsouth or email.com. They delete our forum signup emails.

    A note to old forum members...
    I receive numerous requests from people who can no longer log in because their accounts were deleted. As mentioned in the forum FAQ, user accounts are deleted if you haven't logged in for the past 6 months. If you can't log in, then create a new forum account. If you don't get an error message, then check your email account for an activation message. If you get a message stating that the email address is already in use, then your account still exists so follow the instructions in the forum FAQ for resetting your password.

    Have you forgotten your password or have a new email address? Then read the forum FAQ for details on how to reset it.

    Any email requests for "can't log in anymore" problems or "lost my password" problems will be deleted. Read the forum FAQ and follow the instructions there - that's what we have one for...

  • Returning Visitors

    If you are a returning visitor who never received your confirmation email, then odds are your email provider is blockinig emails from our server. The only thing that can be done to get around this is you will have to try creating another forum account using an email address from another domain.

    If you are a returning visitor to the forum and can't log in using your old forum name and password but used to be able to then chances are your account is deleted. Purges of the databases are done regularly. You will have to create a new forum account and you should be all set.

83 gsx750esd

ensure

Forum Mentor
Now that i have finished the 750EZ project it is time to get serious about my 750ESD.
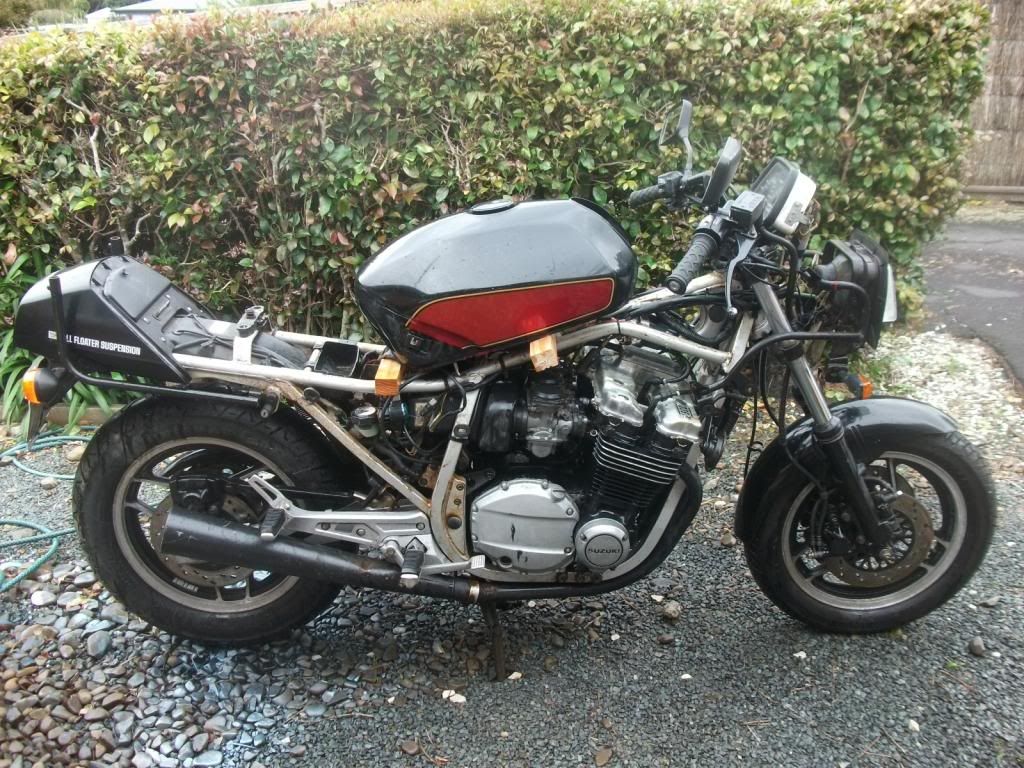
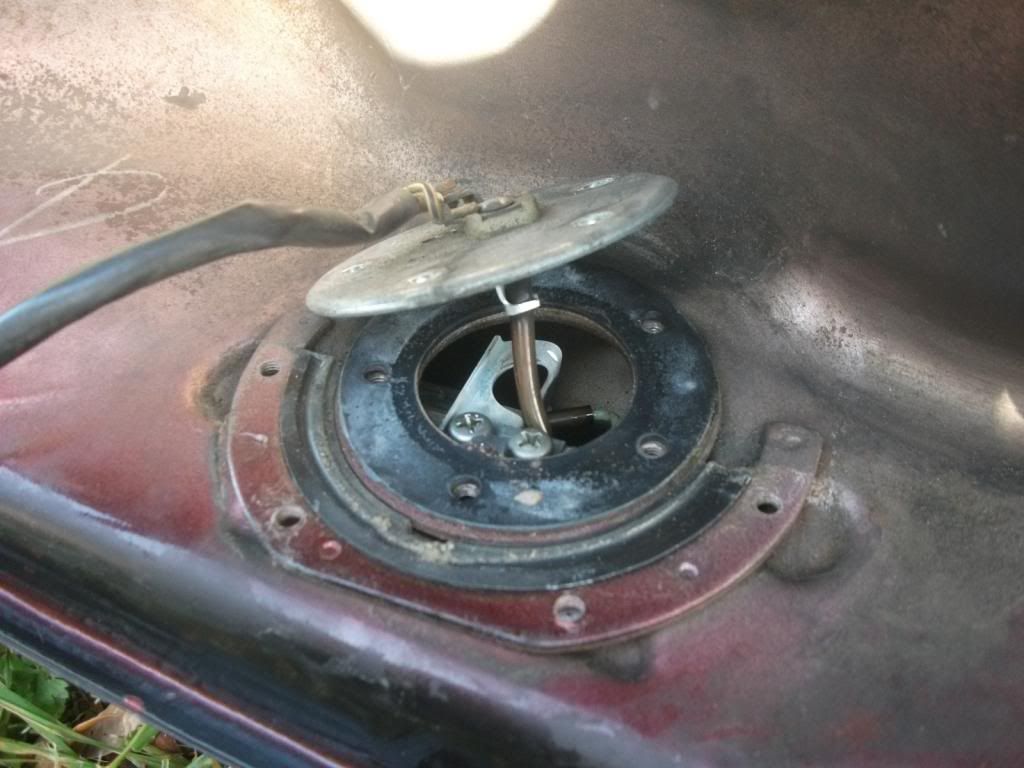
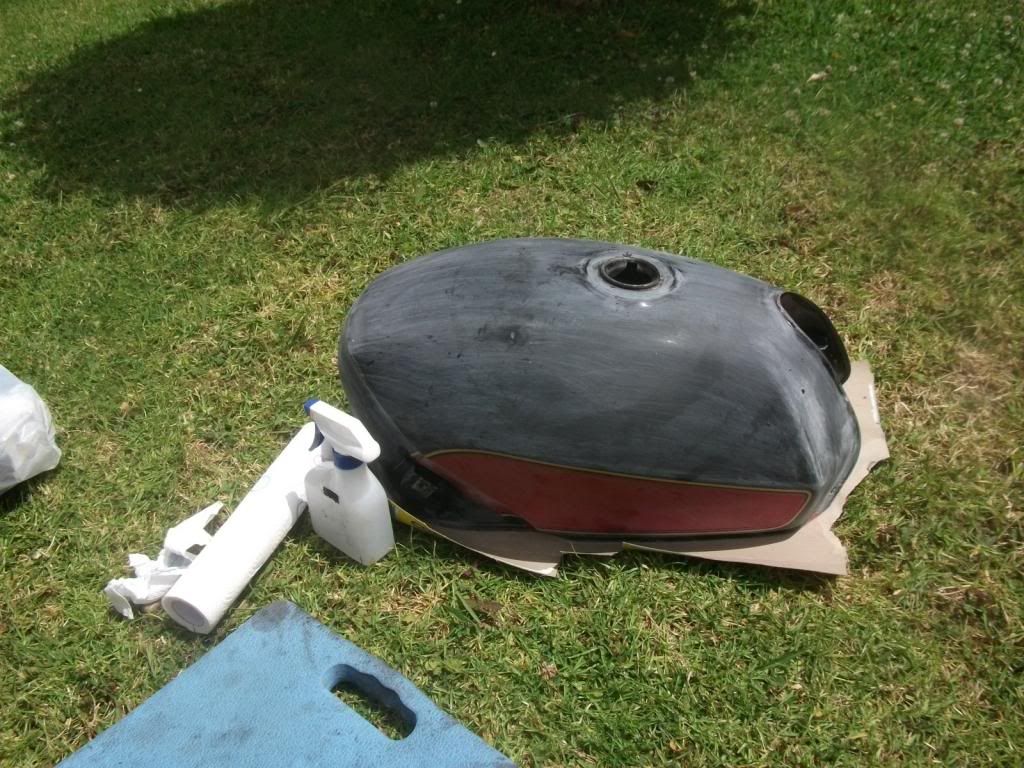
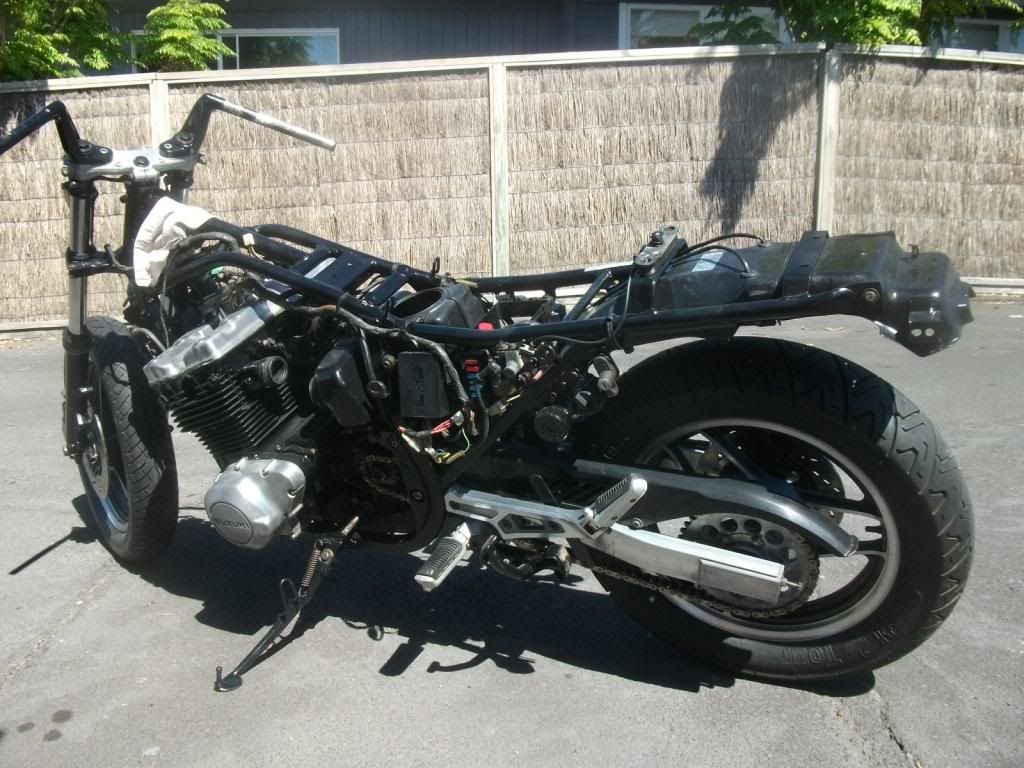
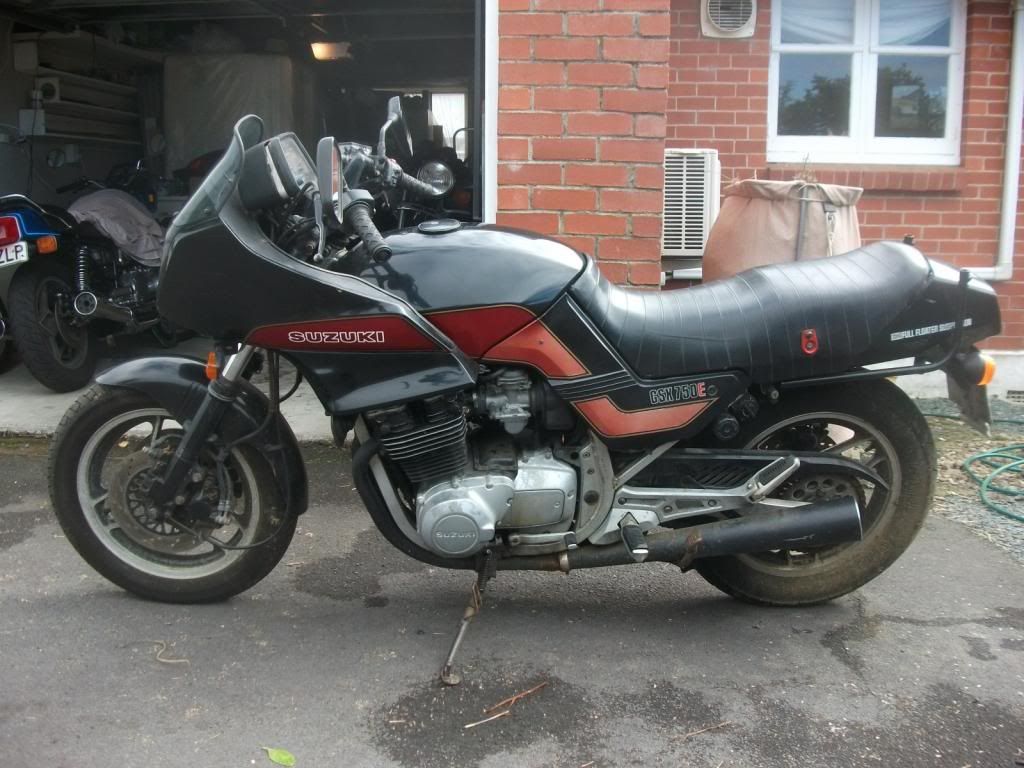
I bought it about 9 months ago for $800 and at that point it had not run for the previous 6 months. The PO said it had run OK but at about 80km/h it started to splutter a bit. It had been sitting outside half under a cover so was a bit of a mess.
Nothing a bit of time and effort couldn't fix (hopefully)

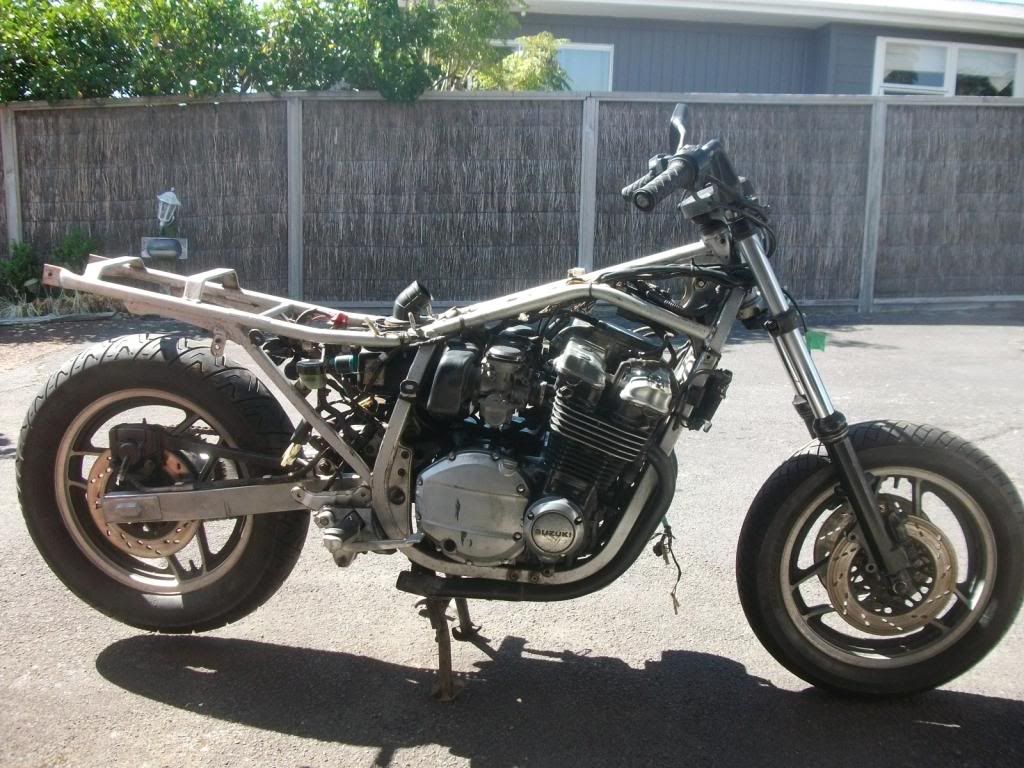
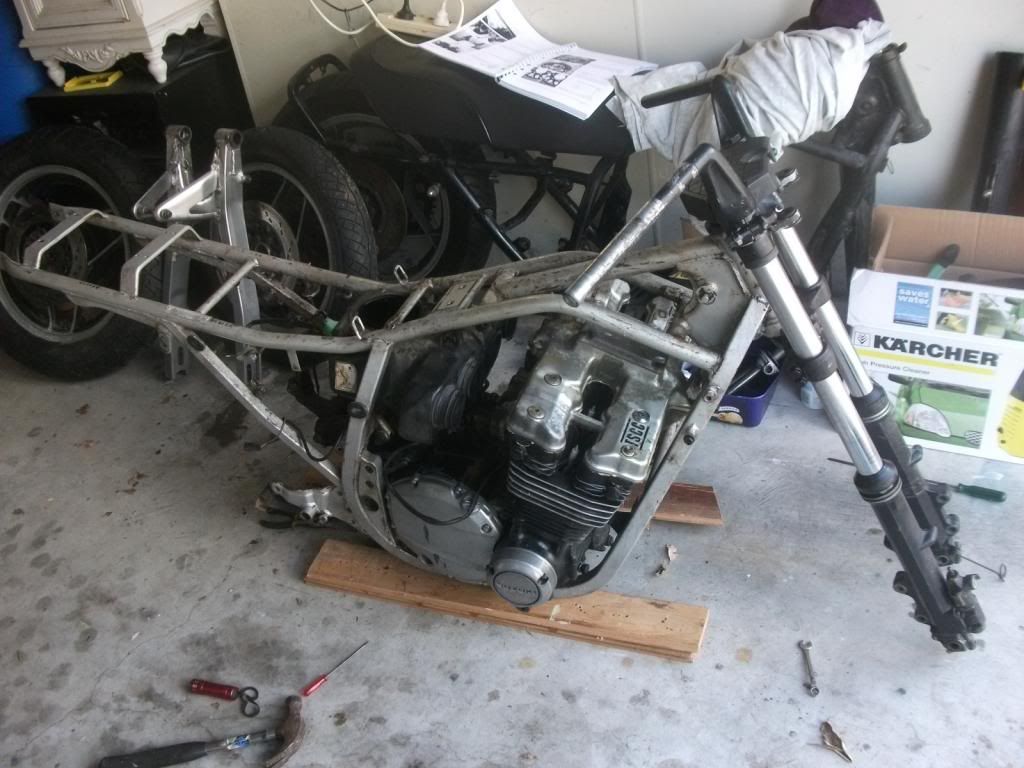
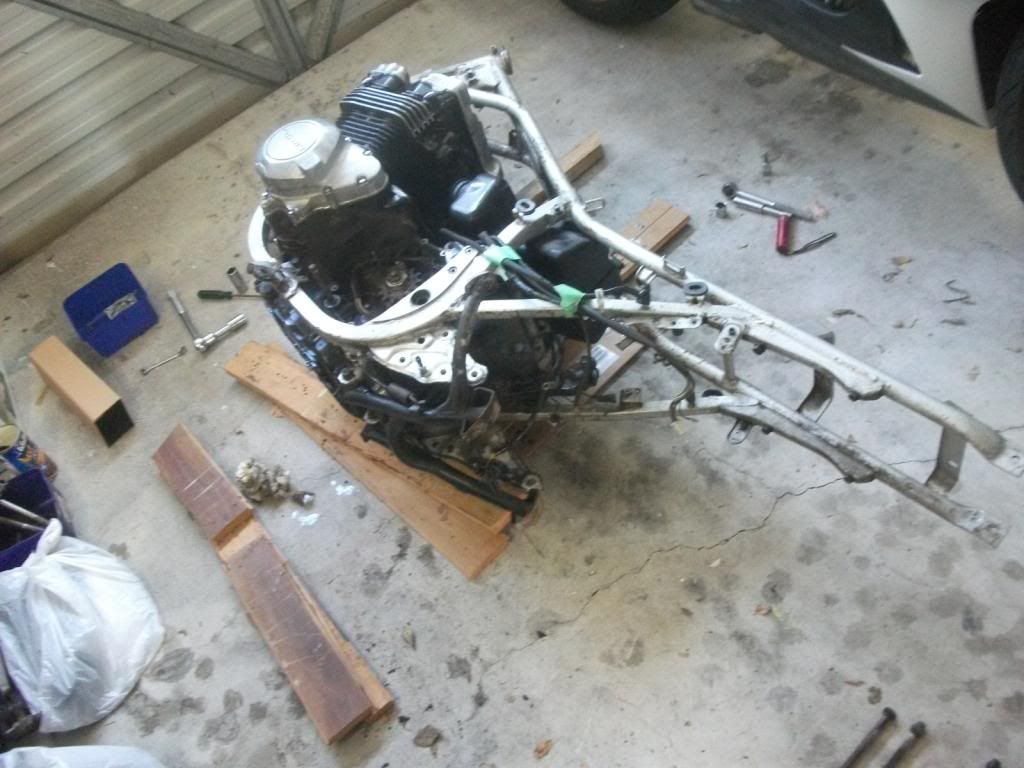
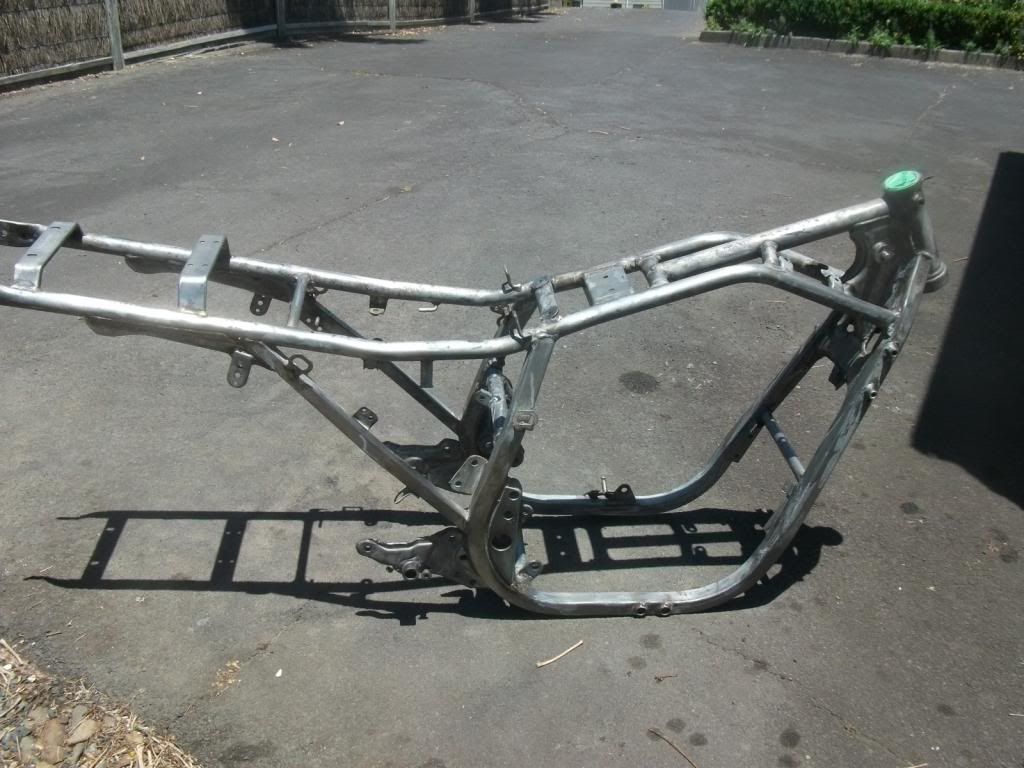
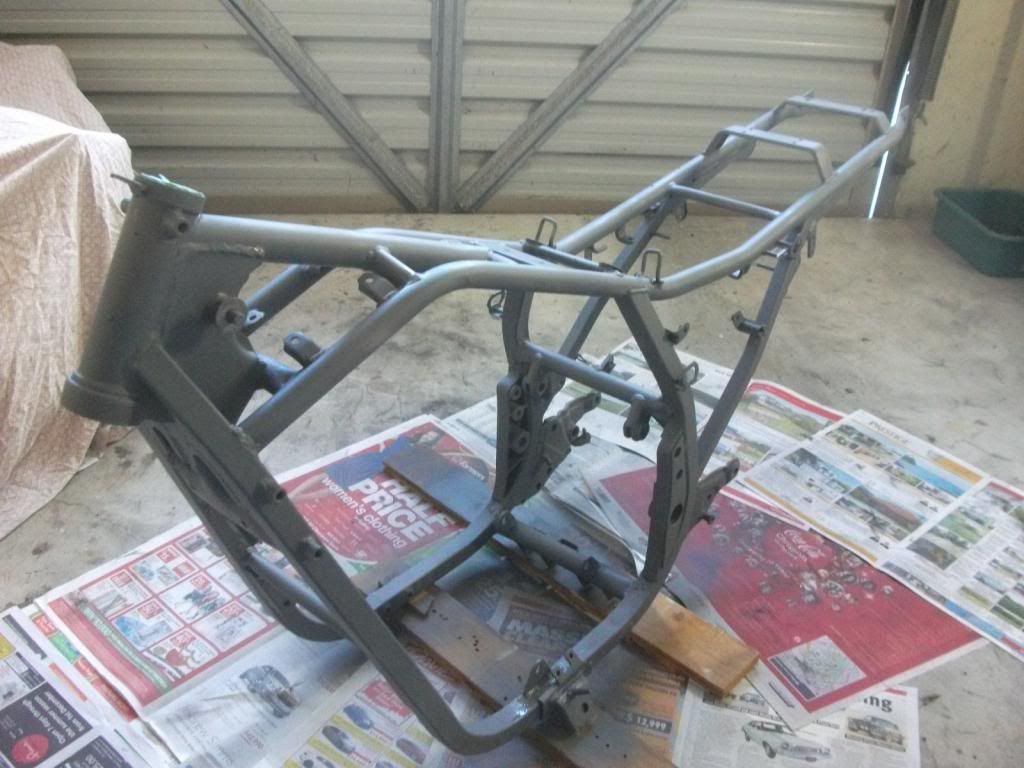
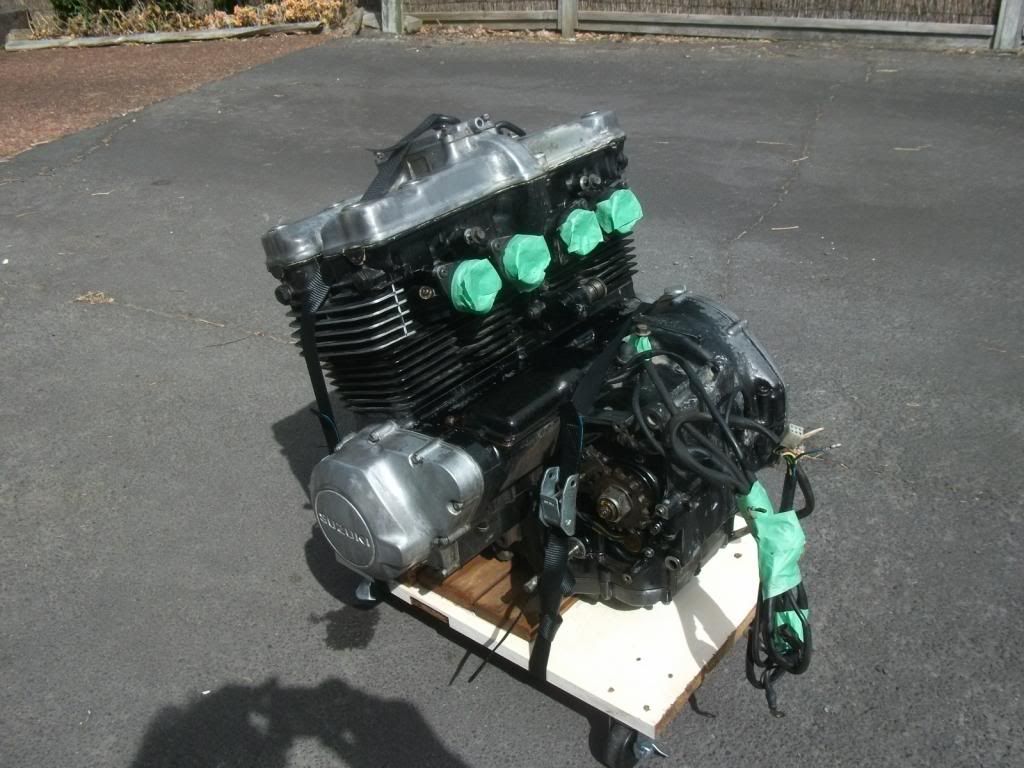
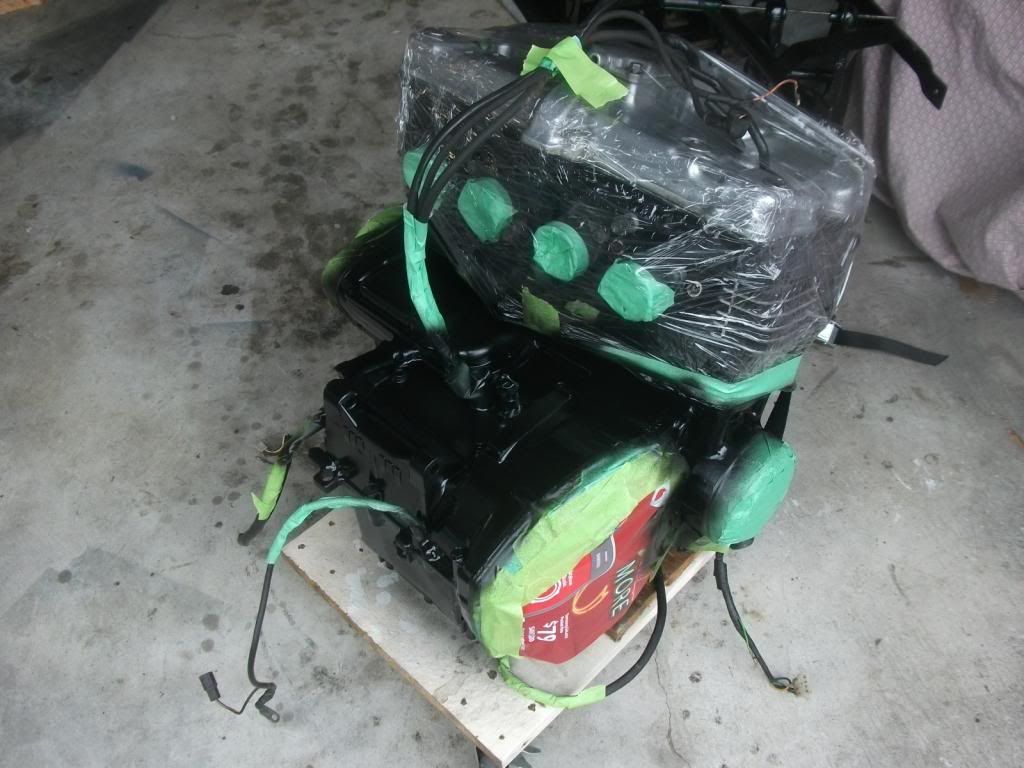
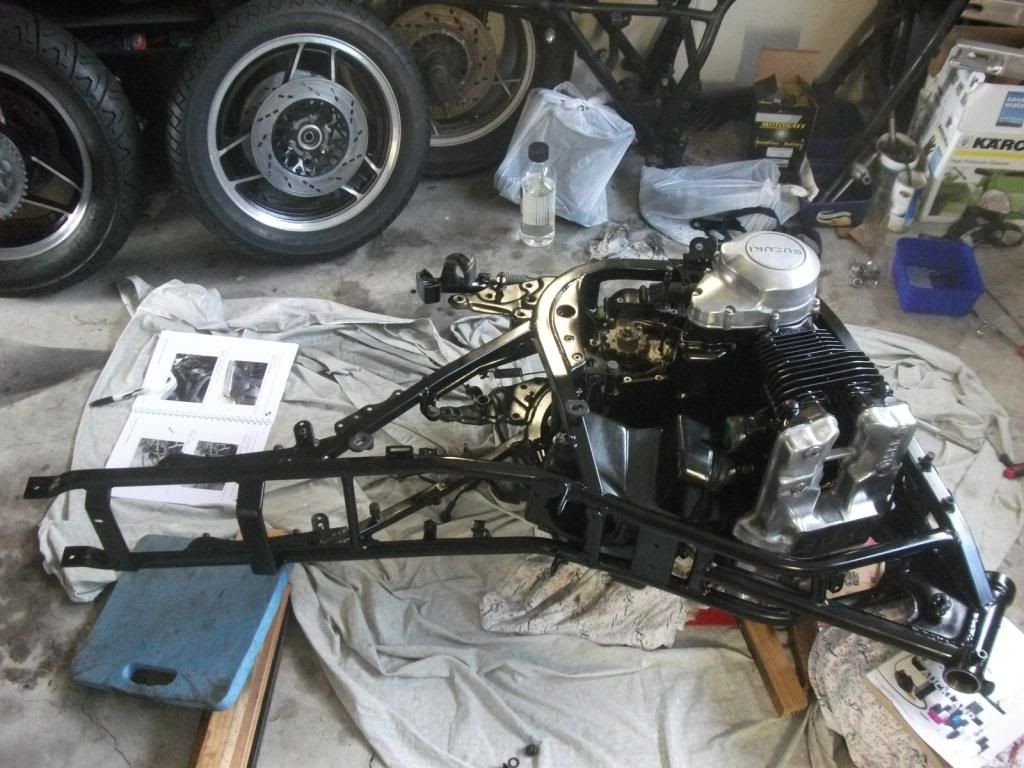
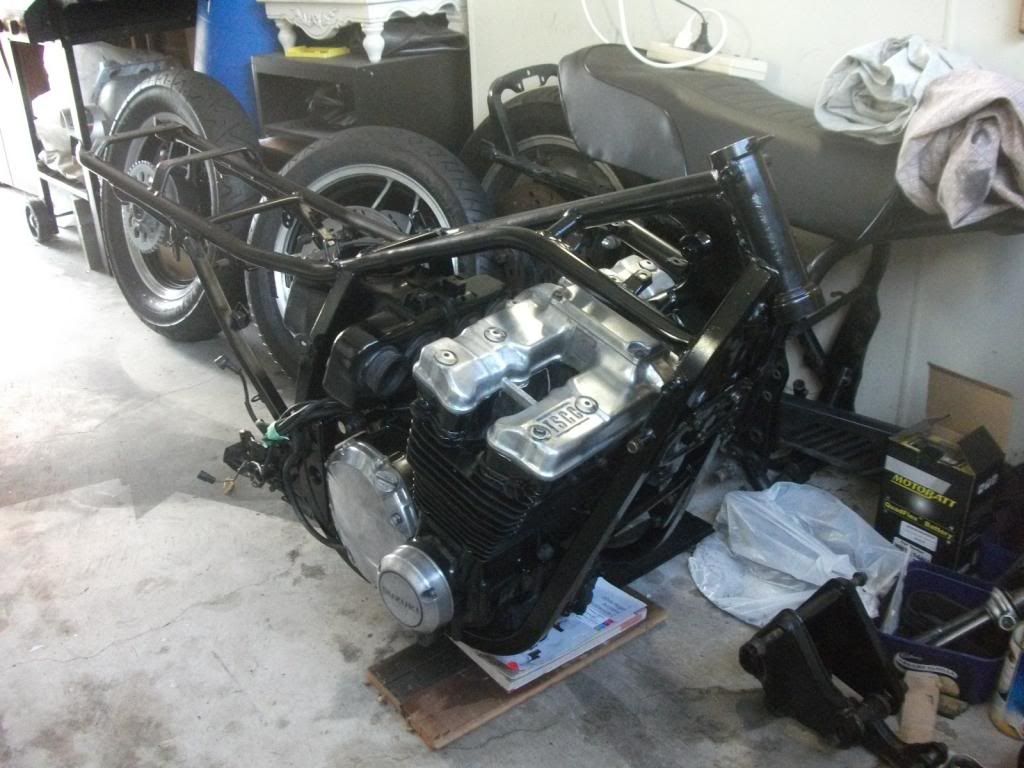
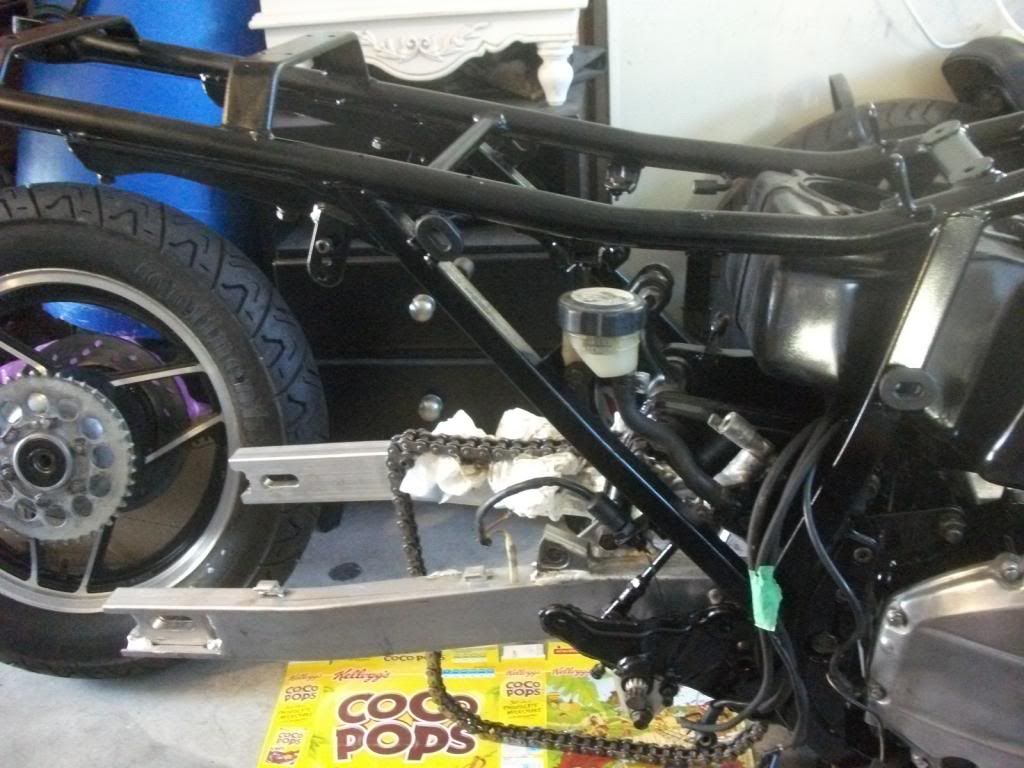
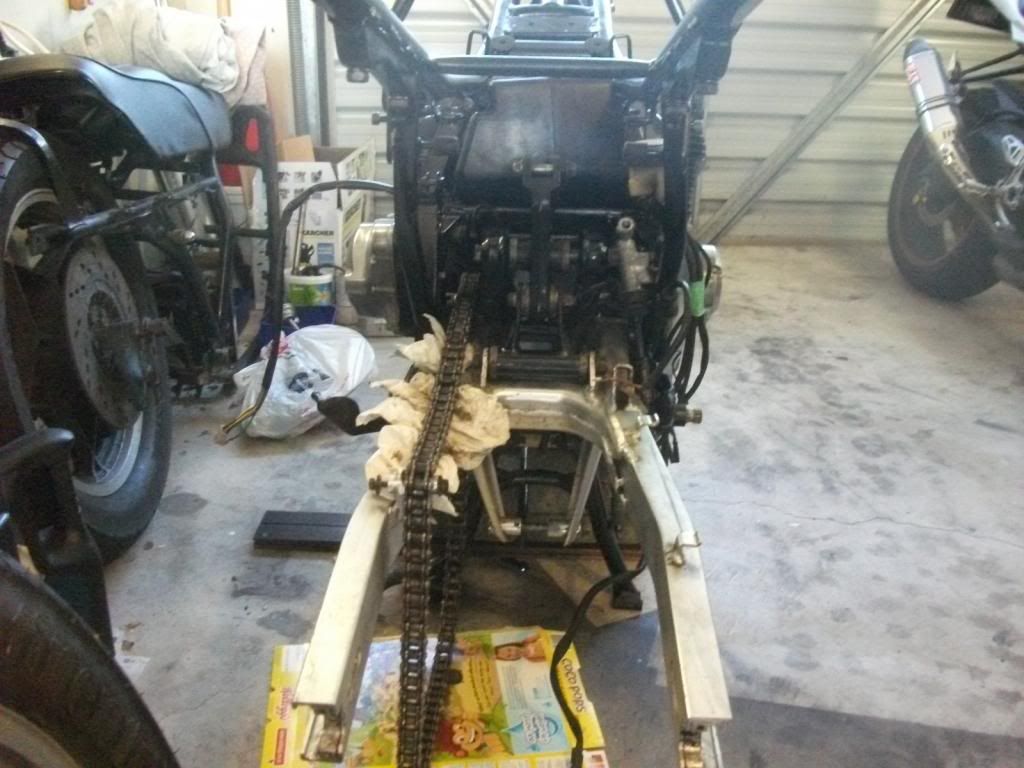
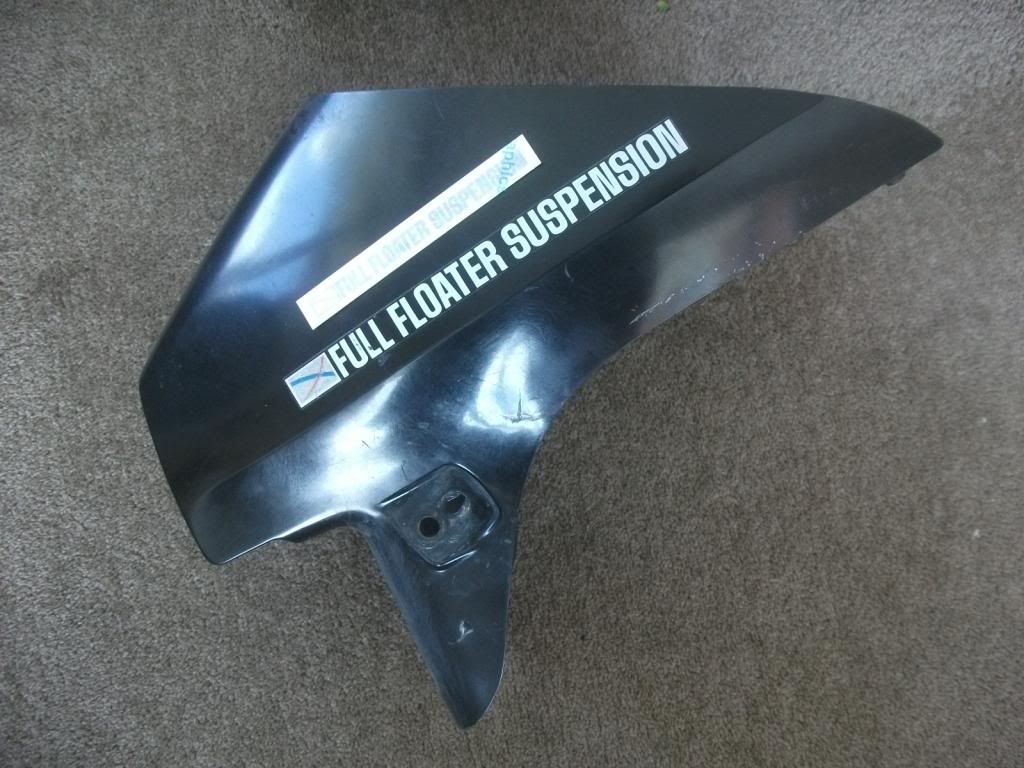
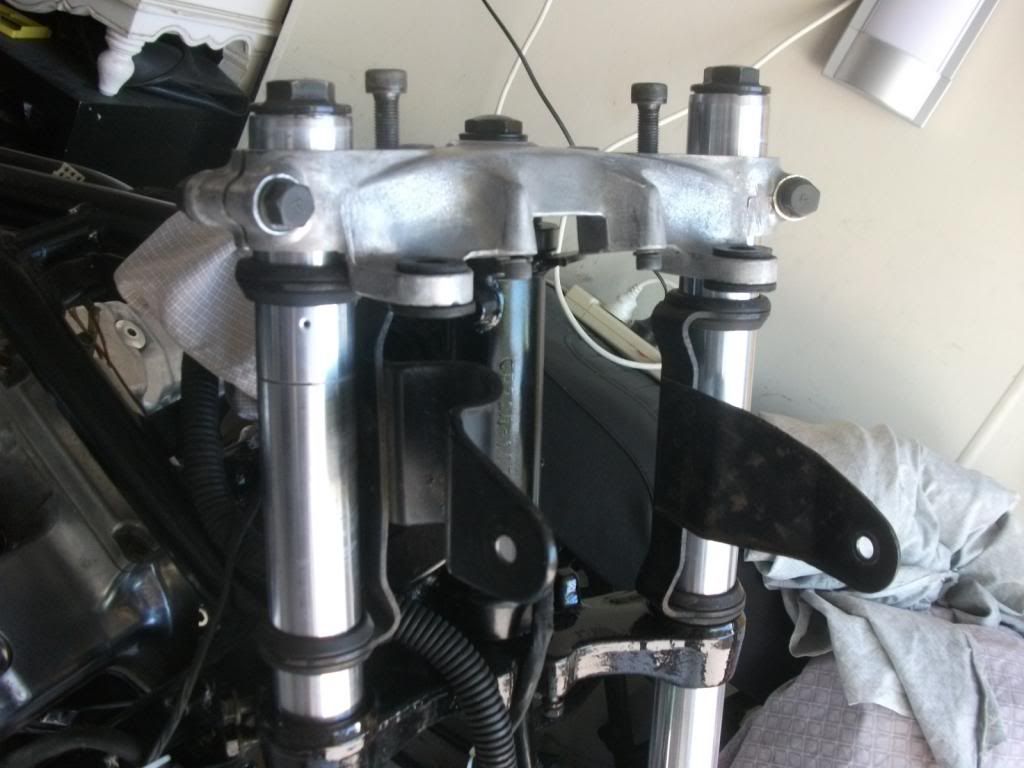
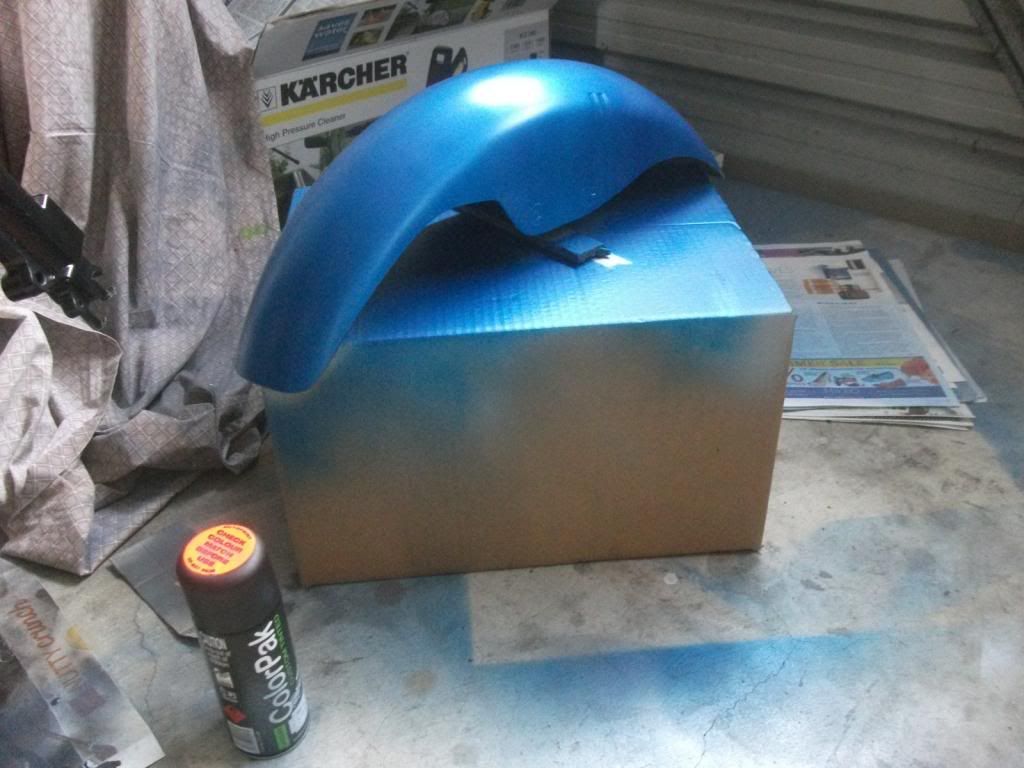
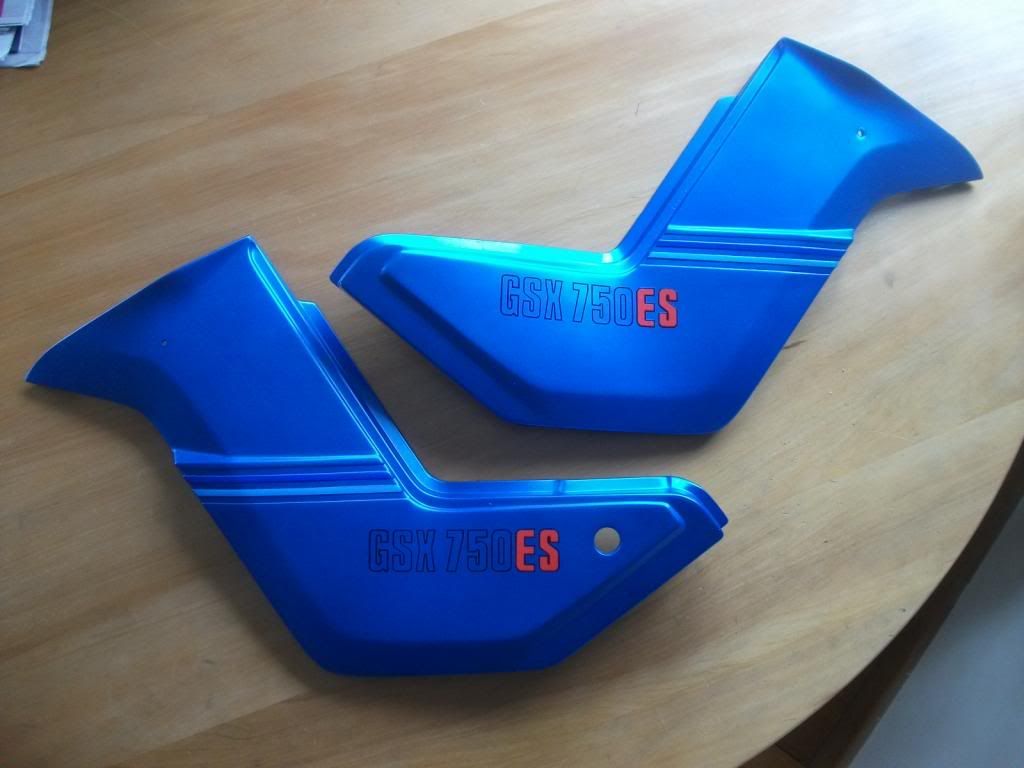
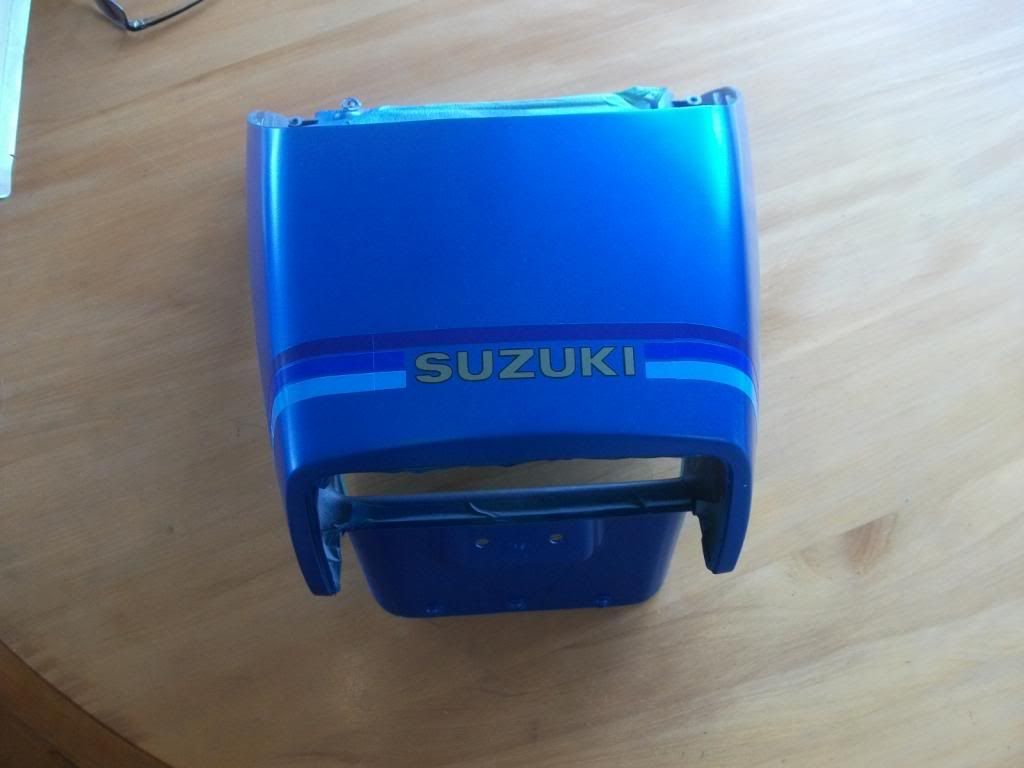
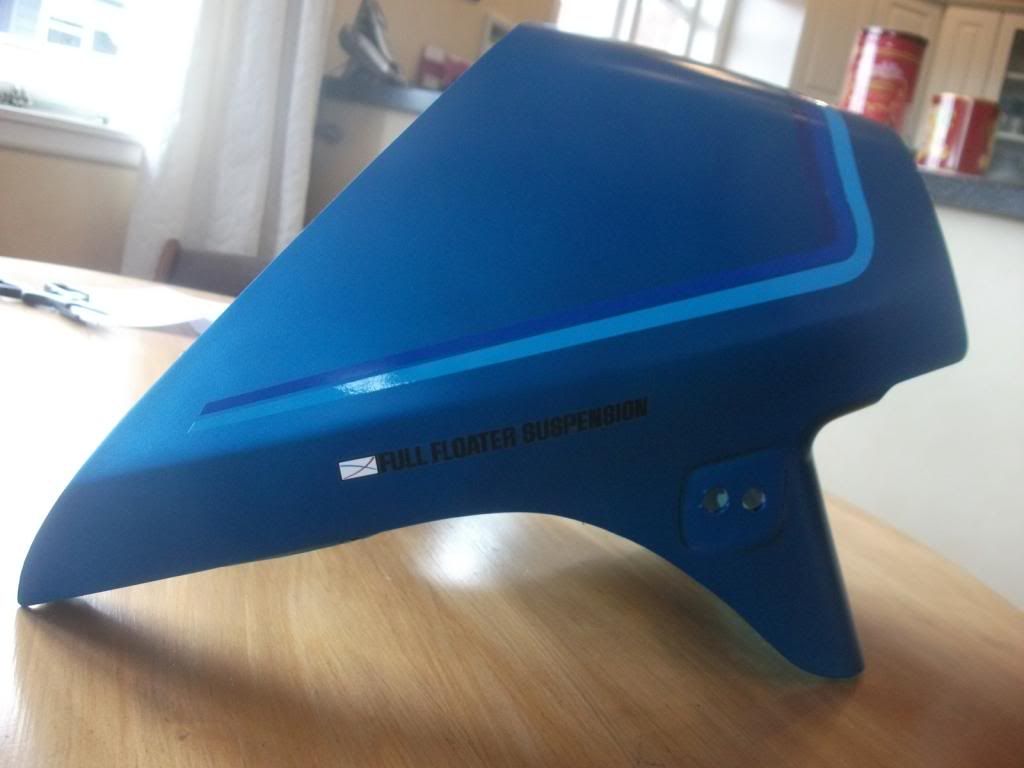
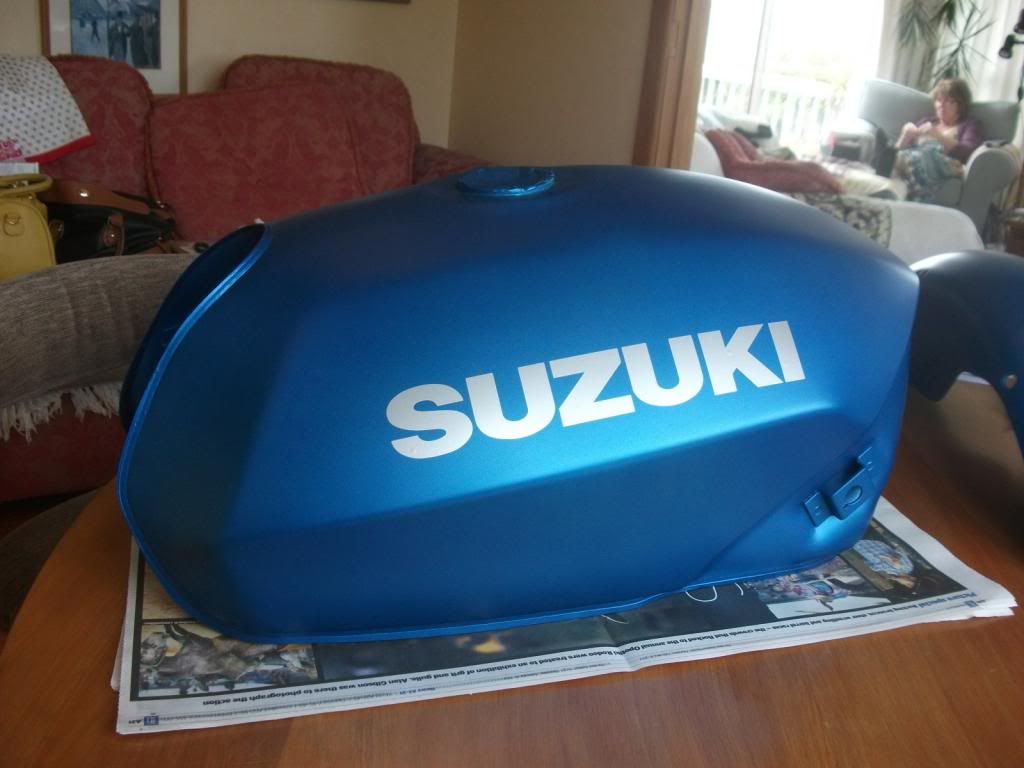
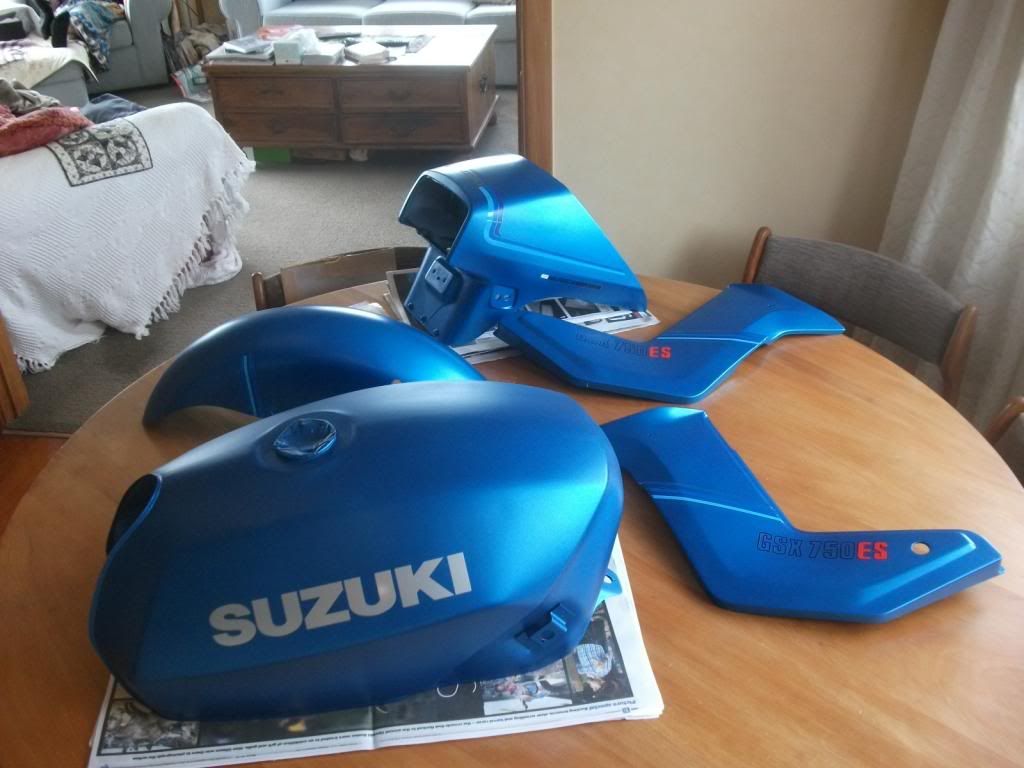
The plan is for a total stripdown, de-rust, repaint, get rid of the half fairing, recover the seat and polish it till it shines

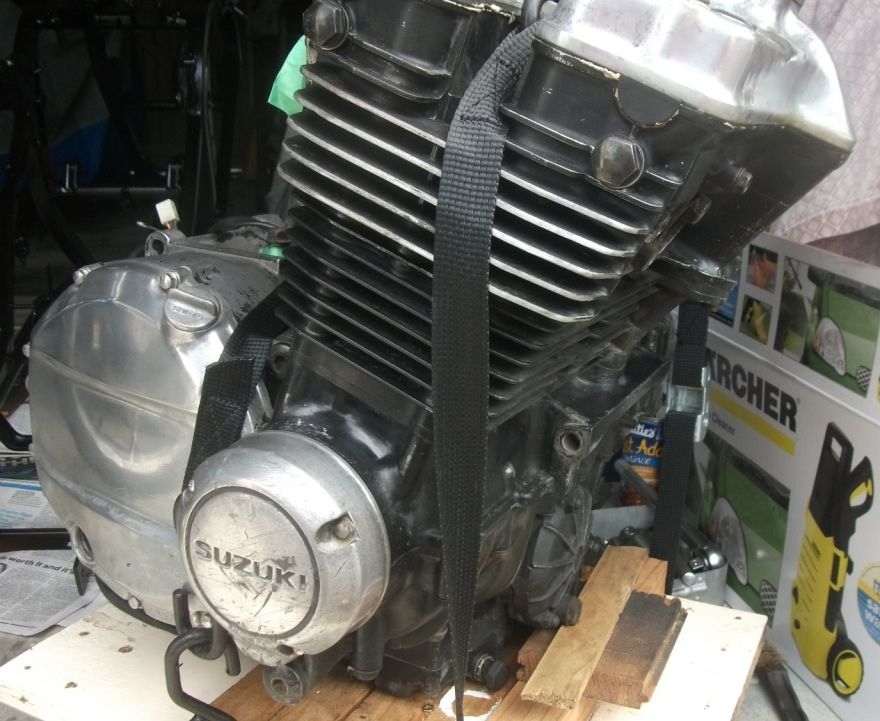
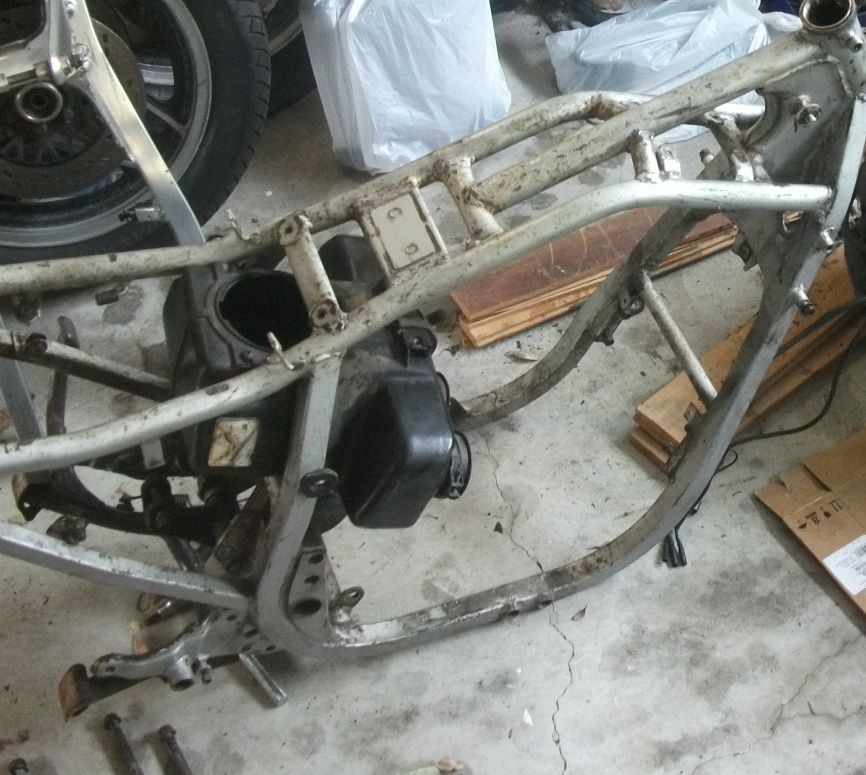
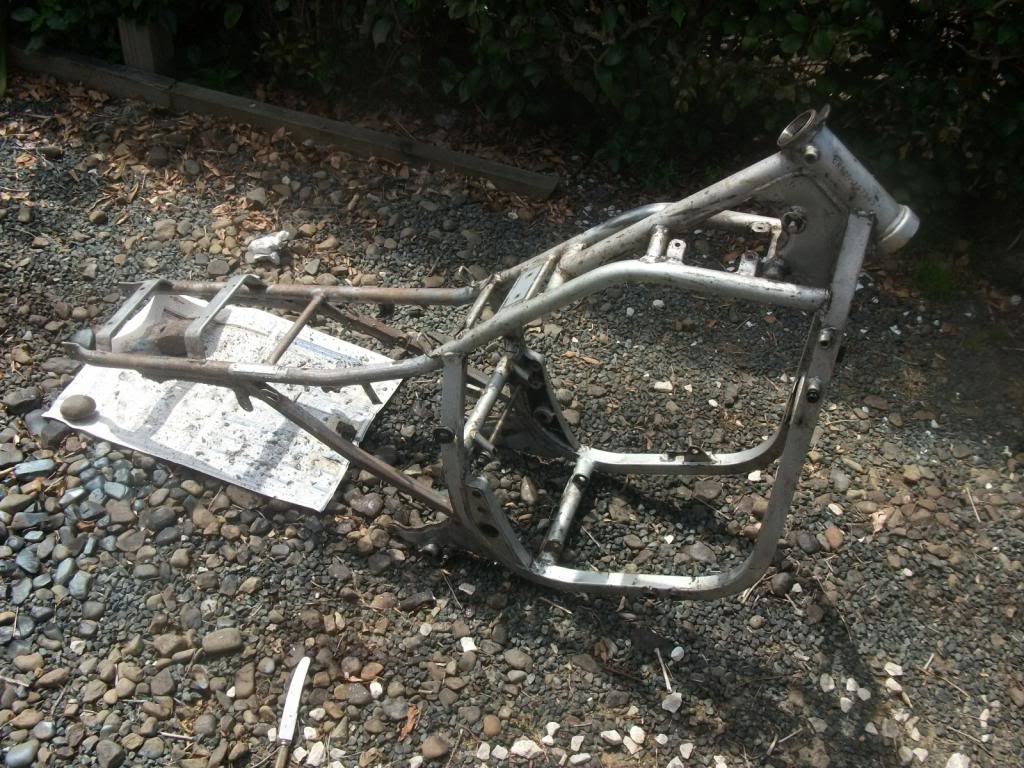
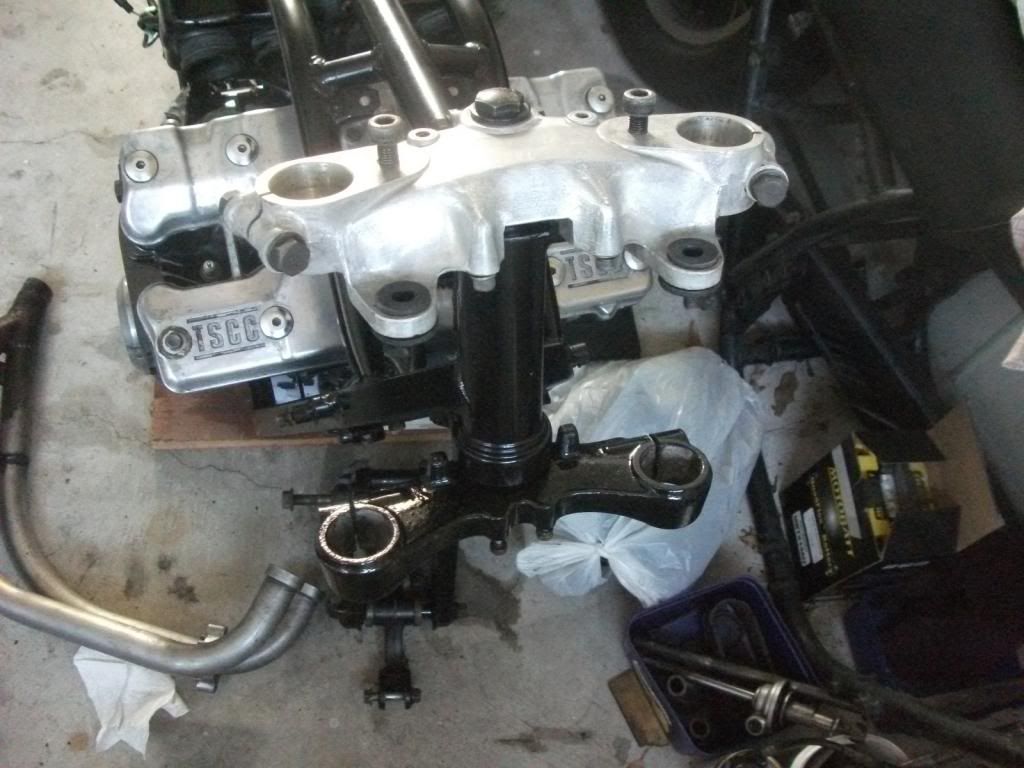
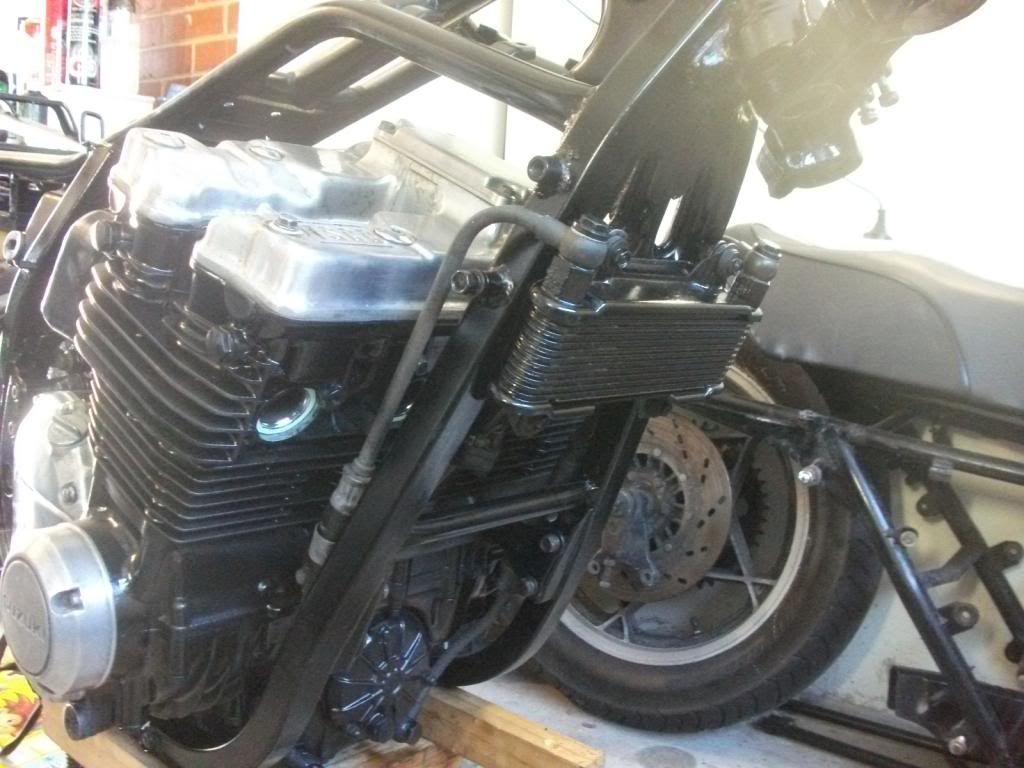
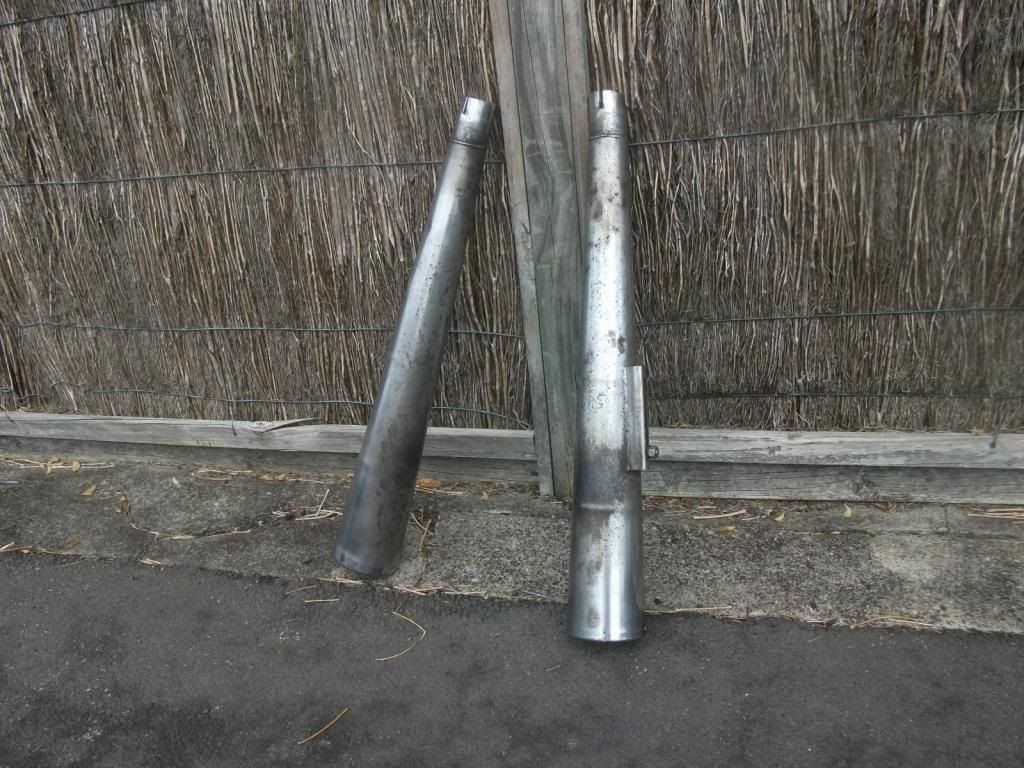
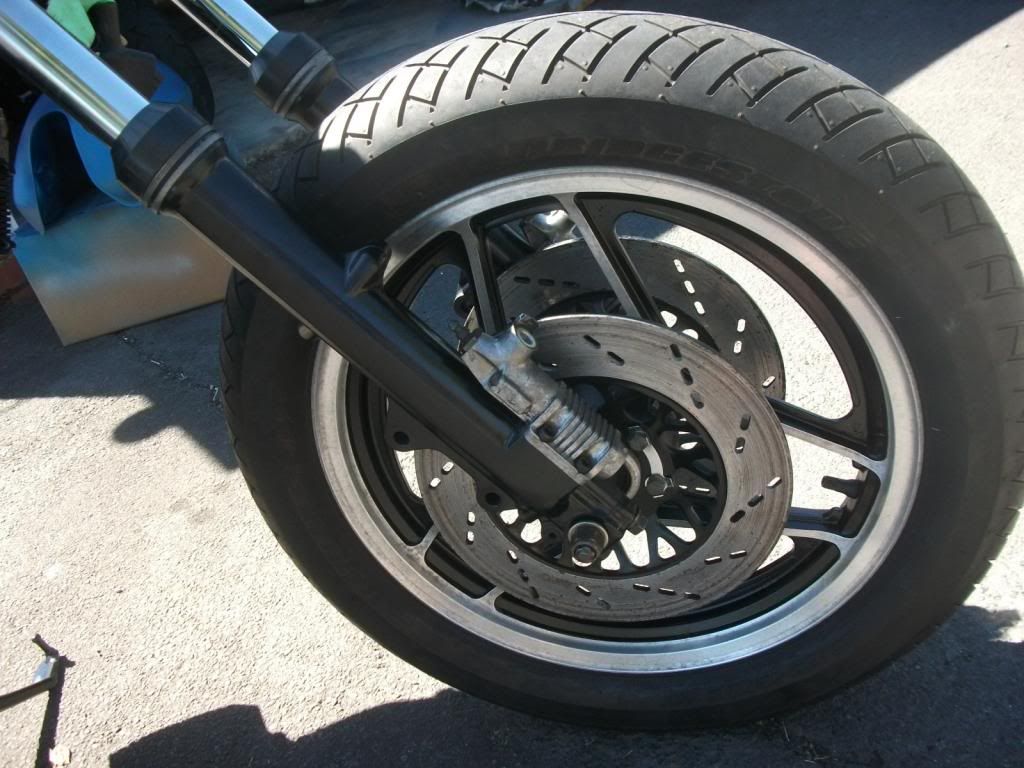
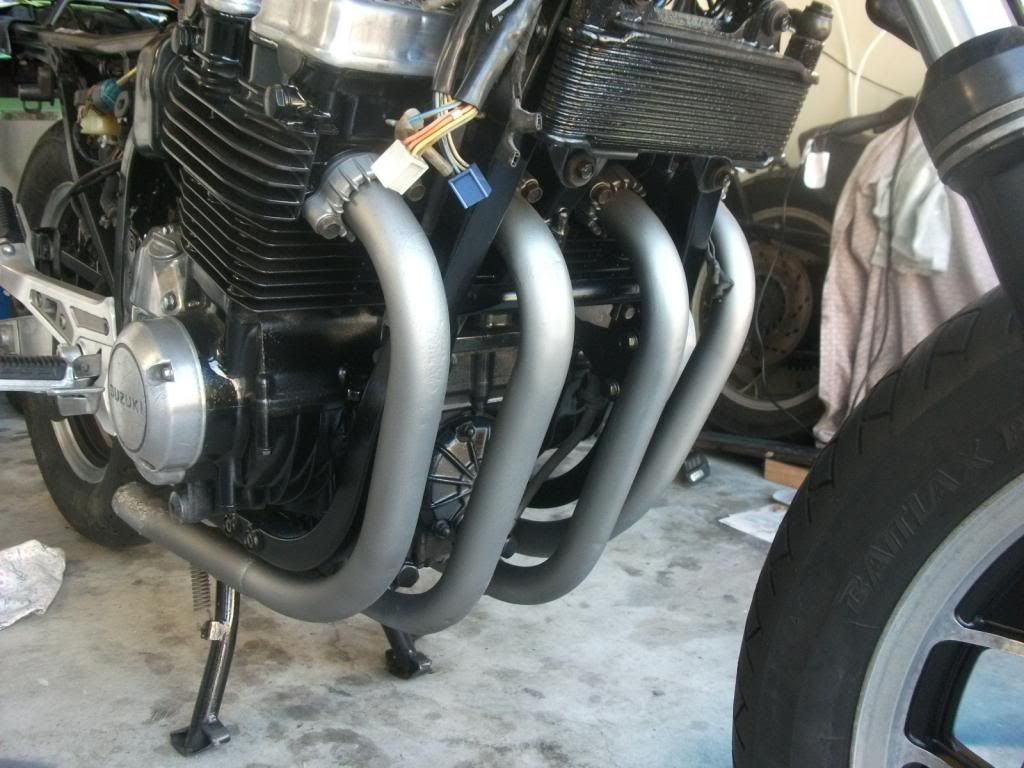
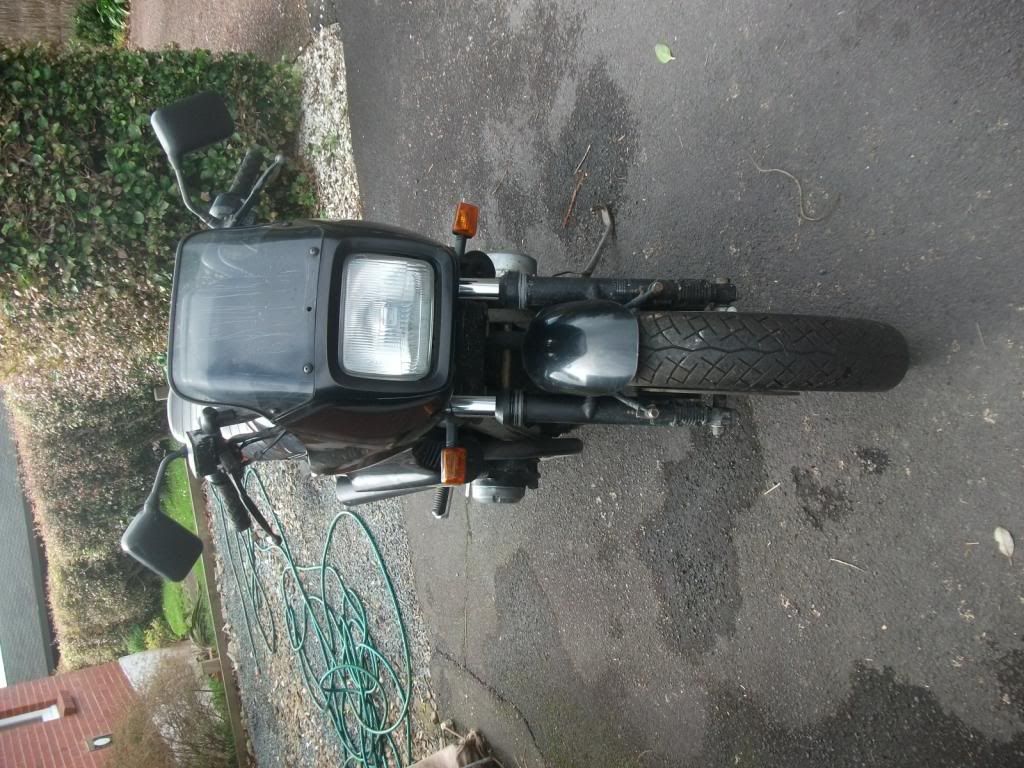
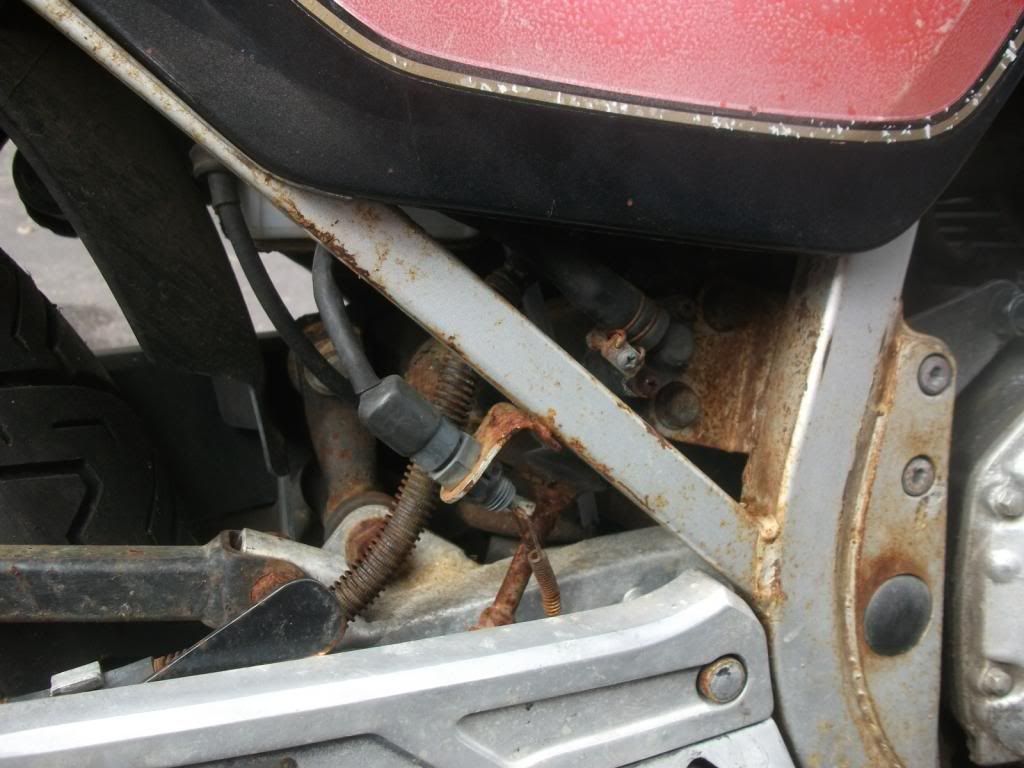
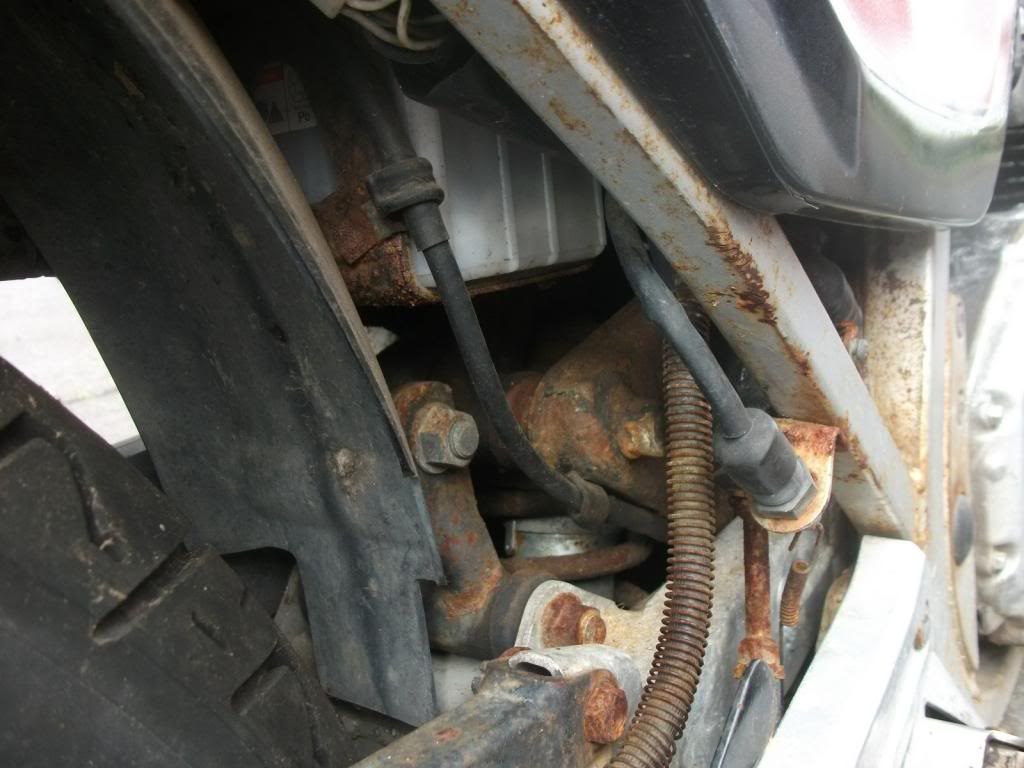
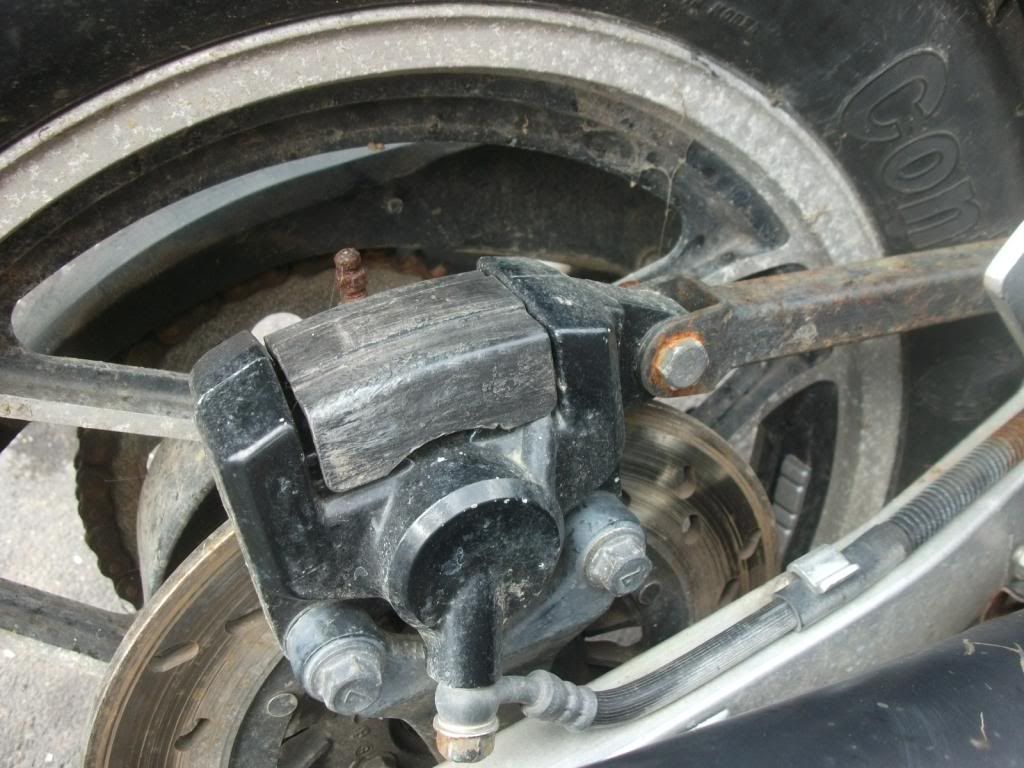
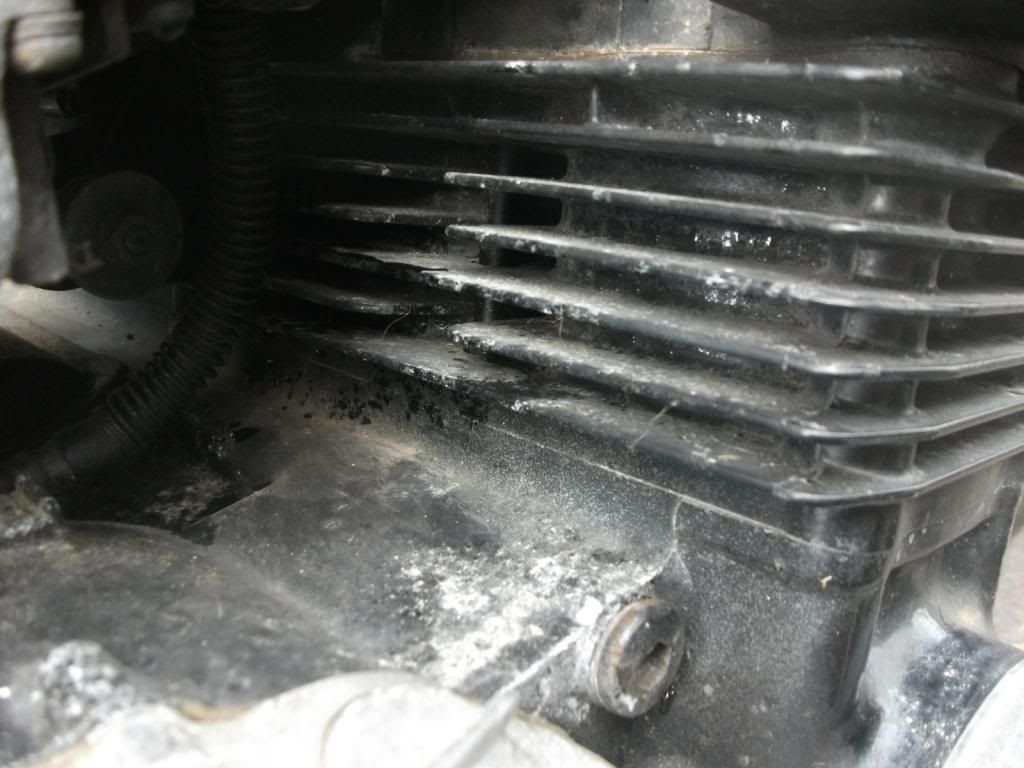
Heres a few pictures of its before condition
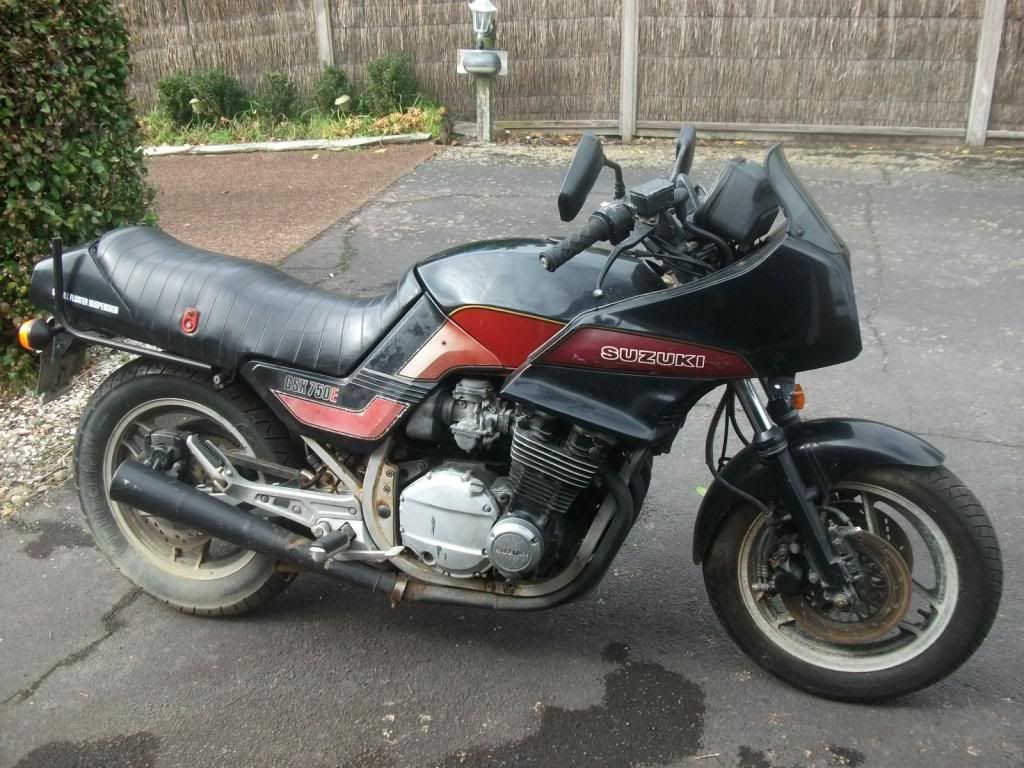
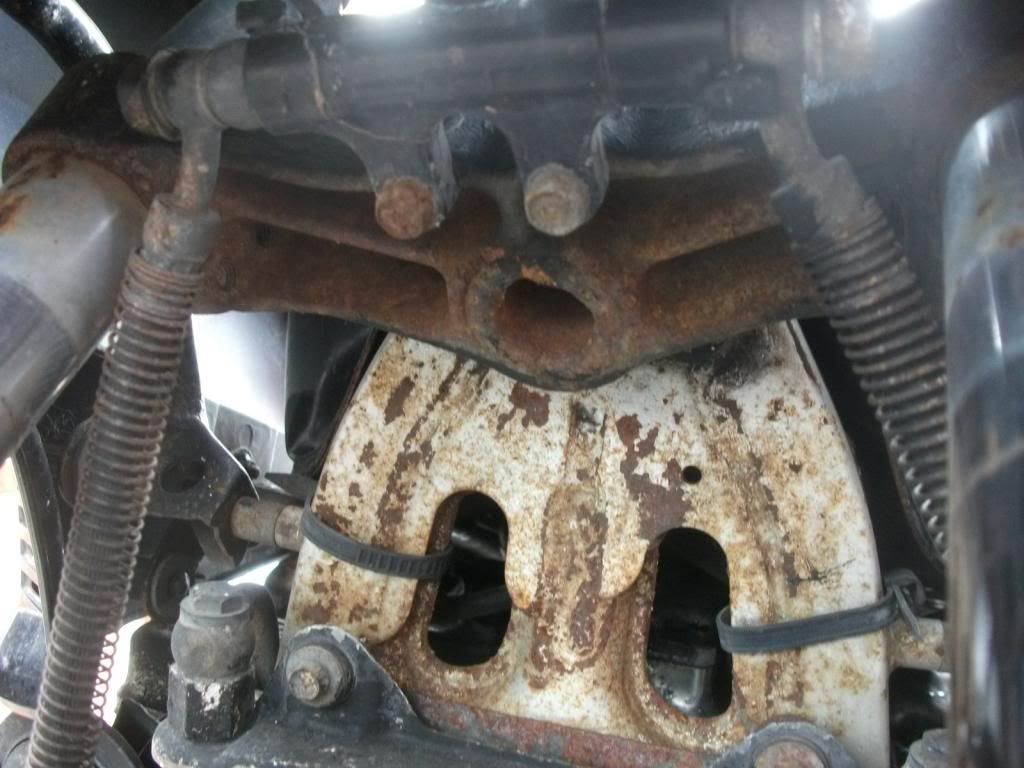
es002_zps72b459b8.jpg


es004_zps8565052c.jpg


es003_zpsc69ecc9a.jpg


es006_zps12596f1b.jpg


es007_zps9ec3aded.jpg


es009_zps7491cd7a.jpg


es011_zpsfae195f5.jpg


es012_zpsbb4622fd.jpg


es013_zpsd538098e.jpg


es026_zps9aa8f4d2.jpg
 
It will take some work all right but it can come back,my 85 EF wasn't much better.I'm a fairing guy so I don't get why you'd want to remove it but that's me:)Must admit I'd kind of like the lower pieces so I could take the lowers off my EF for the summer,suspect the shipping $$ from NZ would be to much though.
 
Good grief - I take it that was parked up on a coastal location?
 
An '83 with "Full Floater" suspension? I thought that came along about '85.

Am I wrong? :confused:
 
The 'Full Floater' design was first used on the off-road bikes in '81, and then appeared on the road bikes in '83. It was actually designed by an American guy, and Suzuki 'borrowed' his work. The ensuing court case made the inventor a rich man. IIRC, Suzuki had to pay him something like $12 for every bike they produced incorporating his work.
 
To answer a few of your comments
There are a few reasons for removing the fairing, none of them logical just my personal preference.
Firstly I think the front end appears a bit bulky when you are sitting on the bike.
Secondly this bike won't be going warp speed very often so i dont need the wind protection
Thirdly I wanted to modify it just a little bit and i was inspired by Gatekeepers GS750ES project back in 2012. We didn't get that model in NZ with the small nose fairing so i will have to come up with an alternative.

The bike has spent the last few years here in Auckland and you are never too far from the ocean so corrosion can be a problem. I live less than a kilometre from the beach so its not going to get any better here.

It is probably not worth sending fairing bits from NZ as i pay a minimum of US$40 delivery charge every time i order anything from the states.

The stripdown is underway so i will post photos shortly.
 
So before i started pulling it apart i bought a battery, poured in some fresh fuel and tried to crank it over. Several pushes of the starter button and it was trying to start but would not catch. Then i realised the choke cable had disconnected from the carb and once i reconnected the wire into its correct place she started straight up. Took it for a few laps of the neighbourhood and it run OK up to about 70km/h. No smoke or horrible noises from the engine so Good enough to start the dismantle knowing it should go again once reassembled.

Dismantling went relatively straightforward. I have been spraying all the nuts and bolts with WD40 every week or two for the last 2 months so there were no sheared bolts or nuts that wouldn't come off. Pheww

The best thing i did while dismantling was take pictures of every nut, bolt and cable as i removed them and wrote it down. I created a 60 page pdf file with photos so once it was all refurbished i could just start at the last page and work my way forward.

Dismantling was spread over 3 weekends from this

gs002_zps906b2687.jpg


to this

k001_zpse12c4c7b.jpg


to this

n020_zps4ed0bda1.jpg


k073b_zps0fec8eac.jpg


o010_zpsbc6b1330.jpg


I built a trolley for the engine out of an old cupboard door and some castors so i could move it around the garage and outside for cleaning

nnnn001_zps6e33bd41.jpg


Almost apart

o016_zpsbb14a59b.jpg


And ready for the cleaning to begin

p002_zps8fcd0bfb.jpg
 
Did you see the handy dandy frame painting stand I made for the 85?


The 85's frame has been on "The Rack" twice.

So has the 78 1000's frame.The 82 GPz750's frame is due up this summer.
 
I saw your frame painting structure a while back and thought that was a good idea. I haven't gone that high-tech for the undercoat layer.

Started off with a bit of this
p001_zpsc16b79ee.jpg


Gloves were useless so kept the hose handy to get those spills on my arms.
Paint came off pretty easily and ended up with this

p003_zpsdb46a0e0.jpg


close-up of frame looks like this

p004_zpsa7b6839d.jpg


A bit more de-rusting and sanding and it was ready for the undercoat

p007_zps6f352eb4.jpg


While the undercoat was drying i got the engine outside for a final cleaning before painting.

p016_zpsa9dbfaf5.jpg


Did it in 2 halves with copious amounts of kitchen plastic wrap used to protect the engine

q002_zpsf7dd45f2.jpg


Leave it to dry for a few days now.
 
.........
Thirdly I wanted to modify it just a little bit and i was inspired by Gatekeepers GS750ES project back in 2012. We didn't get that model in NZ with the small nose fairing so i will have to come up with an alternative.

..........

I am happy to hear my rebuild gave you the inspiration to do this resto....

Seems your going to do a bang up job, and the bike will look fantastic upon completion....

Cheers....

.
 
I am happy to hear my rebuild gave you the inspiration to do this resto....

Seems your going to do a bang up job, and the bike will look fantastic upon completion....

Cheers....

.

+1 I'm tagging along, have the same bike and can't wait it see what you end up with.
 
I got the frame painted midweek. 1 coat of black basecoat and then some 2 pak black gloss coat. The light of day revealed a couple of missed spots but they were in concealed spots so i touched them up afterwards.
And so the rebuilding begins. First thing is to get the engine back in. I have found the 'lay it on its side and lift the frame off' method quite easy for a 1 man job.

R006_zpsabae138e.jpg


Unfortunately i scratched the frame getting the engine back in but it was minor and hidden so a spot of paint with a brush has fixed it.

R008_zpse9de8755.jpg


TRiple clamp was next to go on. I am going for the bare aluminium finish and am leaving off the plastic cover.

R010_zpsa4fe95e7.jpg


Oil cooler is also in.

R011_zpsa888465e.jpg


The next job is to get the mufflers painted. All stripped and ready to go. I am going for a Cast Iron Flameprrof paint.

R009_zpsa6892392.jpg
 
Looking good!

Looking good!

Looking good! I've used the lay the bike on its side engine removal/put back method with success as well, works great.

I like the way the triple tree looks - my plastic cover is in pretty good shape but the 2 rubber screw covers are a little out of shape...

In the States we have a VHT header paint for $10 a rattle can that I have had pretty good luck with for exhausts, claims Very High Temp resistance, here it is in front of my daughters scooter exhaust I did earlier this week:

014E4BAF-755D-4116-ACDA-7408E425BD30.jpg


Cast Iron paint outta hold up nicely, never thought of that. Keep up the g
ood work, she's coming along nicely!
 
That is the very same paint that i am using. Cast Iron is just a colour and not a special paint type. Seeing as i have painted the frame and engine black i thought the exhausts needed to be lightened up to give a bit of contrast.

I got the rear brake master cylinder in and then the swingarm, chain and cushion lever. In my first effort i didn't get the swing arm bolt through the appropriate hole in the cushion lever as it just didn't want to fit in.
After much consulting of photos and manuals I pulled the bolt out and tried again and it all fitted together nicely.

R012_zpsfe682d5b.jpg


R013_zpsde8b756c.jpg


I also started on some paint stripping of the tank. Pulled all the internals out

s004_zpsfbd025d1.jpg


THen gave the gloss a bit of sanding before attacking it with paint stripper. The Gloss coat makes a real crackling sound as the stripper causes it to bubble

s006_zpsf32f4a55.jpg


I also received some of the decals in the mail this week. The new one is a bit smaller than the original

s002_zpsf7237633.jpg
 
Looking good! That paint is good stuff. Thae new decal is quite a bit smaller, but will look way better than the faded old one - keep up the good work!
 
Good progress this week with the front forks going in and the wheels re-attached. Starting to look like a motorcycle again

s011_zps1058735e.jpg


I repainted the front forks and replaced the fork oil. The springs were still within factory spec so they were left in there. I stripped the anti-dive units and left them as bare aluminium. They probably don't do anything but they are still functional so i am leaving them on.

s009_zpsf9112c3f.jpg


I also got the exhaust headers painted and installed. The end of the pipe where the muffler is attached is pretty rough so will require a bit of efort to get it sealed. I am thinking of using some silica exhaust tape and thin aluminium strip (off a car exhaust repair kit) to fill the gaps.

s015_zps922875e5.jpg


I have also decided on a plan for the headlight seeing as i am not reinstating the original fairing. I looked at using a round headlight on mounting brackets but i couldn't find anything that pleased me and was relatively cheap. After going through my spare parts bin from my 1100ET i found the headlight brackets and rectangular headlight and enclosure

s007_zpsddf22741.jpg


It sits quite well with the instrument cluster so i will put it all together and see how it looks.

And here is the colour i have settled on.

s005_zps81476e8b.jpg
 
Last edited:
Nice work. It'll be a totally different bike when you're finished. A note on the anti-dive units... there needs to be flow between the two ports on the slider. Blocking the flow will lock up the forks or, at least, make them incredibly stiff. I'd love to buy that fairing, it's just what I'm looking for. Good luck with the bike
Rich
 
Got the painting done this week and put the decals on today. I have used a mix of original style and some additional stripes I had left over from my 1100 kit.
t001_zpsf3186074.jpg


t003_zps20103667.jpg


t002_zpsd164ceb7.jpg


t005_zpsd9aebf64.jpg


t006_zps5b3627ac.jpg


And all together

t007_zps9d5486cc.jpg


Should get the gloss coat on in the next couple of days
 
Back
Top