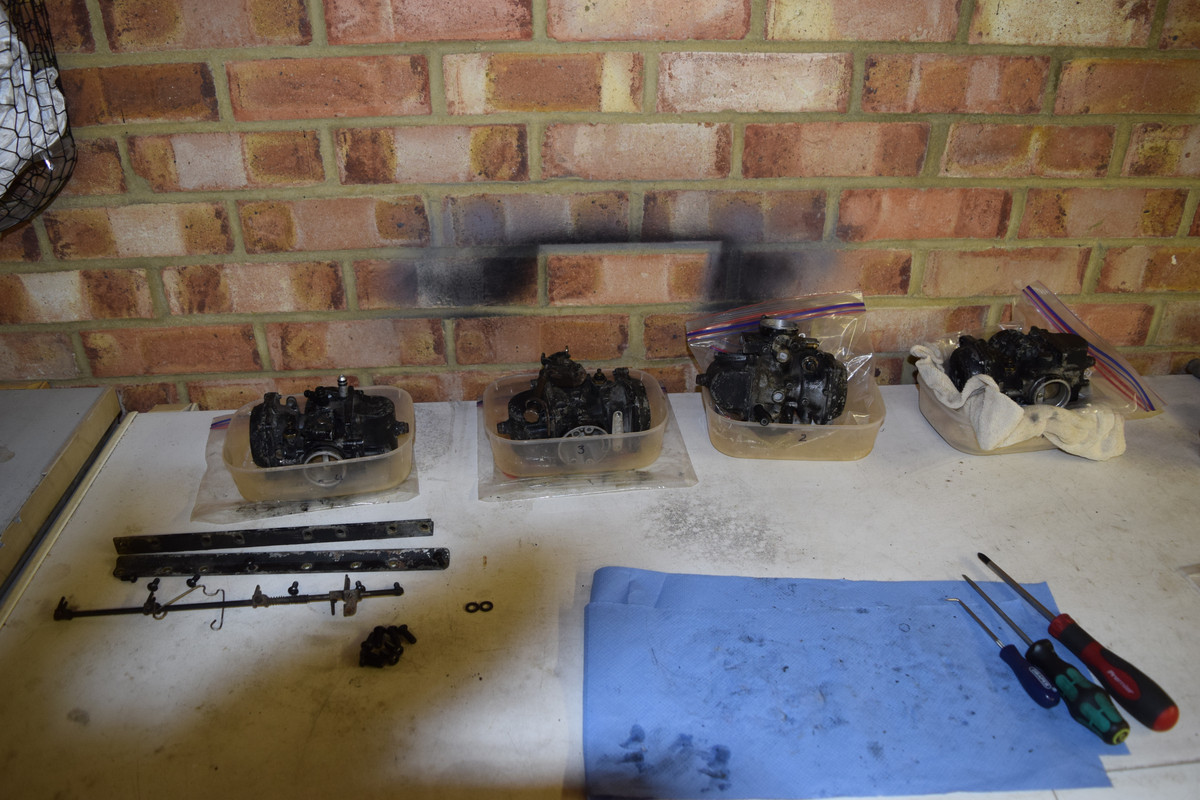
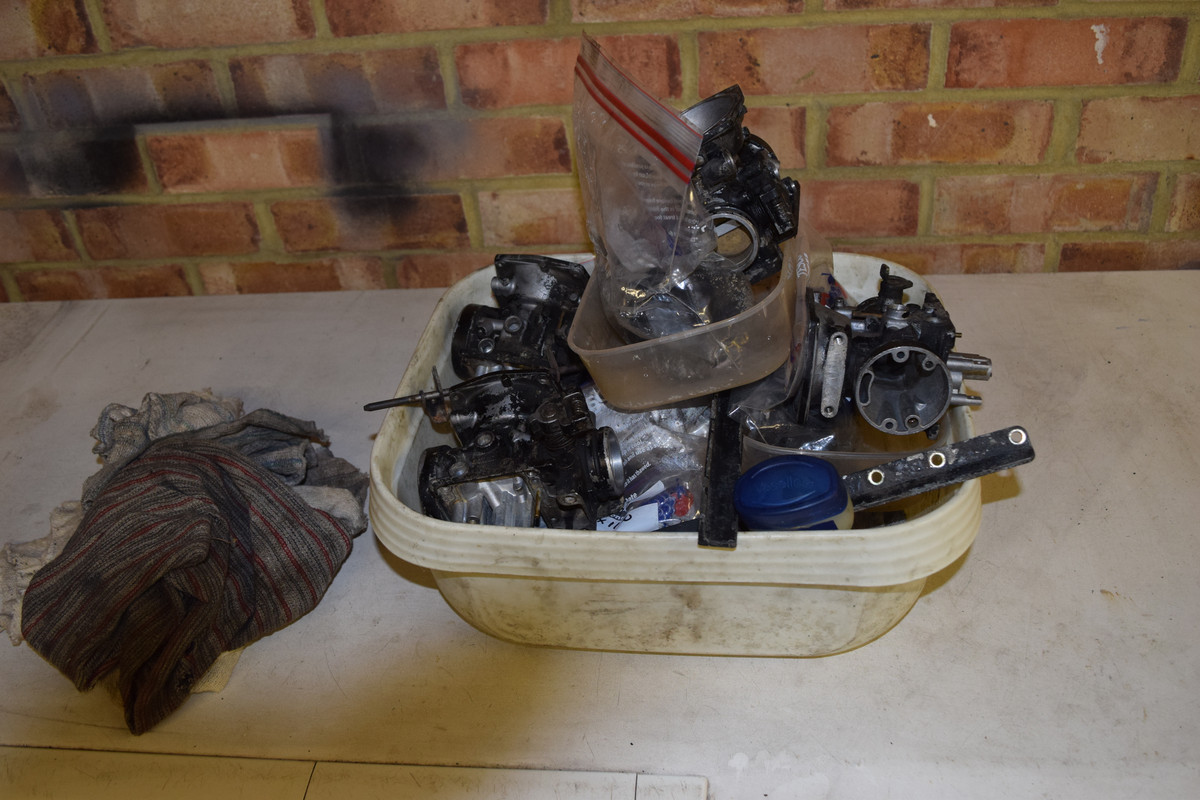
This afternoons job......
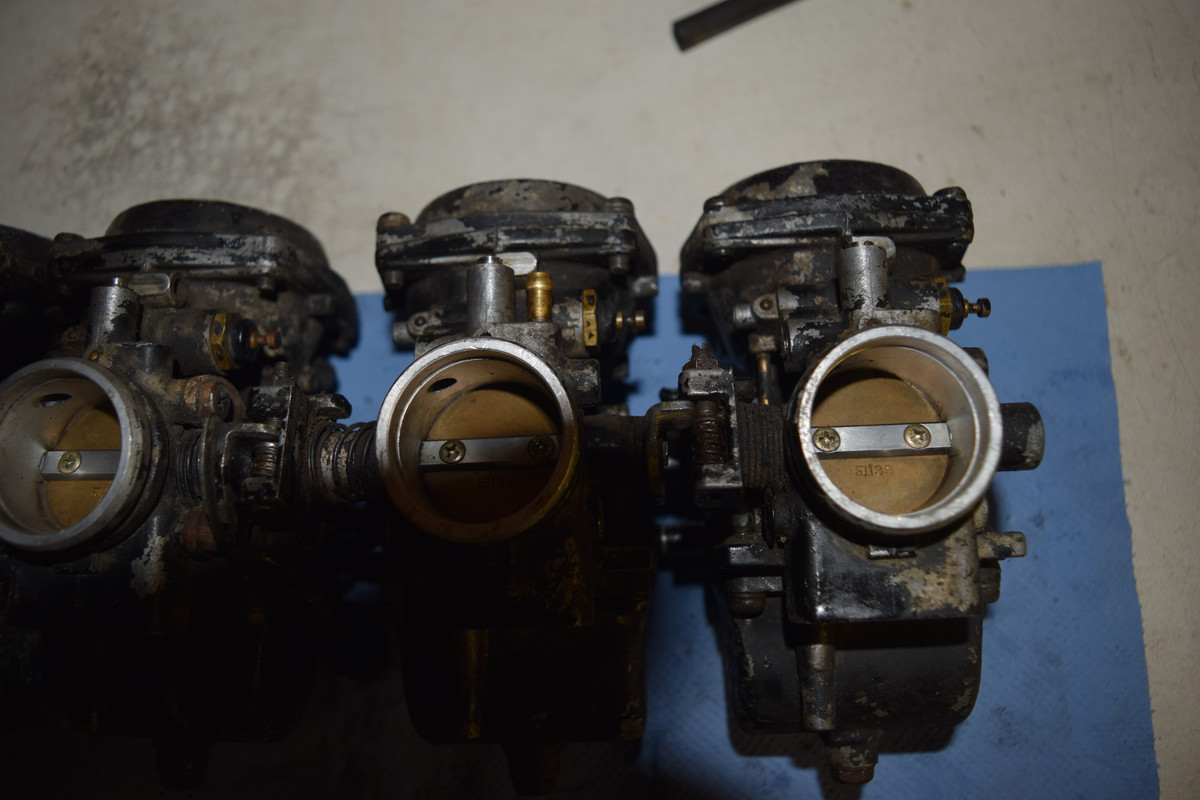
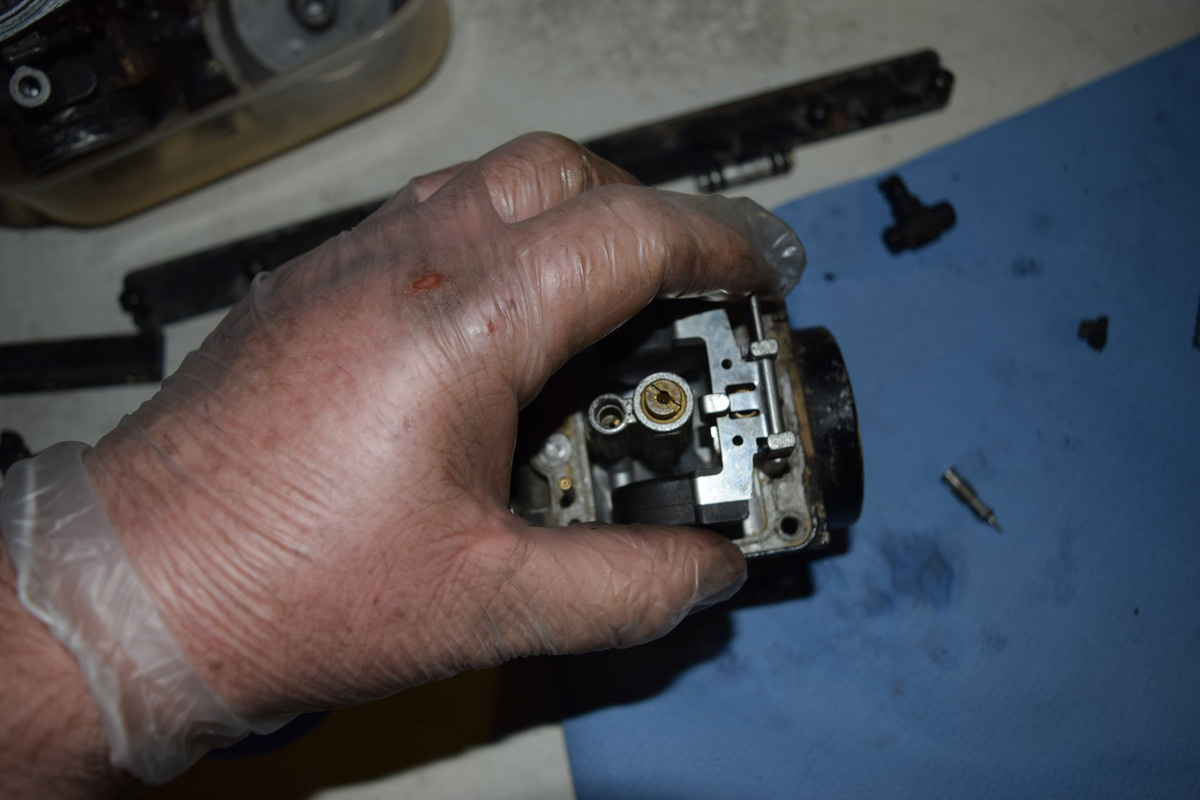
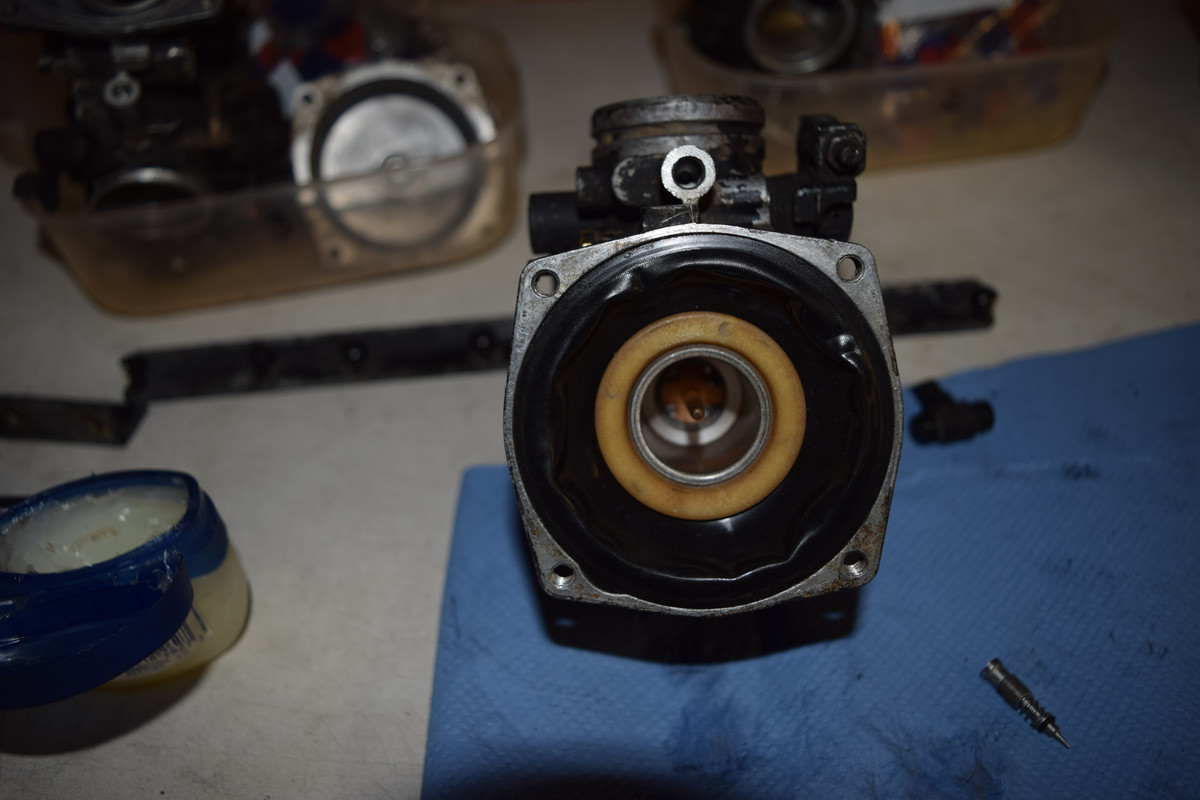
Turn this.....
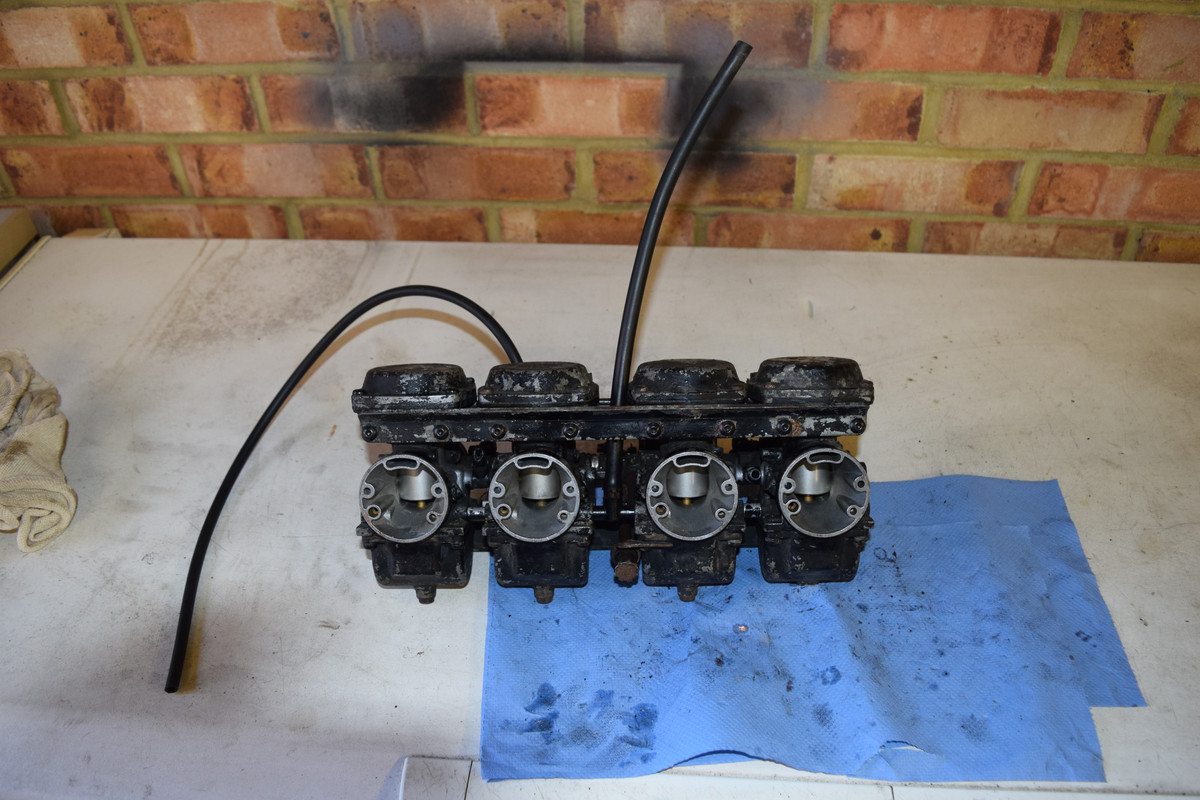
Into this.....
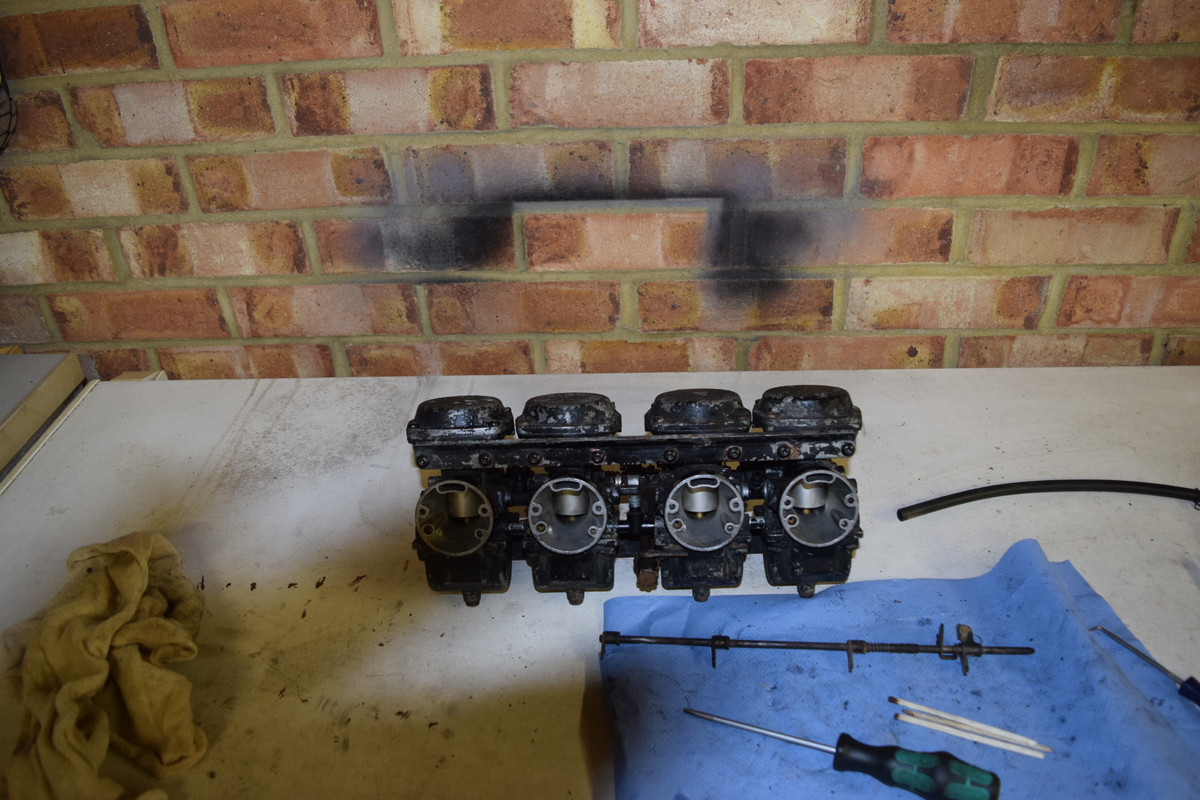
Yep the carbs are back together.
Going from one carb....

I stick the tube in the centre with the jet that screws into it. Then screw the smaller jet into the hole next to it using the green handled screwdriver.
Using the O ring kit...
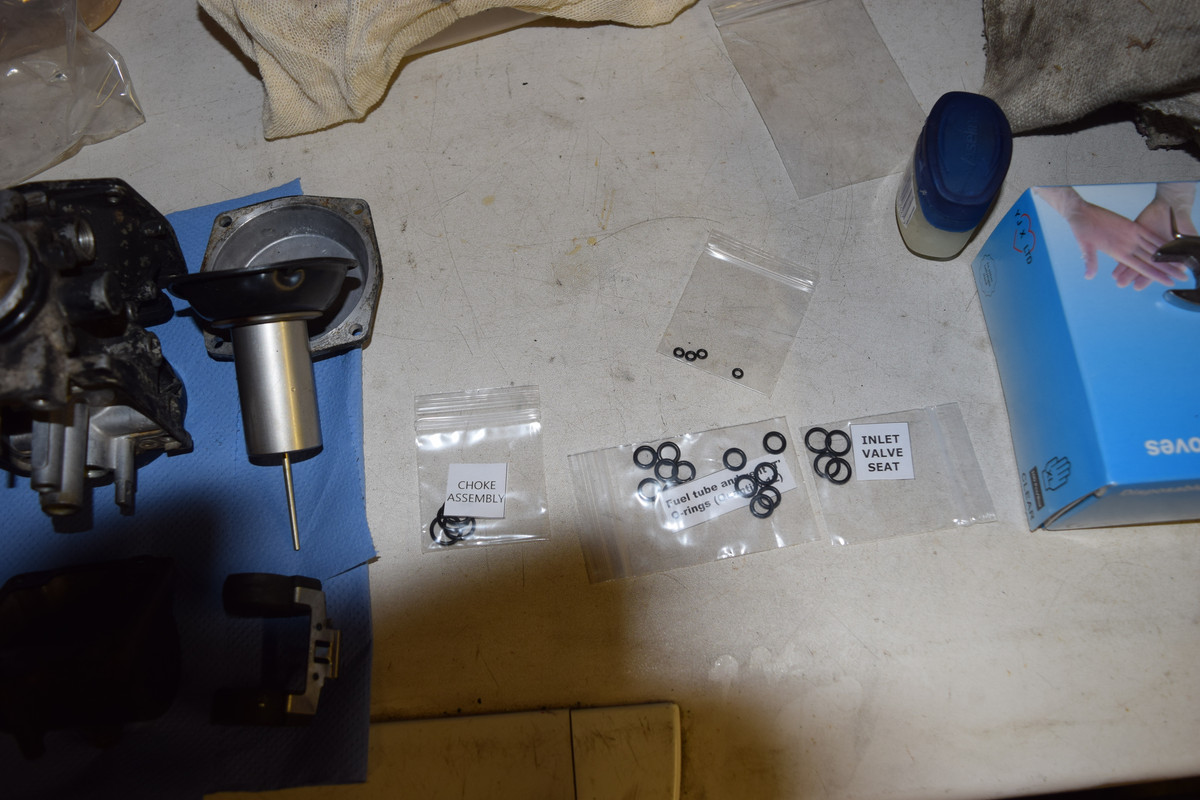
Remove all old O rings (all hard and brittle after 37 years and join to all places.
Choke 1,
fuel tube 4
overflow 2
Needle float holder 1
Mixture screw 1.
Drop the needle float holder into its slot and put retaining ring in with a screw.
Fit the float and remember, the pin only goes one way!
Bowl on, flip carb and get the diaphram with needle in the tube.
Line up the little dimple in the carb body with the corresponding dimple in the diaphram and smooth down. In goes the spring and then the cap. Lastly I do the mixture screws.
These carbs have been altered to take GSX1100EFE mixture screws and the posts have been shaved down so a lot of needle sticks out.

When I removed them they were all at 1 and 3/4 turns out from seated. That done, jobs a good un for that carb.

Now repeat 4 times!
Turn this.....
Into this.....
Yep the carbs are back together.
Going from one carb....
I stick the tube in the centre with the jet that screws into it. Then screw the smaller jet into the hole next to it using the green handled screwdriver.
Using the O ring kit...
Remove all old O rings (all hard and brittle after 37 years and join to all places.
Choke 1,
fuel tube 4
overflow 2
Needle float holder 1
Mixture screw 1.
Drop the needle float holder into its slot and put retaining ring in with a screw.
Fit the float and remember, the pin only goes one way!
Bowl on, flip carb and get the diaphram with needle in the tube.
Line up the little dimple in the carb body with the corresponding dimple in the diaphram and smooth down. In goes the spring and then the cap. Lastly I do the mixture screws.
These carbs have been altered to take GSX1100EFE mixture screws and the posts have been shaved down so a lot of needle sticks out.
When I removed them they were all at 1 and 3/4 turns out from seated. That done, jobs a good un for that carb.
Now repeat 4 times!