B
Bad Kaw
Guest
This is really going to be a good lookin' bike.
Keep posting!
-KR
Keep posting!
-KR
Required reading for all forum users!!!
Welcome!
Register to access the full functionality of the GSResources forum. Until you register and activate your account you will not have full forum access, nor will you be able to post or reply to messages.
A note to new registrants...
All new forum registrations must be activated via email before you have full access to the forum.
A Special Note about Email accounts!
DO NOT SIGN UP USING hotmail, outlook, gmx, sbcglobal, att, bellsouth or email.com. They delete our forum signup emails.
A note to old forum members...
I receive numerous requests from people who can no longer log in because their accounts were deleted. As mentioned in the forum FAQ, user accounts are deleted if you haven't logged in for the past 6 months. If you can't log in, then create a new forum account. If you don't get an error message, then check your email account for an activation message. If you get a message stating that the email address is already in use, then your account still exists so follow the instructions in the forum FAQ for resetting your password.
Have you forgotten your password or have a new email address? Then read the forum FAQ for details on how to reset it.
Any email requests for "can't log in anymore" problems or "lost my password" problems will be deleted. Read the forum FAQ and follow the instructions there - that's what we have one for...
If you are a returning visitor who never received your confirmation email, then odds are your email provider is blockinig emails from our server. The only thing that can be done to get around this is you will have to try creating another forum account using an email address from another domain.
If you are a returning visitor to the forum and can't log in using your old forum name and password but used to be able to then chances are your account is deleted. Purges of the databases are done regularly. You will have to create a new forum account and you should be all set.
Nice job! The attention to detail is fantastic, really sharp looking.
This is really going to be a good lookin' bike.
Keep posting!
-KR
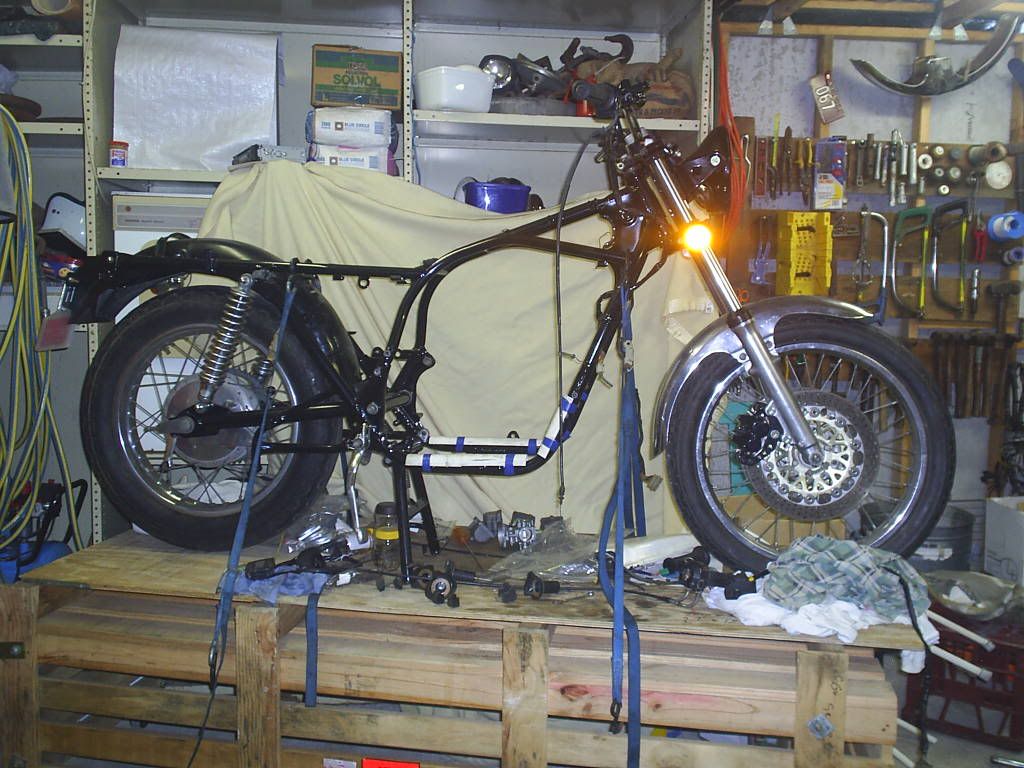
The bikes looking good. Just out of curiosity, what else do you have to do to the bike to get it ready for the road? I know I have a list for my bike as I'm sure most of us working on these bikes do. Just curious.
-Theo
Hey Theo,
Thanks for saying so. It's getting to the point that I am getting excited about getting her all put together in time for spring.
My "to do" list? Hmmm. :-k:-k:-k
To be road legal/safe/has to be done...
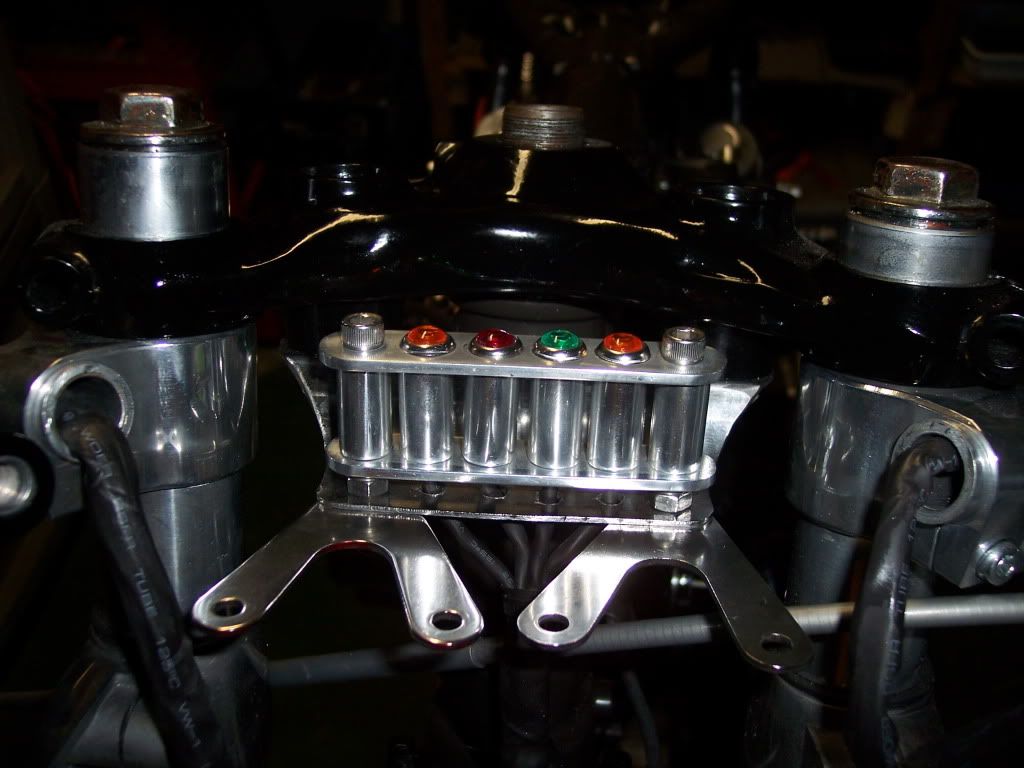
-construct new LED idiot light/gear position display
Maybe we should start a thread for everyone's "To Do" lists. It could be a good way to give an encouraging kick to the butt to keep us all motivated. :-k
Wow. I thought my list was long. You've got your work cut out. Regarding the dash. On another forum, a user made an idiot light dash for himself and I thought it was really nice and will most likely copy him. Click on this link and scroll down to the post by Herm21. Here is a picture to give you an idea of what they did.
That's a good idea. Maybe I'll get that started if you haven't already.
-Theo
Thanks, I do what I can with what I have.
Thanks, I need the encouragement to keep at it some days.
Maybe we should start a thread for everyone's "To Do" lists. It could be a good way to give an encouraging kick to the butt to keep us all motivated.
Now that I've gone over the list, it makes me think I need to get back to work on my bike!
Thanks again to all for the encouragement,


My to do list is in my head. I can't bring myself to write it all down. So many things to do.
P.S. MAC thanks for you help on the spray painting issue. I might not get to that for a while as I need to prioritise the many tasks left to do. The advantage of so many jobs to do is that no matter how much spare time there is then there is a task that can be done, be it 15mins or two hours.
Quite the project. Looks great so far. I also would be interested in seeing an Ontario rally. I'm about an hour south of the Peace Bridge. I travel south and east a lot, north would be a nice change.
Andy
Thanks for saying so Andy! It's been a while, how ya been?
The only thing about staging and Ontario Rally is...I have no idea where there would be enough interesting roads to make it worthwhile, aside from way up north, that is. I don't think our brethren from the US of A would really feel like riding 6+ hours just to get to where we would be riding. I may be wrong, likely am, but hey, I am always open to suggestions.
I am going to try and make it to a rally or two this year, depends on finances. Maybe I should see if there is any interest in having an Ontario rally. First thing to do would be to find a nice long stretch of some twisties. Unfotunately, there really isn't much in my area for twisties. Maybe a rally 'round Algonquin National Park would work? Beautiful area, lots of camping, and it's around 480km's (300 mi) to do a circuit of the park. Sounds like a good long weekend run to me. Unfortunately, it takes around 3-4 hours to get there from here!
Would be a hellacool ride though!
Hi Mac,
I was up in your area 6 years ago visiting my niece in Port Elgin. She's allways bugging me to come and stay at their place for a vacation. The wife sujested I rent a motorcycle and tour the area the next time they twist my arm to come up. Like you said in your post it seamed pretty flat and straight in your area. I may consider the Algonquin N.P. run. Thanks for the idea.
cg
Now I know everyone should do a vacuum sync on their carbs to get our machines to run their best, and me being without a vacuum gauge set, or a manometer, I decided to build one.
I will update with more pics once my gauges show up and I finish building the gauge set.
The gauge supplier also supplied 4 small brass "snubbers" - threaded brass fitting with a hole approximately the size of a pin (or even smaller) through it - to dampen out the oscillations of the needle. These screwed into the gauge fitting.
