Charlie G Won't be for too long I hope.
Greetings
Greetings
Required reading for all forum users!!!
Welcome!
Register to access the full functionality of the GSResources forum. Until you register and activate your account you will not have full forum access, nor will you be able to post or reply to messages.
A note to new registrants...
All new forum registrations must be activated via email before you have full access to the forum.
A Special Note about Email accounts!
DO NOT SIGN UP USING hotmail, outlook, gmx, sbcglobal, att, bellsouth or email.com. They delete our forum signup emails.
A note to old forum members...
I receive numerous requests from people who can no longer log in because their accounts were deleted. As mentioned in the forum FAQ, user accounts are deleted if you haven't logged in for the past 6 months. If you can't log in, then create a new forum account. If you don't get an error message, then check your email account for an activation message. If you get a message stating that the email address is already in use, then your account still exists so follow the instructions in the forum FAQ for resetting your password.
Have you forgotten your password or have a new email address? Then read the forum FAQ for details on how to reset it.
Any email requests for "can't log in anymore" problems or "lost my password" problems will be deleted. Read the forum FAQ and follow the instructions there - that's what we have one for...
If you are a returning visitor who never received your confirmation email, then odds are your email provider is blockinig emails from our server. The only thing that can be done to get around this is you will have to try creating another forum account using an email address from another domain.
If you are a returning visitor to the forum and can't log in using your old forum name and password but used to be able to then chances are your account is deleted. Purges of the databases are done regularly. You will have to create a new forum account and you should be all set.
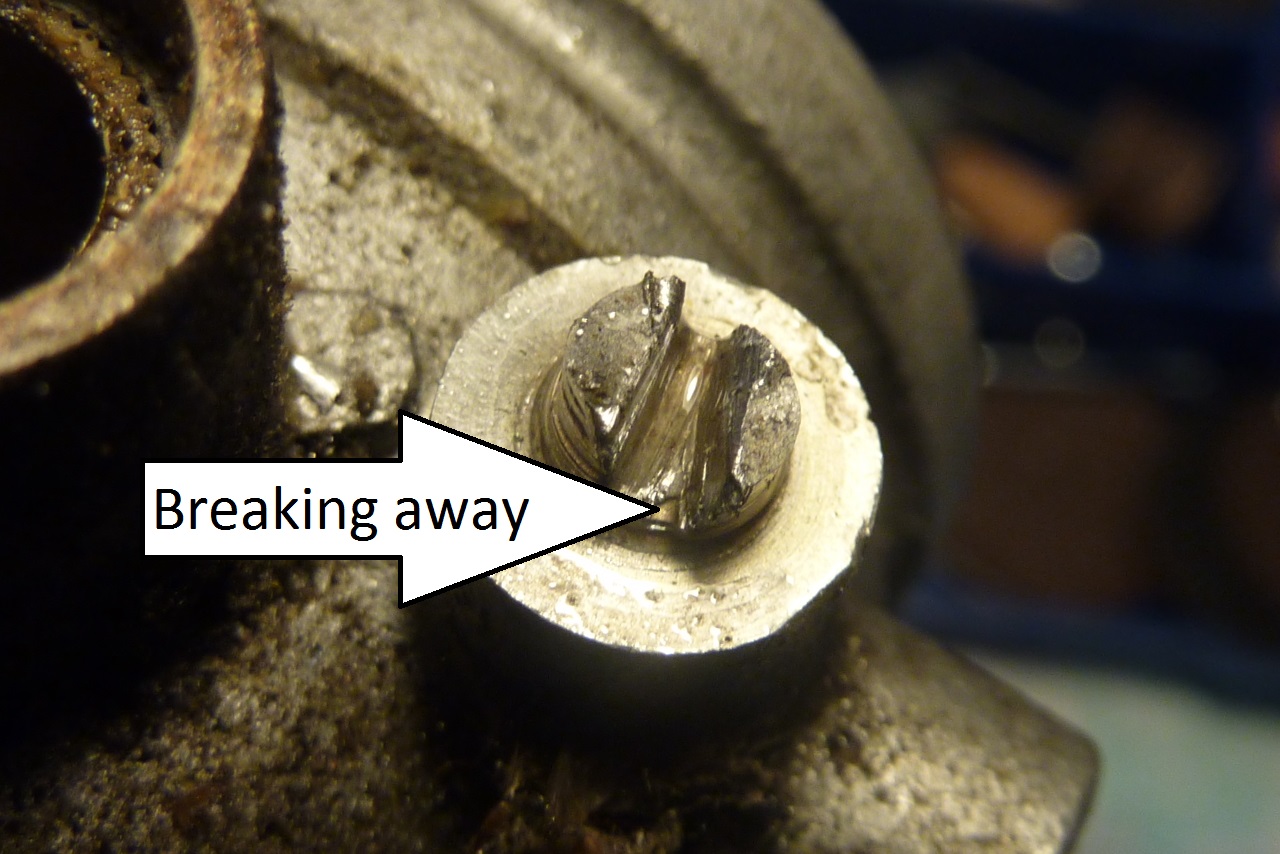
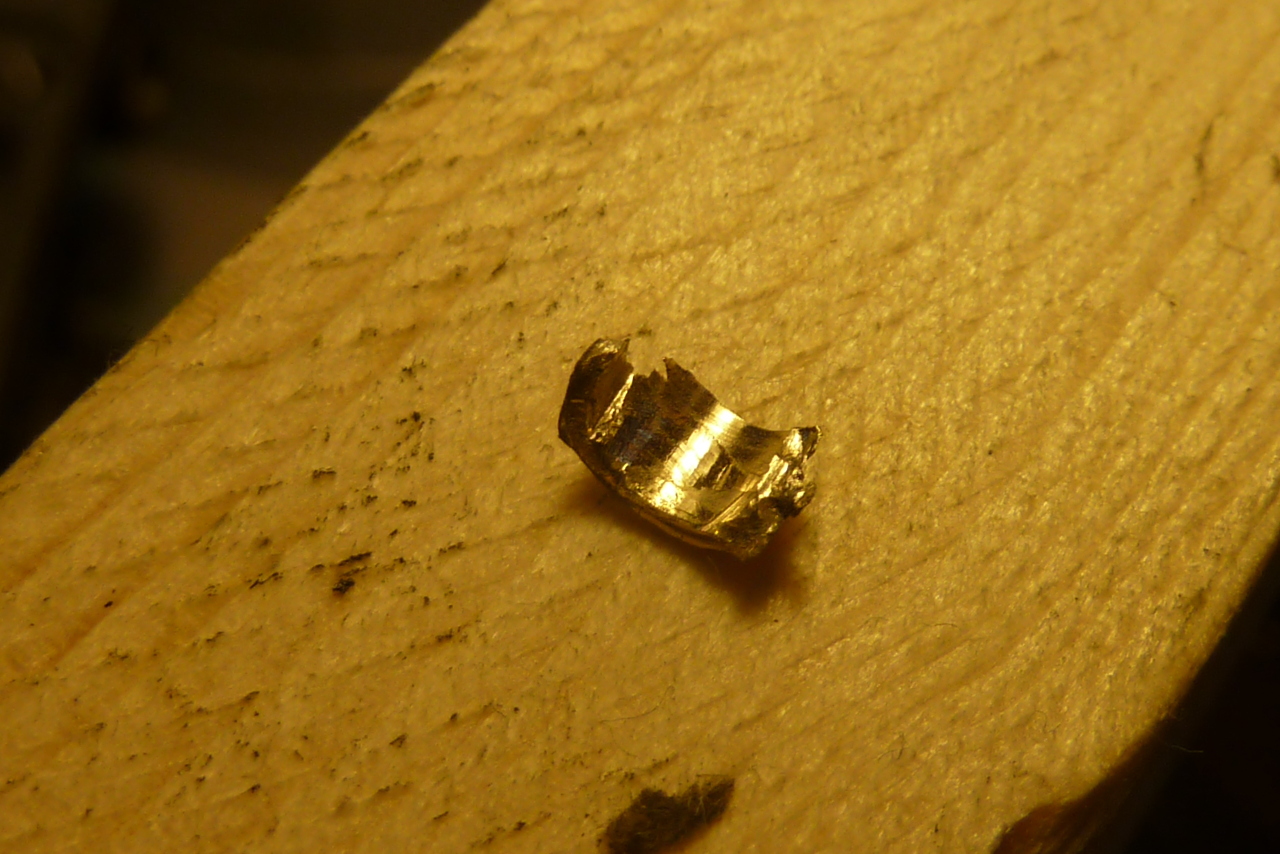
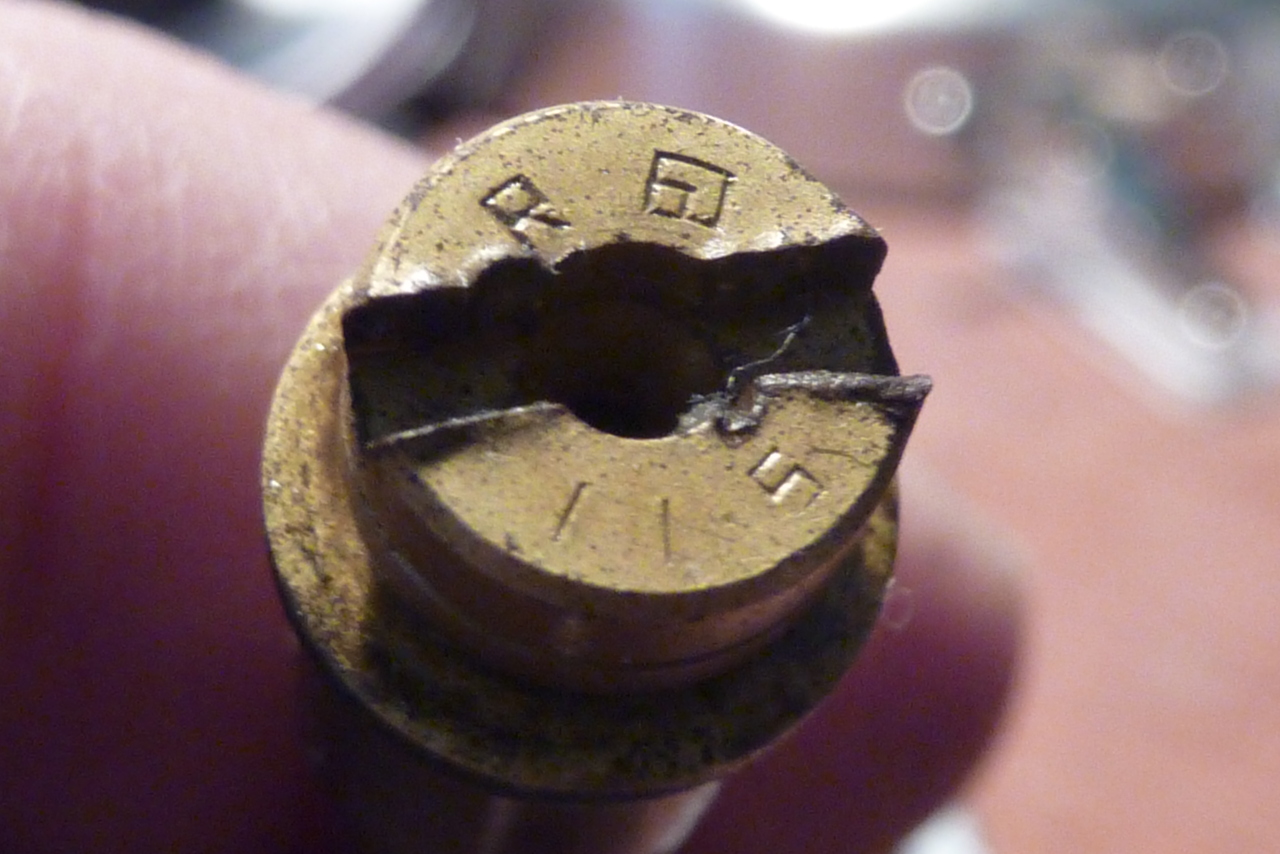
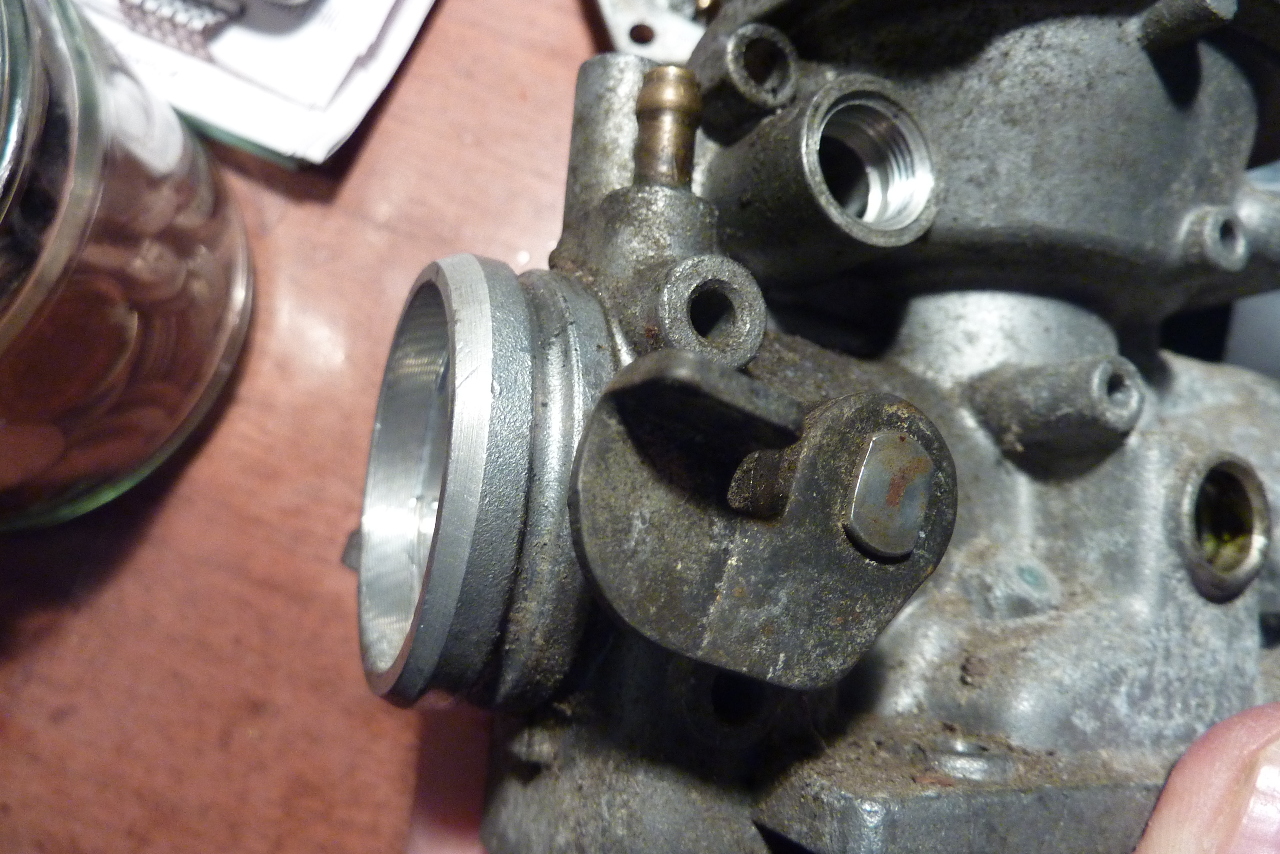
Damage like that is usually caused by using a badly fitting screwdriver, even more so if they are screwed in real tight. i would replace them or just give them a good dressing up with a small file. it shouldn't affect their performance.Agemax - you are right. It's ridiculously damaged. Beggars belief really. The main jet must be the easiest one to put in and get out as it has a nice big slot and is easily accessed. Why would anyone have needed to apply so much force to it.
The only logical explanation is that the shop that serviced the bike (in Burlington, Ontario) must have, at some stage, needed to clean the carbs or change the jets. We have owned this bike since new and it has only ever been serviced by one shop in it's life and that would have been between 1984/5 and 1990. Since then it's been in my possession and not touched on the carb front.
The plot thickens.
Greetings

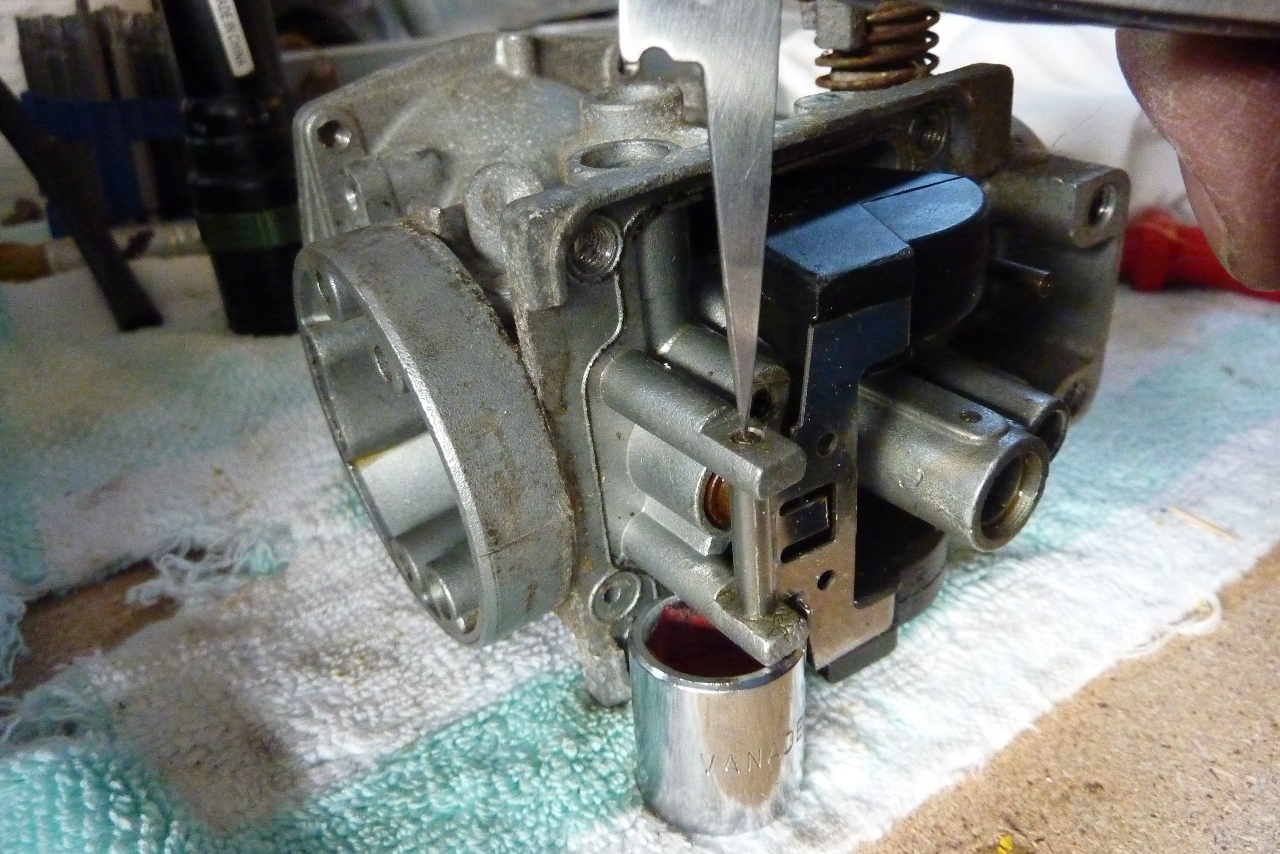


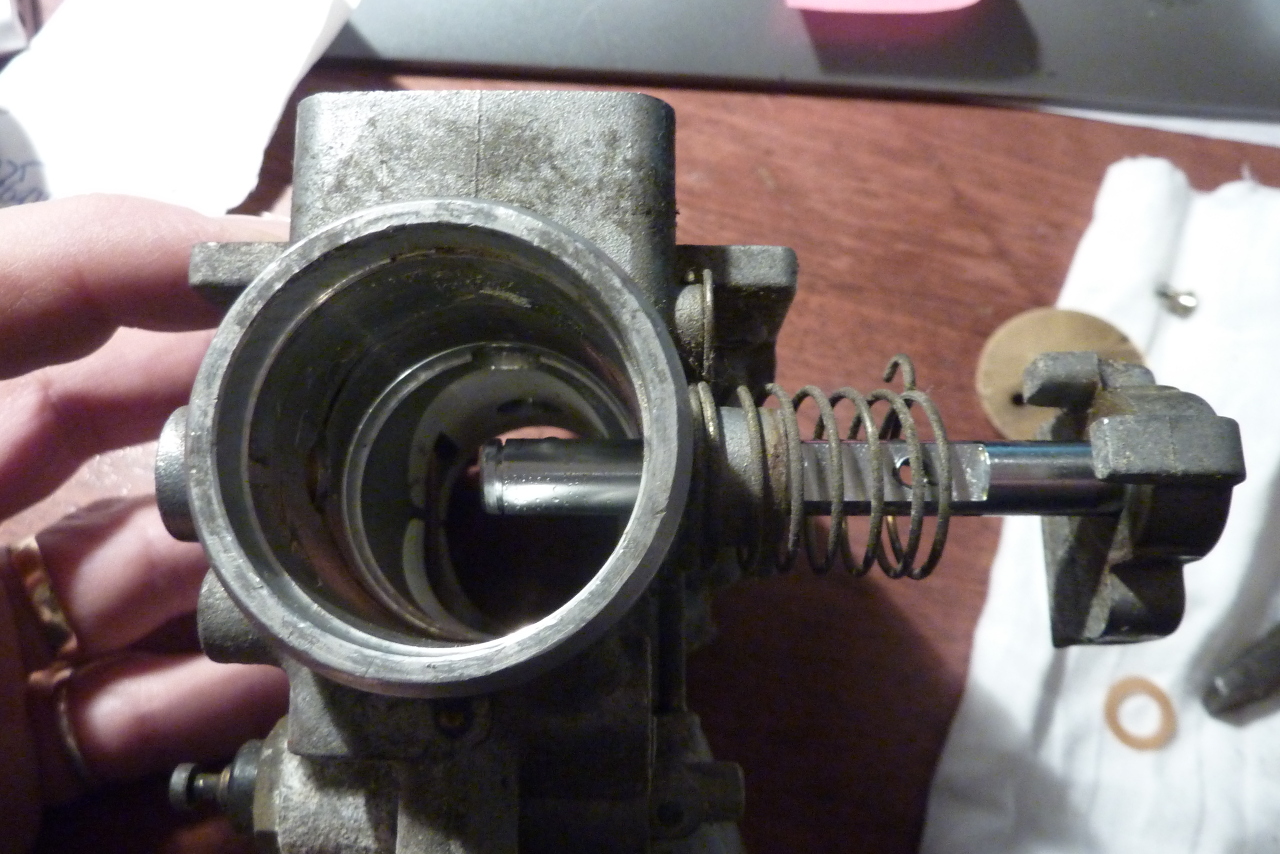
I would take those butterfly valves apart and re-zinc the springs. The concern is when you reassemble that the screws on the valves work loose and head in to your engine. If you peen over the threaded end on reassembly you will eliminate that risk. I've done it many times and never had anything go AWOL.
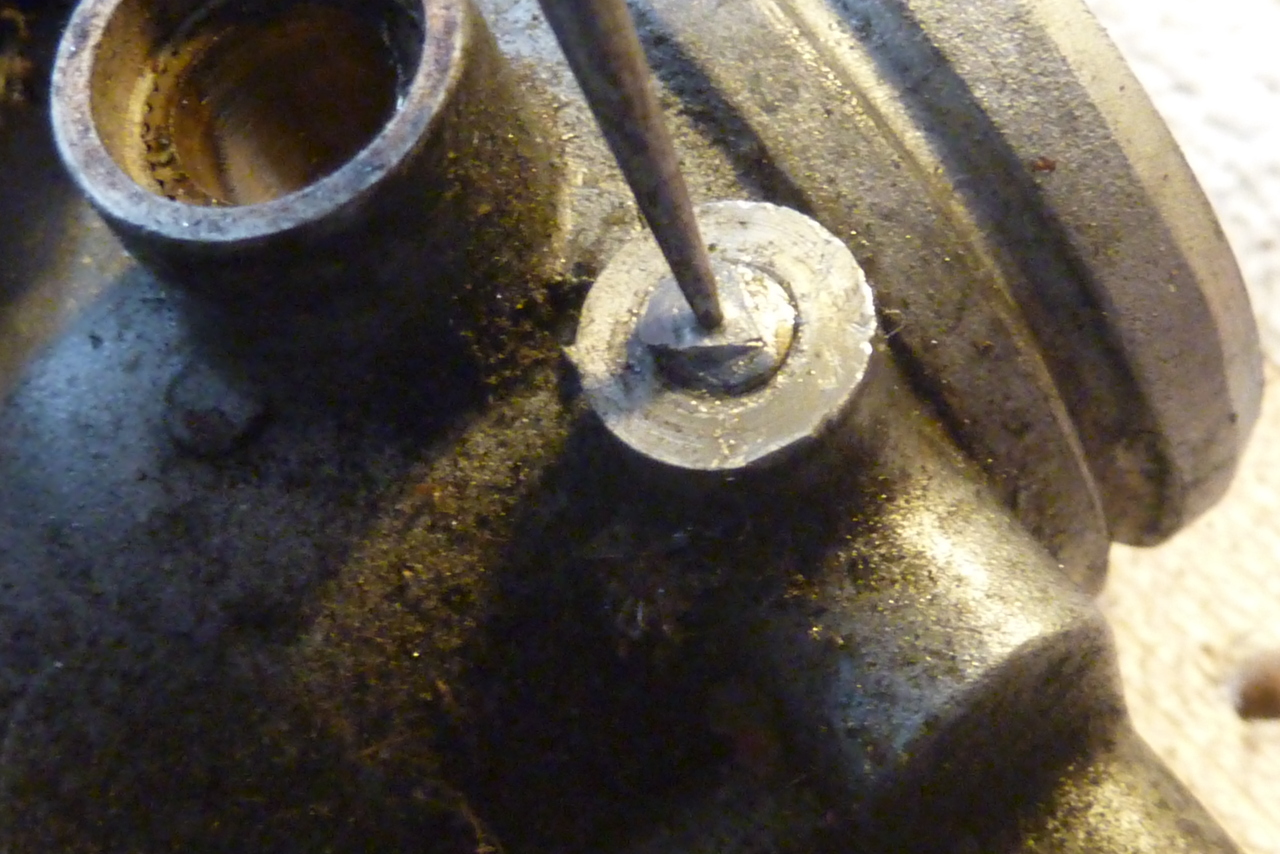
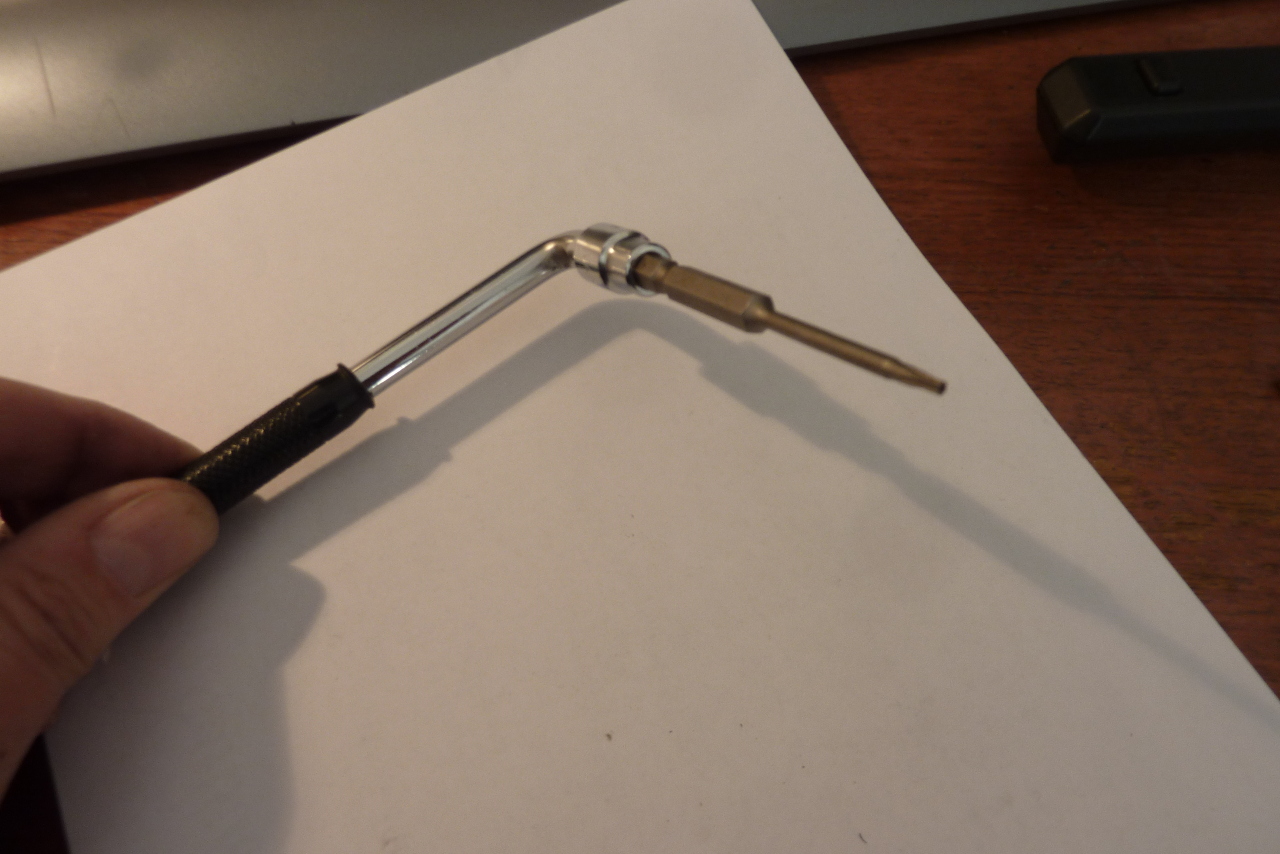
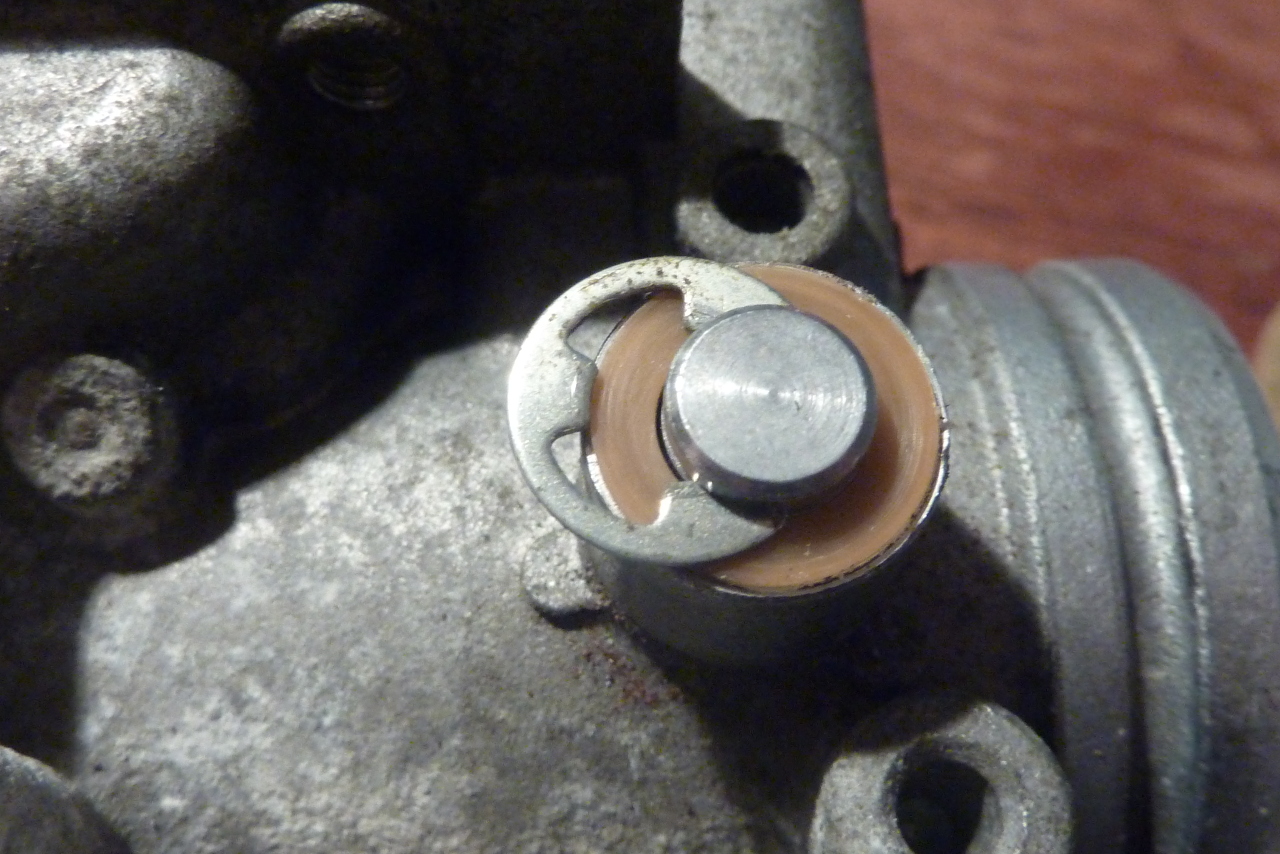
Great close up photo of the needle valve. I reckon that one is worn out - though that might be the photo telling me that; in reality I doubt I could see that level of detail looking through a magnifying glass so would probably pass it as ok in my garage.
I would take those butterfly valves apart and re-zinc the springs.
")


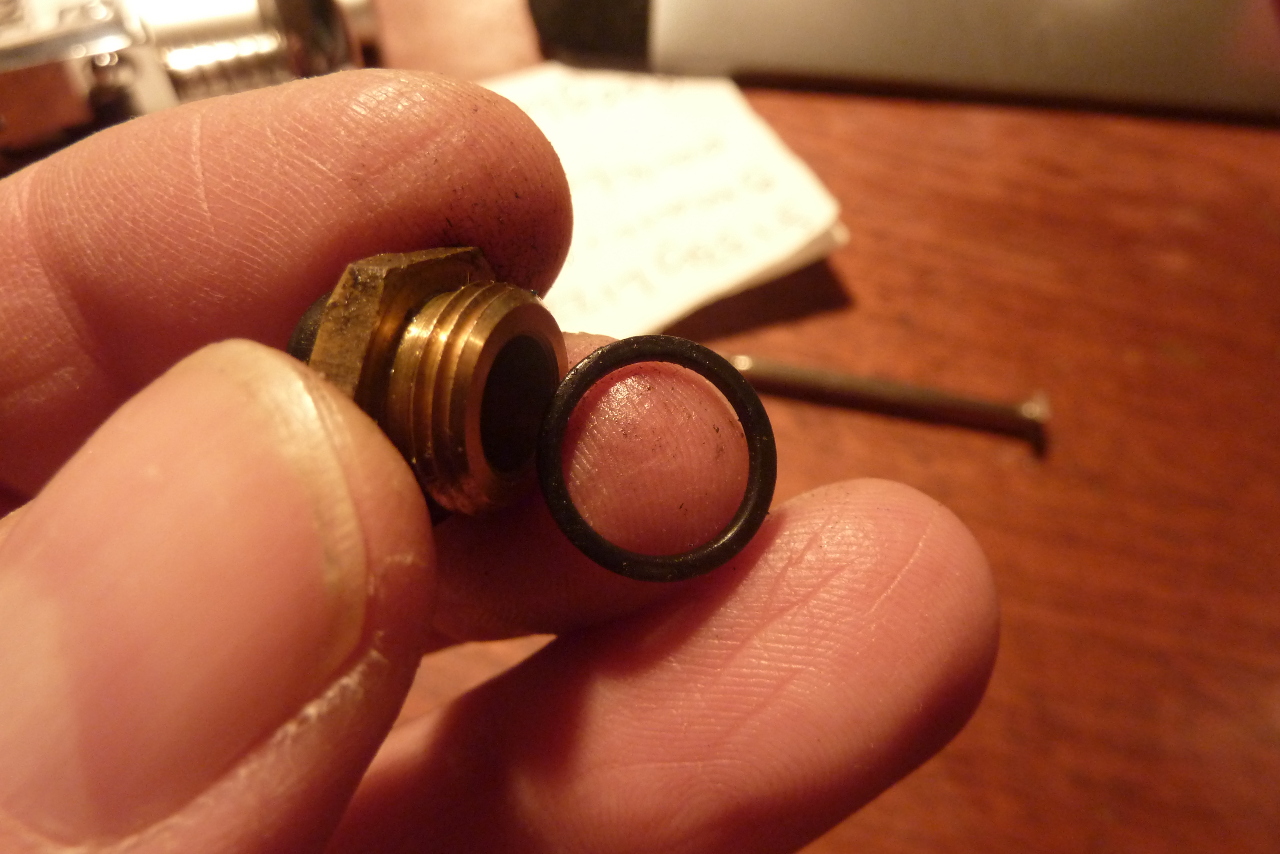
The only logical explanation is that the shop that serviced the bike (in Burlington, Ontario) must have, at some stage, needed to clean the carbs or change the jets.


 ... but it's a proper way to do it if you want to eliminate all sources of a potential leak further down the track