eil
Forum Sage
Hi All,
So I spoke a bit about myself over in the GS Owners forum, but this thread is more about the bike and my plans for it. In short, I'm looking to bring it back to road-worthiness. This will not be a restoration for two reasons: 1) I'm not much into cruisers, and 2) There is no pristine part on it, so restoring it to something I'd be proud to show off would be really, really expensive. That said, everything I've seen so far makes me believe it could be perfectly ridable by spring.
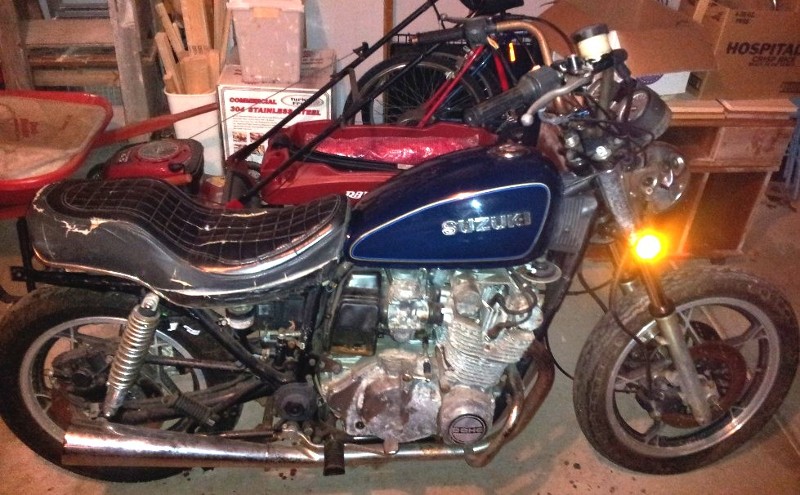
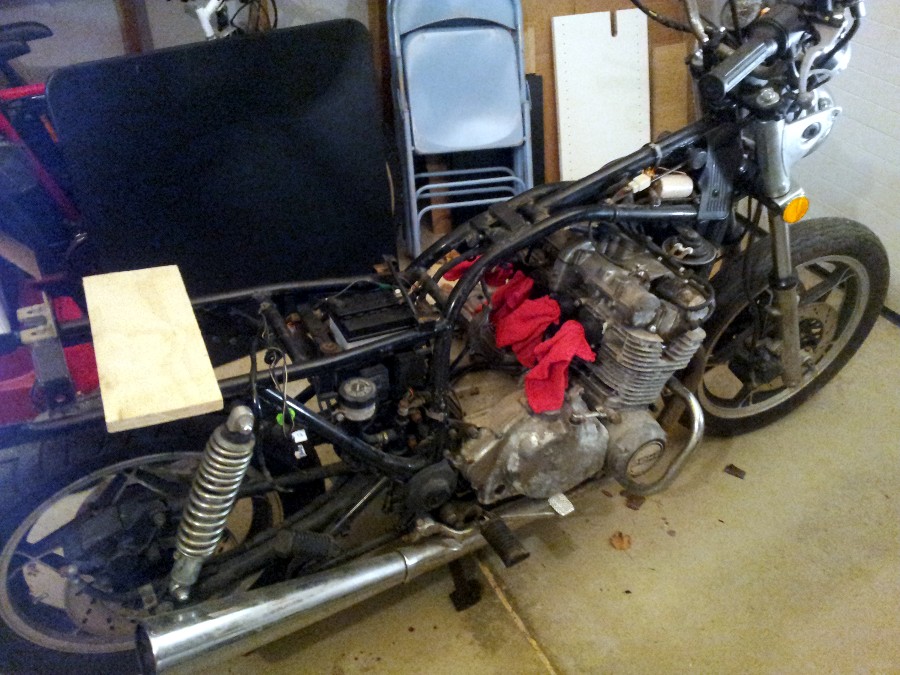
The previous owner took off the tank, lights, fenders, and side covers with the intent of turning it into a chopper but then lost interest. He had it since 2001 and says it was running a year ago. (But the more I check things out, the more I don't believe him. Details on that some other time.)
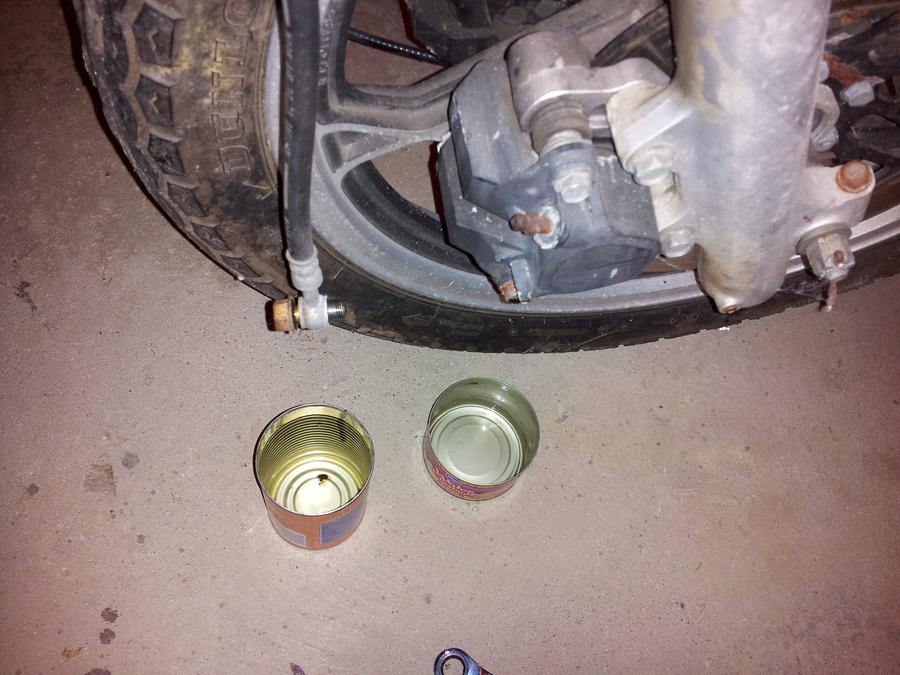
It looks about like you'd expect a 33 year-old motocycle to look. All of the parts appear to be stock, but almost everything that's metal on it has rusted or corroded to some degree or another. The aluminum parts are well-weathered with patchy oxidation, the seat is cracked everywhere. I think it might have either spent quite a few years outside, or by the sea-side, or both. The front brakes don't work at all. The connector on the back of the tachometer is broken, so the tach cable won't stay in. (I'll either try to find a new tach, or fabricate a really ghetto bracket to hold it on.)
But there are some bright spots as well. All of the parts are there (including side covers and airbox covers) and except as noted above, nothing is obviously damaged, broken, or bent. It has a brand-new tire on the back. The engine is not seized. The inside of the gas tank is completely rust-free. The speedo only claims to have seen 17640 miles. So, not too shabby, I think.
Thus begins the start of my winter project and first motorcycle semi-restoration. I've already familiarized myself with BassCliff's excellent archive of resources and have not one but TWO repair manuals in the mail. I'll be eternally grateful for any advice dispensed. This forum has a reputation 'round the 'net for being very friendly and helpful.
Here's the short list of todo items:
Thanks,
Charles
So I spoke a bit about myself over in the GS Owners forum, but this thread is more about the bike and my plans for it. In short, I'm looking to bring it back to road-worthiness. This will not be a restoration for two reasons: 1) I'm not much into cruisers, and 2) There is no pristine part on it, so restoring it to something I'd be proud to show off would be really, really expensive. That said, everything I've seen so far makes me believe it could be perfectly ridable by spring.
The previous owner took off the tank, lights, fenders, and side covers with the intent of turning it into a chopper but then lost interest. He had it since 2001 and says it was running a year ago. (But the more I check things out, the more I don't believe him. Details on that some other time.)
It looks about like you'd expect a 33 year-old motocycle to look. All of the parts appear to be stock, but almost everything that's metal on it has rusted or corroded to some degree or another. The aluminum parts are well-weathered with patchy oxidation, the seat is cracked everywhere. I think it might have either spent quite a few years outside, or by the sea-side, or both. The front brakes don't work at all. The connector on the back of the tachometer is broken, so the tach cable won't stay in. (I'll either try to find a new tach, or fabricate a really ghetto bracket to hold it on.)
But there are some bright spots as well. All of the parts are there (including side covers and airbox covers) and except as noted above, nothing is obviously damaged, broken, or bent. It has a brand-new tire on the back. The engine is not seized. The inside of the gas tank is completely rust-free. The speedo only claims to have seen 17640 miles. So, not too shabby, I think.
Thus begins the start of my winter project and first motorcycle semi-restoration. I've already familiarized myself with BassCliff's excellent archive of resources and have not one but TWO repair manuals in the mail. I'll be eternally grateful for any advice dispensed. This forum has a reputation 'round the 'net for being very friendly and helpful.
Here's the short list of todo items:
- New battery
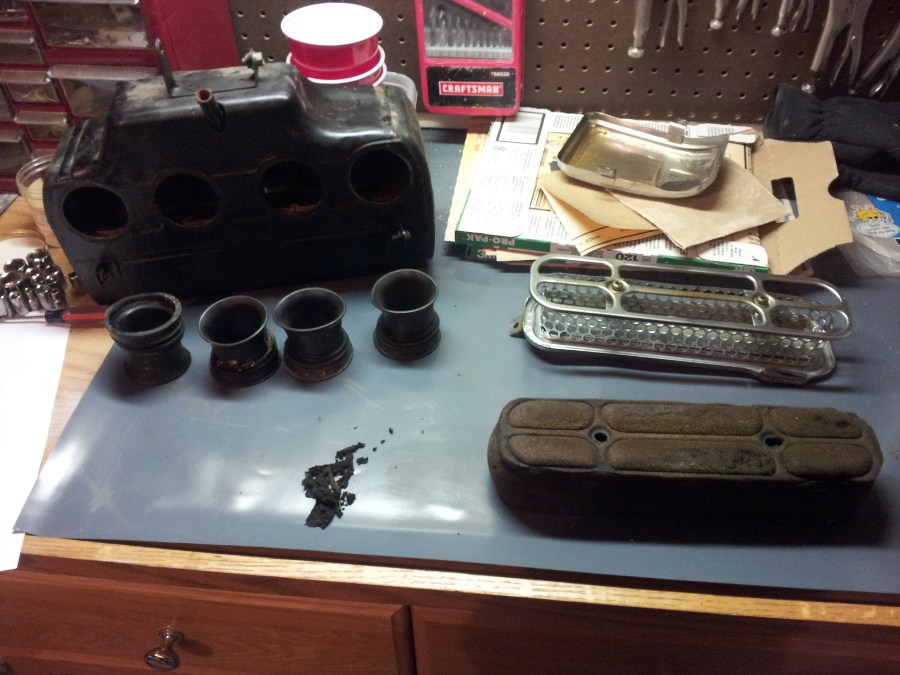
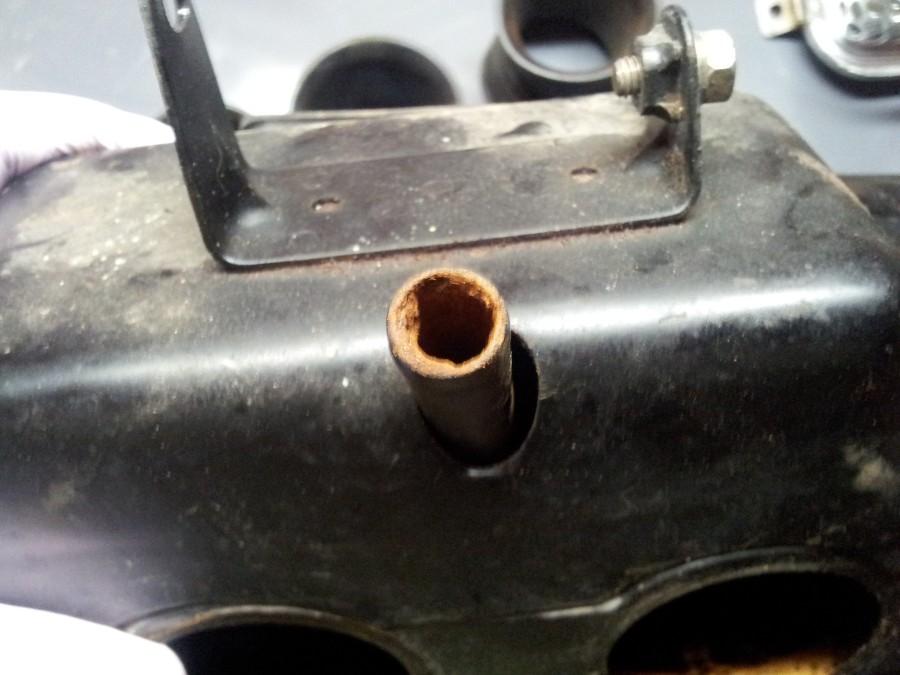
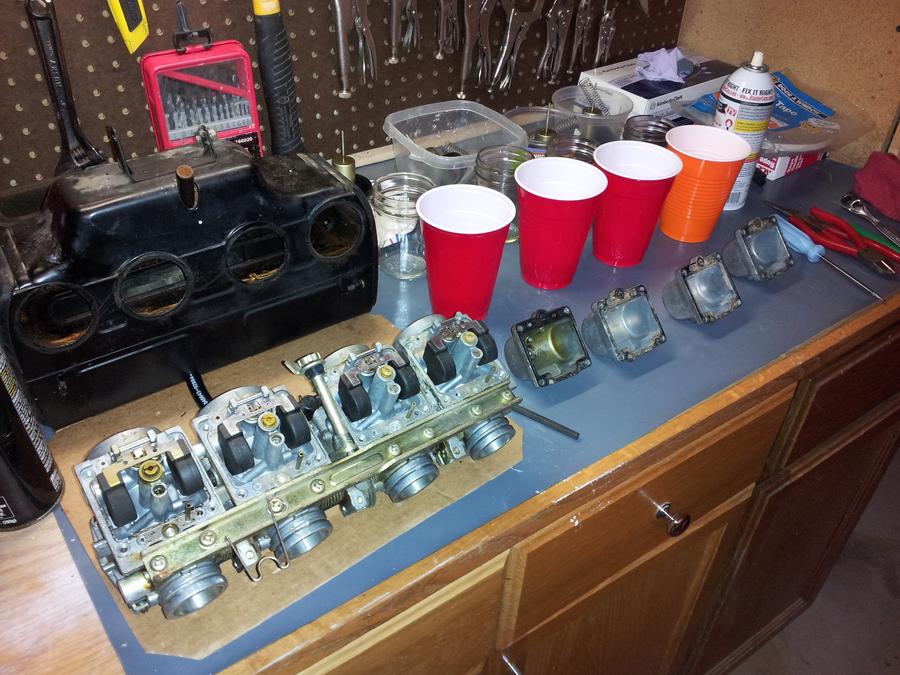
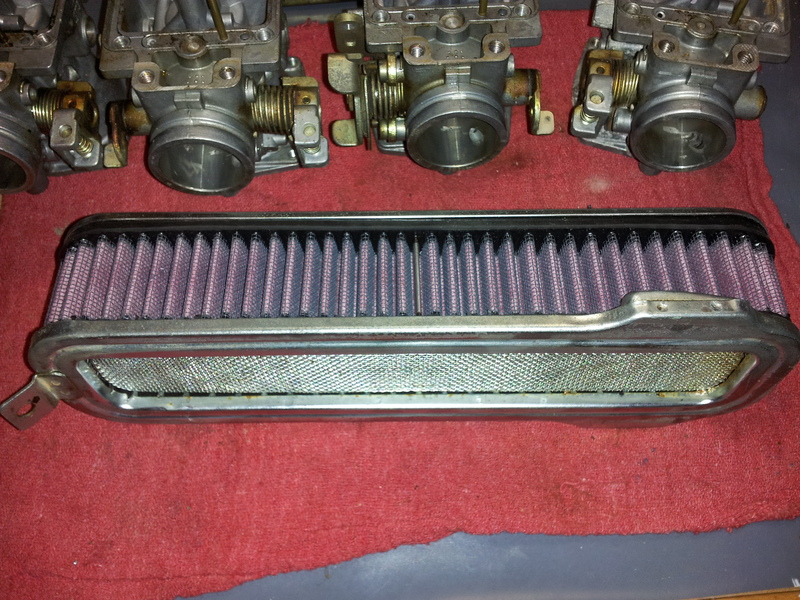
- Clean air filter and inspect airbox
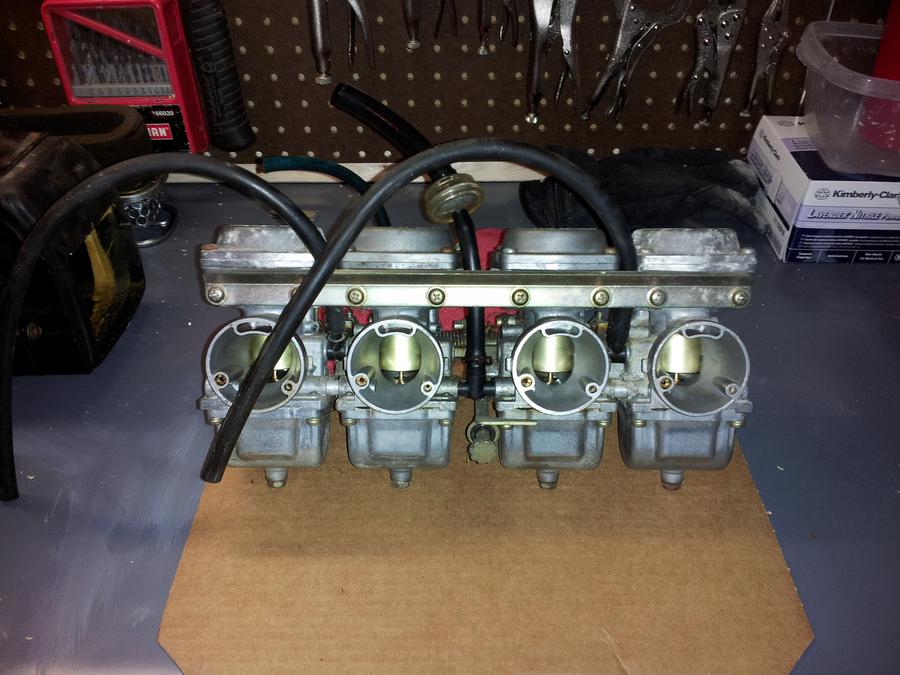
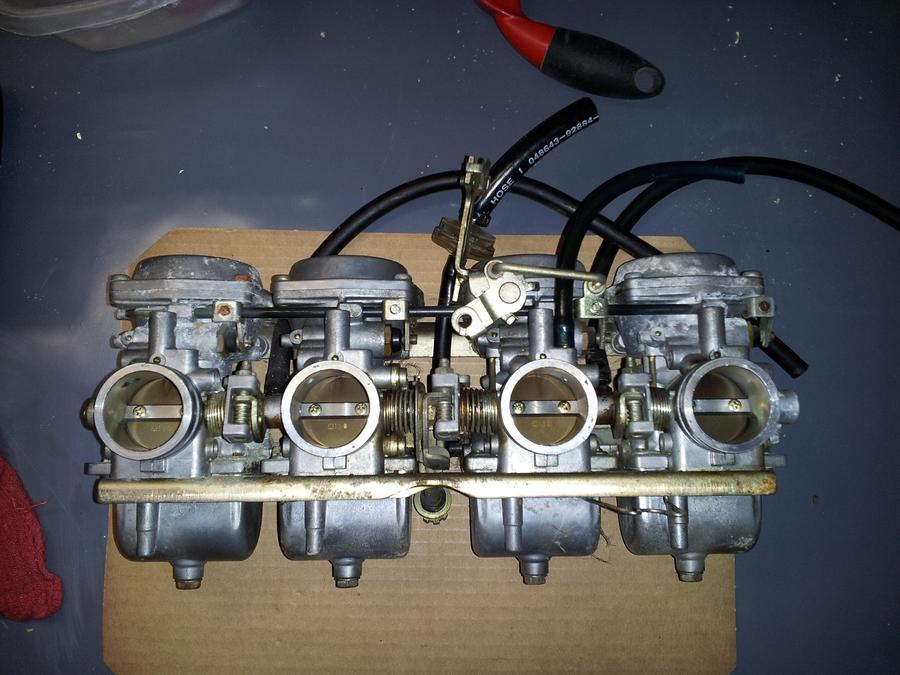
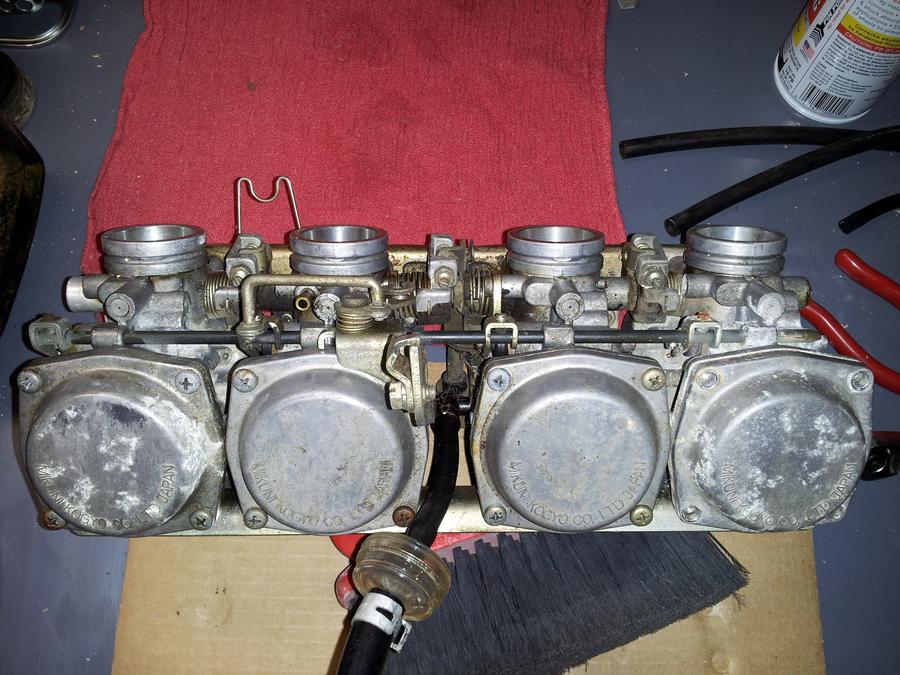
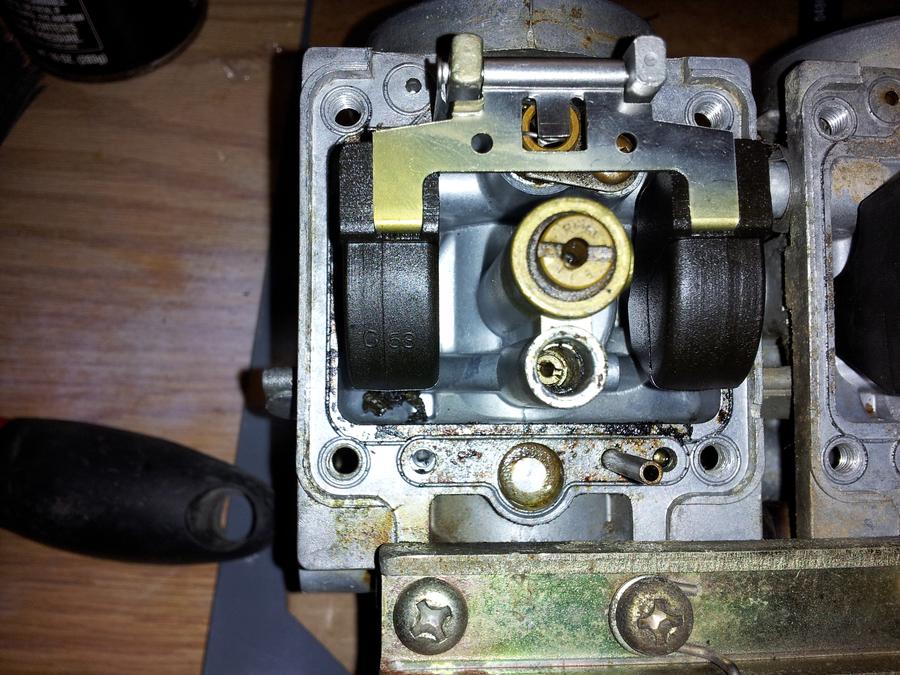
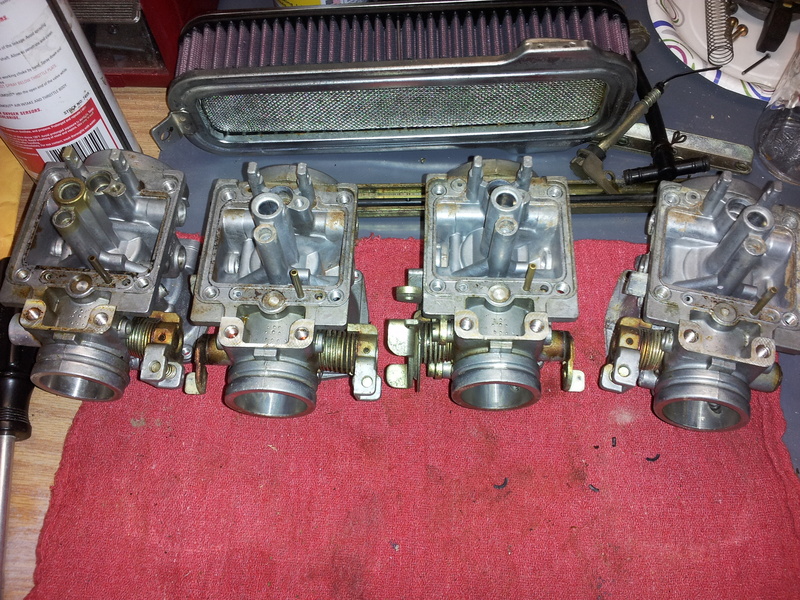
- Clean carbs
- Check/gap spark plugs
- Fix fuel line (new hose)
- Change crankcase oil and filter
- Inspect clutch and clutch plates (possily new springs)
- Change gear/drive oil
- Check compression
- Valve lash adjustment
- New front tire
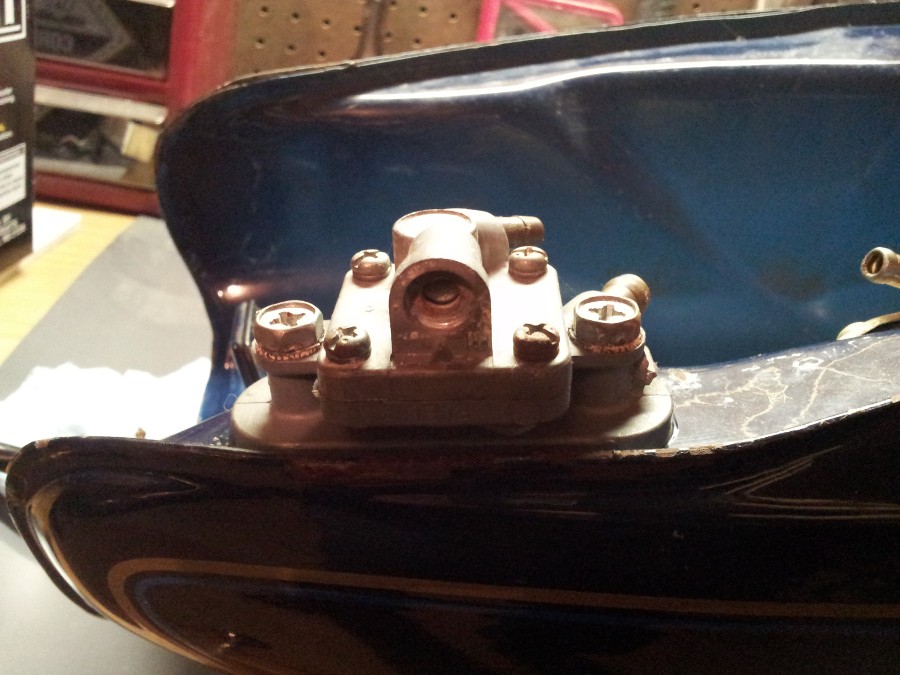
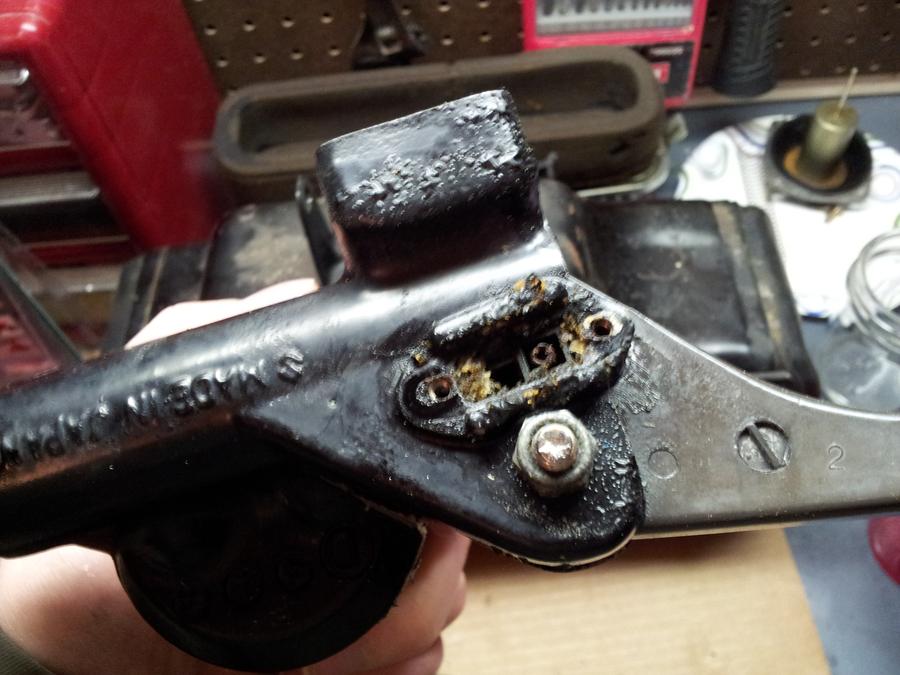
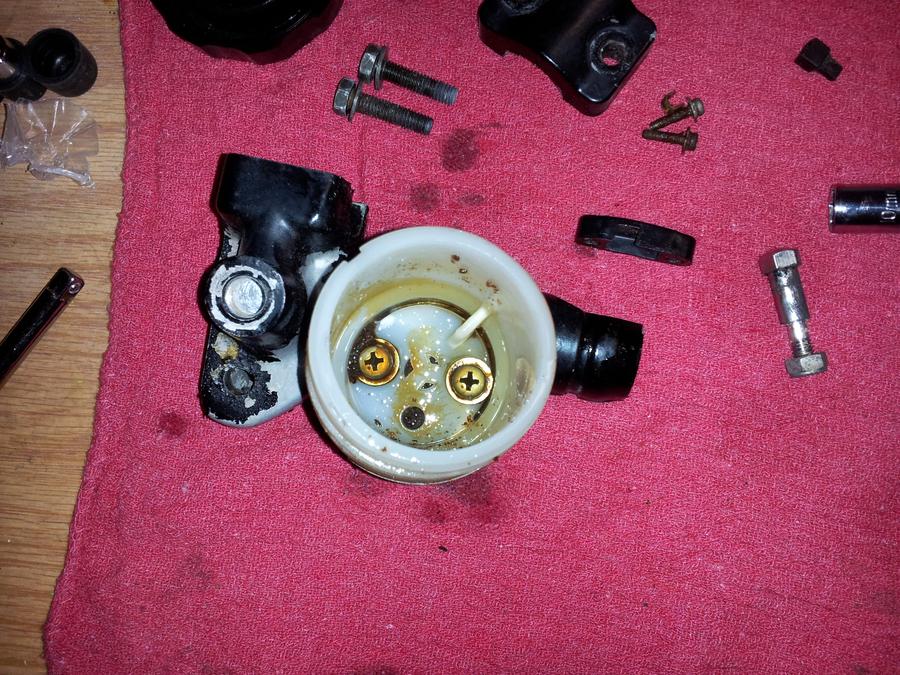
- Rebuild front master cylinder and reservoir
- Inspect front calipers and brake pads (need new bleeder screws)
- Flush, fill, and bleed front and rear brakes (and inspect pads, new bleeder screws)
- Fix tach cable (or replace tach)
- Lube/inspect clutch cable
- Lube/inspect throttle cable
- New handlebars (mini ape-hangers not doing it for me)
- Buy or rig up new battery strap
- Reattach:
- Mirrors
- Headlight
- Front and rear turn signals
- Fenders
- Airbox covers and side covers
- Rear seat bar thing (may leave it off, we'll see)
Thanks,
Charles
Last edited:
") )
)


") Valve clearance is definitely still on the agenda, but I have yet to order the valve cover gasket and a few tools that I'll need. (And I was specifically waiting until after the new year for that purchase.) Your spreadsheet, does it require Microsoft Excel?
Valve clearance is definitely still on the agenda, but I have yet to order the valve cover gasket and a few tools that I'll need. (And I was specifically waiting until after the new year for that purchase.) Your spreadsheet, does it require Microsoft Excel?