• Required reading for all forum users!!!

    Welcome!
    Register to access the full functionality of the GSResources forum. Until you register and activate your account you will not have full forum access, nor will you be able to post or reply to messages.

    A note to new registrants...
    All new forum registrations must be activated via email before you have full access to the forum.

    A Special Note about Email accounts!
    DO NOT SIGN UP USING hotmail, outlook, gmx, sbcglobal, att, bellsouth or email.com. They delete our forum signup emails.

    A note to old forum members...
    I receive numerous requests from people who can no longer log in because their accounts were deleted. As mentioned in the forum FAQ, user accounts are deleted if you haven't logged in for the past 6 months. If you can't log in, then create a new forum account. If you don't get an error message, then check your email account for an activation message. If you get a message stating that the email address is already in use, then your account still exists so follow the instructions in the forum FAQ for resetting your password.

    Have you forgotten your password or have a new email address? Then read the forum FAQ for details on how to reset it.

    Any email requests for "can't log in anymore" problems or "lost my password" problems will be deleted. Read the forum FAQ and follow the instructions there - that's what we have one for...

  • Returning Visitors

    If you are a returning visitor who never received your confirmation email, then odds are your email provider is blockinig emails from our server. The only thing that can be done to get around this is you will have to try creating another forum account using an email address from another domain.

    If you are a returning visitor to the forum and can't log in using your old forum name and password but used to be able to then chances are your account is deleted. Purges of the databases are done regularly. You will have to create a new forum account and you should be all set.

1981 gs750 (gs750e) Retro Racer project

So far, I'm using the stock GSX-R triples. They are 30mm offset, about the same as the stock GS triples. That means I'm getting about 2cm less offset than stock, as the GS-fork is leading axle. I don't think I will make it a priority right away, but if anyone has information on stock triples from another bike that fixes this problem I can start looking for a set. I've browsed through the tables in other forums, and didn't find anything, so if there really is an available solution (except expensive aftermarket parts) it would be a hidden gem.

If the steering is too sluggish, and/or if the front tire gets too close to the exhaust under fork compression, I think I will put adjustable triples on my to-do list for the winter.
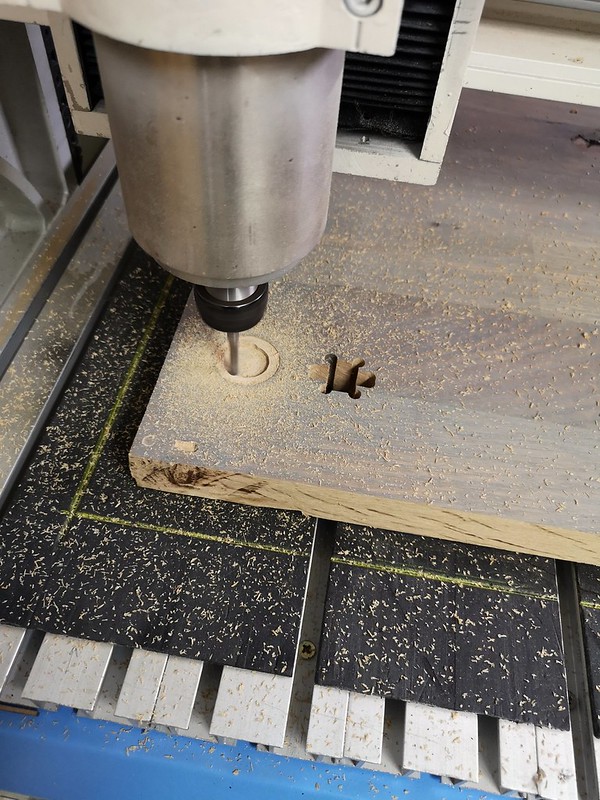
I hope the cnc-router is working by then and I have a lot of large pieces of glued oak (kitchen countertops) that I get for free from a local store. They are awesome for doing cheap cnc prototyping.


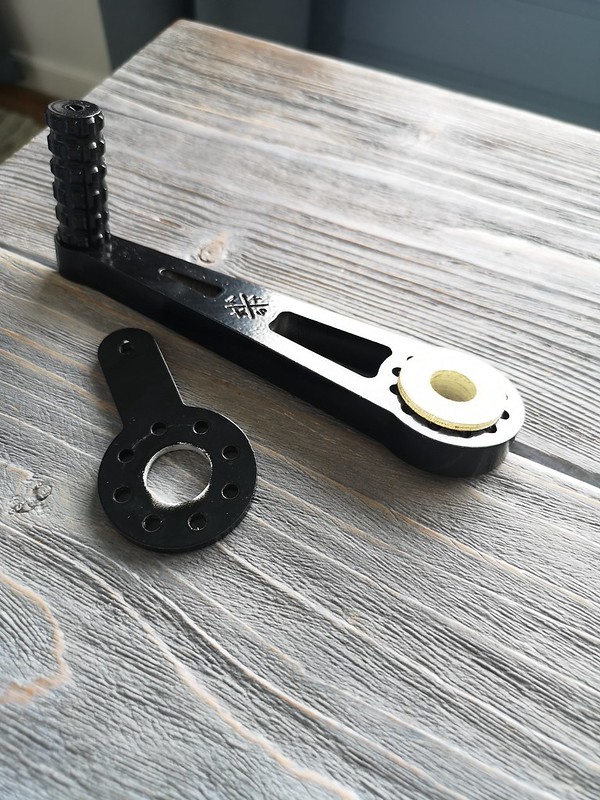
Here's a prototype I made for the GS-fork that I didn't mill in aluminum as I decided to go for the USD fork instead.


43780539594_8896ac890f_c.jpg


Does anyone have either drawings (CAD) or pictures of suitable adjustable upper and lower triples?
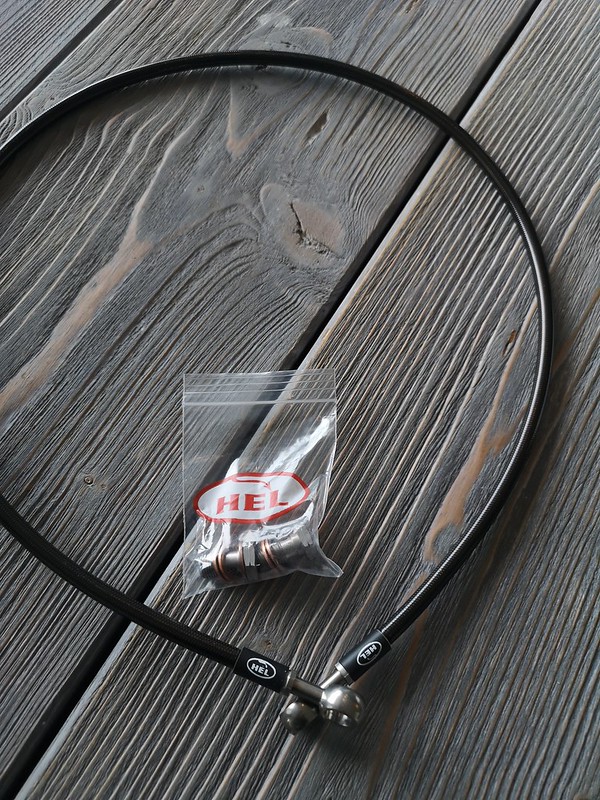
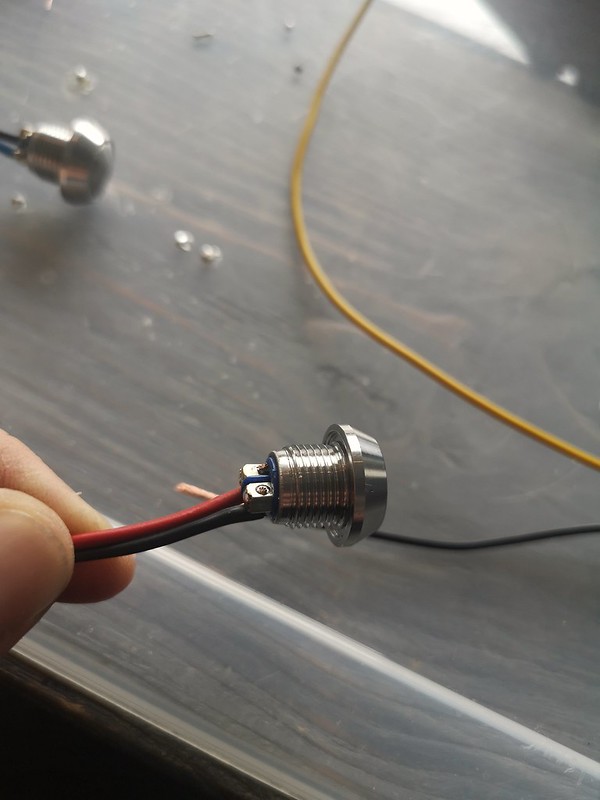
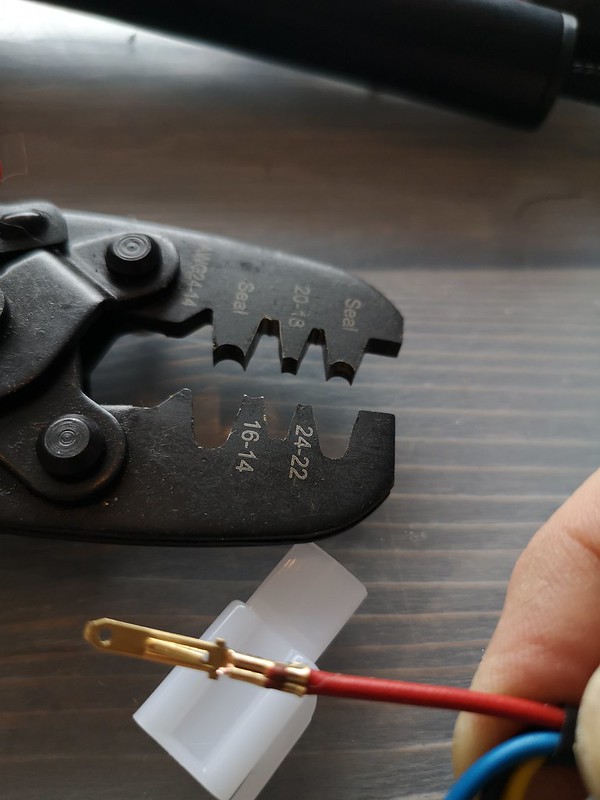
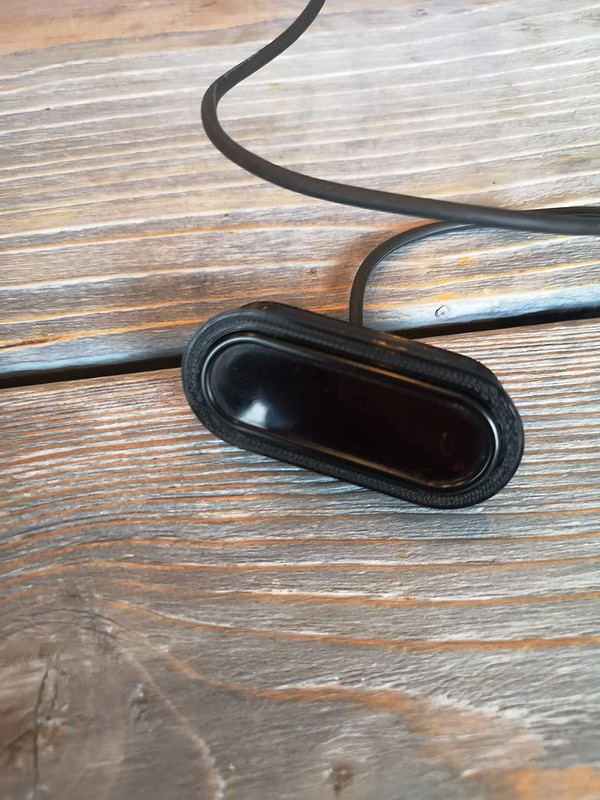
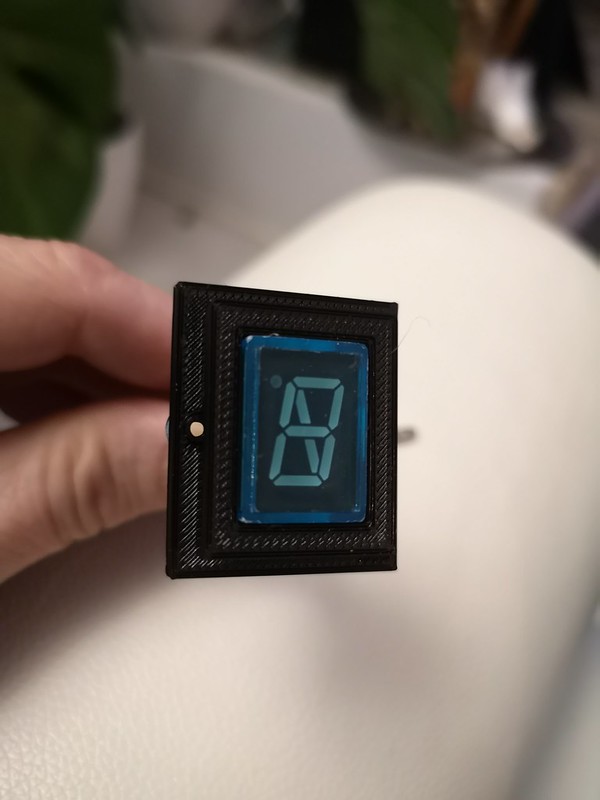
 
Painted the calipers with caliper (spray)paint. Very difficult to get an even surface, and i don't think that paint will take sanding very well. I have an anodizing-kit that I bought some years ago, that I haven't gotten around to try out. I think I'll strip these for paint as a winter project and anodize them black instead. For now, I'll live with the bad finish. I guess this kind of paint is more for protection than looks..


I also gave the "Ducati Monster Aluminium Performance Fender" (I think that's the original name) a couple of coats of aluminum base and BMW sapphire black.


I'll try it on and decide whether I want to keep it black. The finish looks awful without sanding and painted at too low temperature, so I'll throw in a picture of the same paint on the old forks:
42190752560_67896224cf_z.jpg


The fender is originally mounted like this:


But I've drilled the rivets and will make something like this:

 
Rolled the bike out to take some photos. This is definitely the look I'm going for :) What's left is (afaik); redo wires and cables, brake lines and pads up front, change rear brake reservoir and brakelines, speedosensor at rear disc, make the left footpeg on the lathe, make new support-rod for rear caliper, mount Motogadget Mini and gear-indicator in the triple, make gear lever plus connection rod, make brakcet for license plate and rear brake light, mount front indicators and some other minor stuff.. The list was longer than i thought.. :o


I measured the trail. Don't know how accurate you can measure it, but I think it's pretty close. I make it out to be 114mm, and I'm pretty sure stock is 107mm. 7mm longer, and I don't think that will be a problem for now. If I don't like it, I'll make new triples with 20mm more offset. That won't be until winter though ;)

 
Not much happening.. but I got some stuff in the mail; A HEL brake line for the rear (they were on sale for some models) and an original (I hope, it says "made in Japan" on the sleeve) clutch cable. The clutch is extremely hard to pull, and I don't want to search for other faults before I've eliminated the cable as the source.

51164440413_a5ae320205_c.jpg


51164982019_4ac18007cd_c.jpg
 
Started to do the wiring for the controls. I'm drilling a hole in the clip-on tubes for the wires (from inside the controls) and I'm running the wires inside nylon sleeves for protection and looks. I wont bother with Weather Pack connections as the connections will be inside the headlight.
I've removed the screws from the switch-terminals and soldered on wires to make sure they don't vibrate loose. I'm aware of the opinions on soldering from earlier discussions, but my opinion is that a few soldered points aren't any problems.


The last couple of days I've been testing a few designs for the control-housings. I pretty confident they are in their final iteration now. Today I designed and printed the headlight brackets. They're attached to the fork-legs by stainless exhaustclamps.


The front is slowly coming together again. I'm not using Weather Pack connectors here as it's much easier to put the clip-ons together if the connectors fit through the clamps and the connectors will be located up under the tank so waterproofing isn't as important. I think the result looks pretty clean :)


This is a 6mm hole. I bored it up to 8mm after i took the photo so I could extend the nylon sleeve inside the housing. That makes for two extra layers of abrasion-protection; the nylon woven sleeve and the heat shrink sleeve


The tool is the same one i use for the Wather Packs. People who use a lot of WP connectors will most likely have a more expensive tool that doesn't require one step pr crimp. I have the less expensive one. It takes longer to use, but is more versatile i guess.


And here's the result:
 
I made a housing for the Motogadget Mini. I'll glue this into the triple so I won't have to glue the Mini directly.


3D printing doesn't give a perfect surface. When the CNC-router is finished, I'll probably go back and recreate these parts in aluminum. Meanwhile it's a cheap and easy way to prototype and test parts :)
 
And I made one for the gear-indicator:


I think that's the last part I need to print for a while. There's some wiring left and connecting the front brakes, and then the front conversion is done. Then the bike will be rideable again :) Still need to make a proper mount for the registration plate, finish the rear brake and left side rear set before I can take it for a longer spin. Then, there's the right hand side cover and proper mounts for the rear sets. I should stop reminding myself of how much work I'm putting into this.. but it's a great hobby :)
 
Another 3D-printed part finished. This one is a bracket for making the rear light level when mounted on a surface that sits at a 45 degree angle:


As I'm redoing parts of the electrical system, I will also replace this:


with this:


It takes 15 hours to print, so I hope the measurements are right ;)
 
And for those of you that thinks this has become a 3D-printing thread, I'll soon be doing the linkage for the gearshifter and the front brakes.


In that regard, I have a question about steel reinforced braided hoses. The set I ordered earlier are for the original fork. Those are too long for the GSX-R fork with clip-ons. They are long enough that I can run one of them from the master down to the right caliper and the other one from the right caliper, over the fender and down to the left caliper. They're not long enough to ron two separate lines from the master.
The problem is that the banjos aren't properly lined up for this. Is it possible to rotate the banjos without ruining the brake lines?
Hi Lars,
Normally you can rotate the banjos as you can see below on the probrake hoses.
Braided brake lines for your SUZUKI GS 1000 S (GS1000) 1979-1981 fron, 79,95 € (probrake.de)
I use the end of a drill bit and a pair of pliers to delicately turn the banjos.
 
Last edited:
This is the mess I stitched together last summer to get the bike rideable.. Hurts my eyes to look at it :o


This is the new electronics box with the M-unit Blue and ignition module. I also integrated a copper ground terminal.


I'l draw some sketches to see how to best route the rest of the cables and make Weather Pack connectors for the different cable clusters.
 
Hi! Could you please elaborate a little bit more about the CNC?! Is it this: https://www.v1engineering.com/ ???

Thanks, much appreciated

Well.. stuff always seem to happen. My father in law bought a Creality Ender 3 Pro 3D printer a while ago. He was the one who printed the "speedo converter" I designed:

IMG_20200416_223222 by Lars Krogh-Stea, on Flickr

I ended up with another solution, but at least I now know I have the skills to design parts that are printable ;)

A couple of weeks ago, he handed med the 3D printer. It had become an object of annoyance to him, as he never got it to work well. He recently moved into a new house, and had decided he didn't want to use any more time on it. It is now mine, if i print some parts for him now and then. I've gotten the printer to print perfectly now (took some work), and it's an awesome tool to have at my disposal. But what do you do when you have a machine that can make parts of alomst any shape? You make another cool machine :) Looking for solutions, he upgraded the controlboard, and he gave me the old board with the printer. I bought 5 used stepper motors for 20$, and the rest of the parts on Ebay for about 120$. If everything goes well, I'll have a CNC-router capable of milling aluminum at the cost of about 150$ As I have access to a lathe at my dads, the ability to make cool parts for my bike should now only be limited to my own CAD-capabilities :)

Heres a picture of the printer:
61P-97ejclL.jpg


Here's a picture of the parts I'm printing:
IMG_20200906_131845_480x480.jpg


And here's a picture of what the router will look like. Most People in the US use Makita or DeWalt, but I'll print a tool holder for the blue Bosch grinder I already own. It's the same power as the Makita, 27k rpm and variable speed. Should mill alu with no problem;

Lang versjon by Lars Krogh-Stea, on Flickr

I'm really exited to add these parts to my shop, and I thought it would be cool to post about it. I'll make som updates on the bike soon :)
 
Hi! Could you please elaborate a little bit more about the CNC?! Is it this: https://www.v1engineering.com/ ???

Thanks, much appreciated

Hi! Yes it's the MPCNC (Mostly Printed CNC) from v1 Engineering. It's the new model and they have redesigned most of the parts for greater stability and accuracy. I haven't had time to assemble it yet, and probably won't before fall. When I do get it up and going, I'll post some videos from the triple clamp project :)
 
Hi! Yes it's the MPCNC (Mostly Printed CNC) from v1 Engineering. It's the new model and they have redesigned most of the parts for greater stability and accuracy. I haven't had time to assemble it yet, and probably won't before fall. When I do get it up and going, I'll post some videos from the triple clamp project :)

Thanks! Sounds great. I'm eyeballing that DIY CNC for a while. Unfortunately I don't have the appropriate space (yet). Otherwise I would have already printed it... Maybe next winter ;)
 
Back
Top