The old thread on making brake lines was outdated so this update is offered instead.
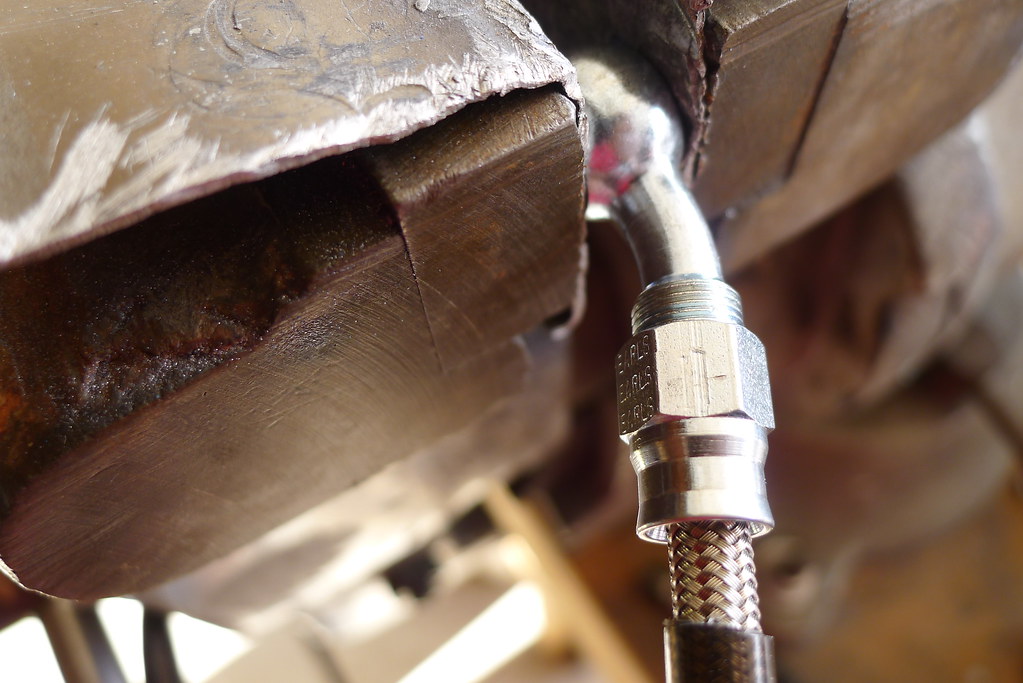
Earl's parts are made in USA. No Chinese junk here. The pull off force for the bolt together lines is higher than machine crimp lines too so don't worry about failure (as long as you assemble correctly).
You can see a video of the assembly process here.
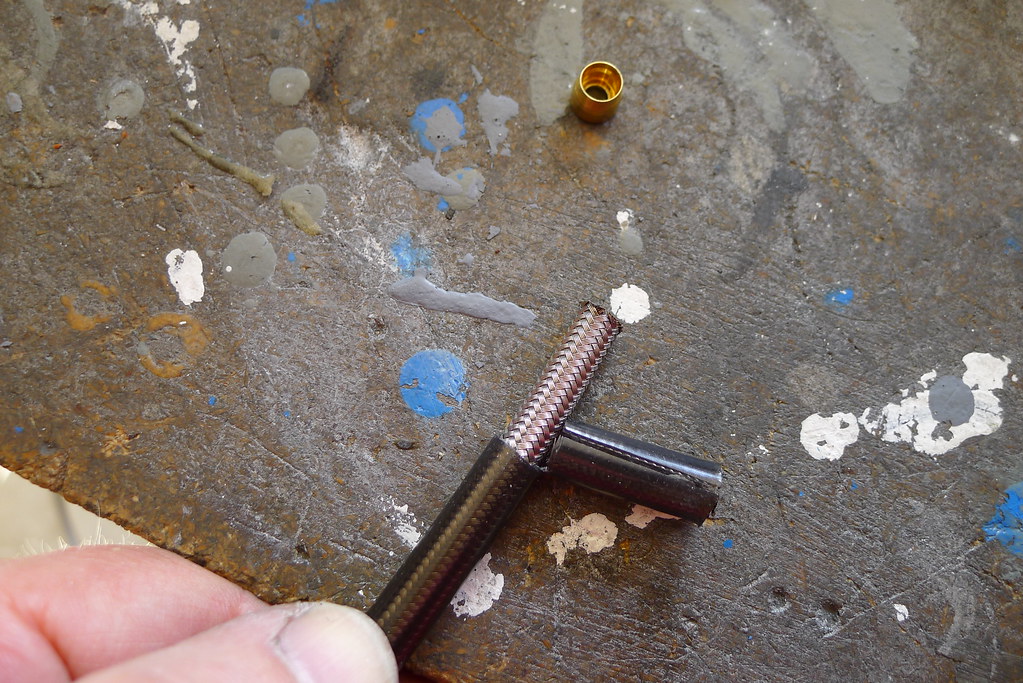
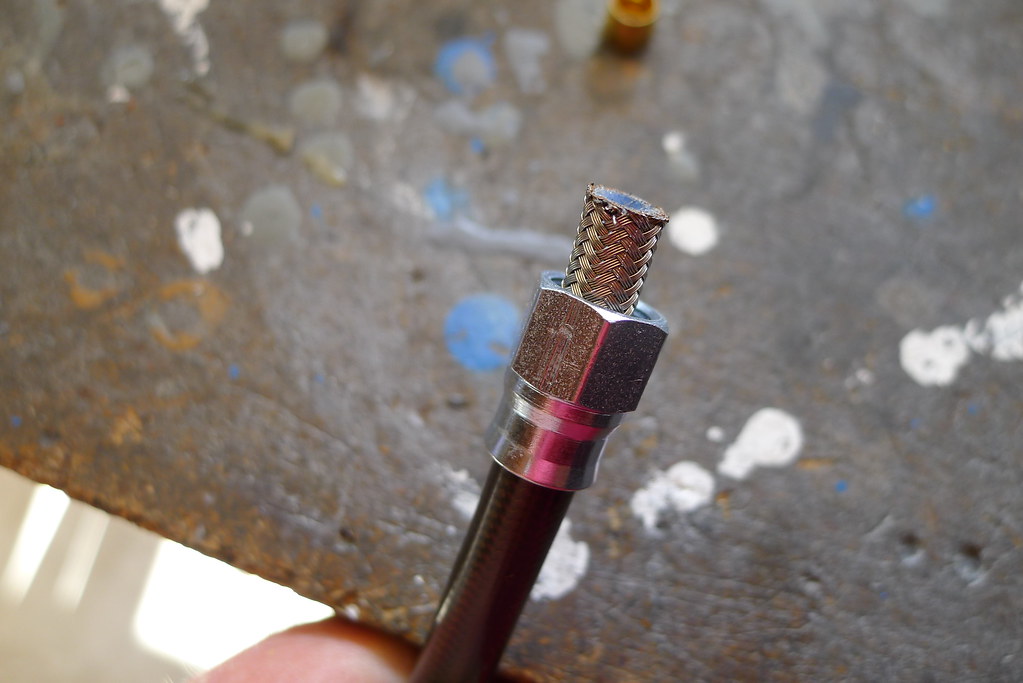
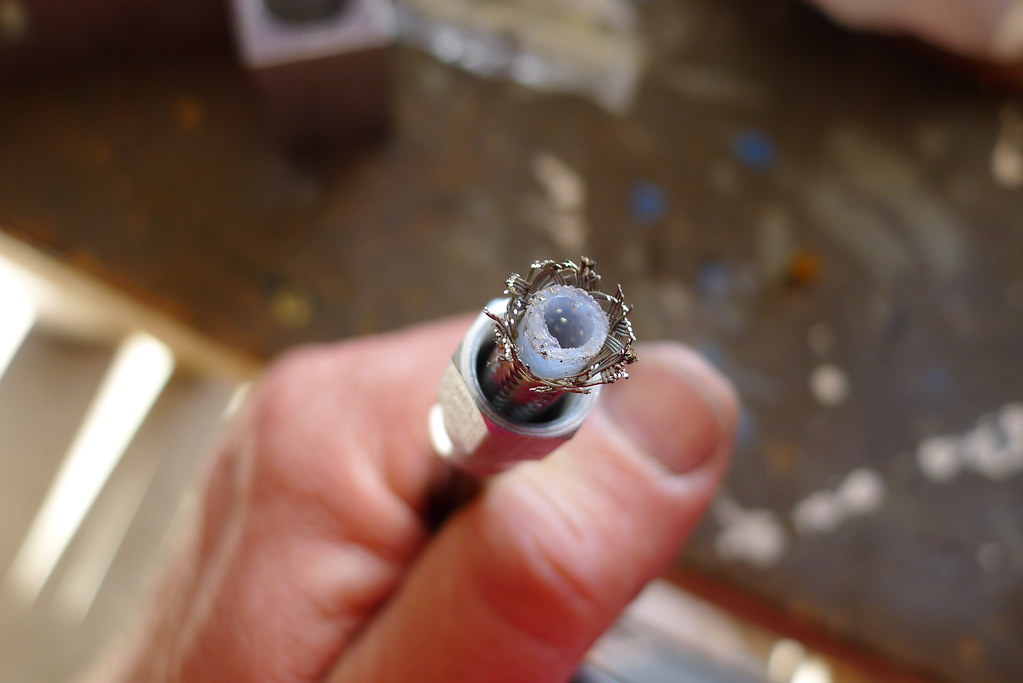
To make brake lines we need Speed-Seal -3 hose and 3/8 / 10mm hose ends.
There are two basic types of hose ends: adjustable and non-adjustable. Adjustable allow easier angular clocking once the hose ends are attached to the hose but the non-adjustable type are nothing to fear in that regard and they save some $. If you go adjustable you only need one end adjustable per section, not both.
Before ordering parts you first need to decide if you want a three piece set for the front (like OEM) or two piece. Two piece saves labor and money for the parts.
For most GS applications the following hose ends will work:
Straight adjustable hose end (banjo) is P/N 600403
Straight non adjustable hose end is P/N 600703
Angled adjustable hose end is P/N 600503
Angled non adjustable hose end is P/N 600803
Be sure to order enough hose. It takes about 8' to make a 3-piece front set + rear line.
You can reuse your stock GS banjo bolts but be sure to get new crush washers.
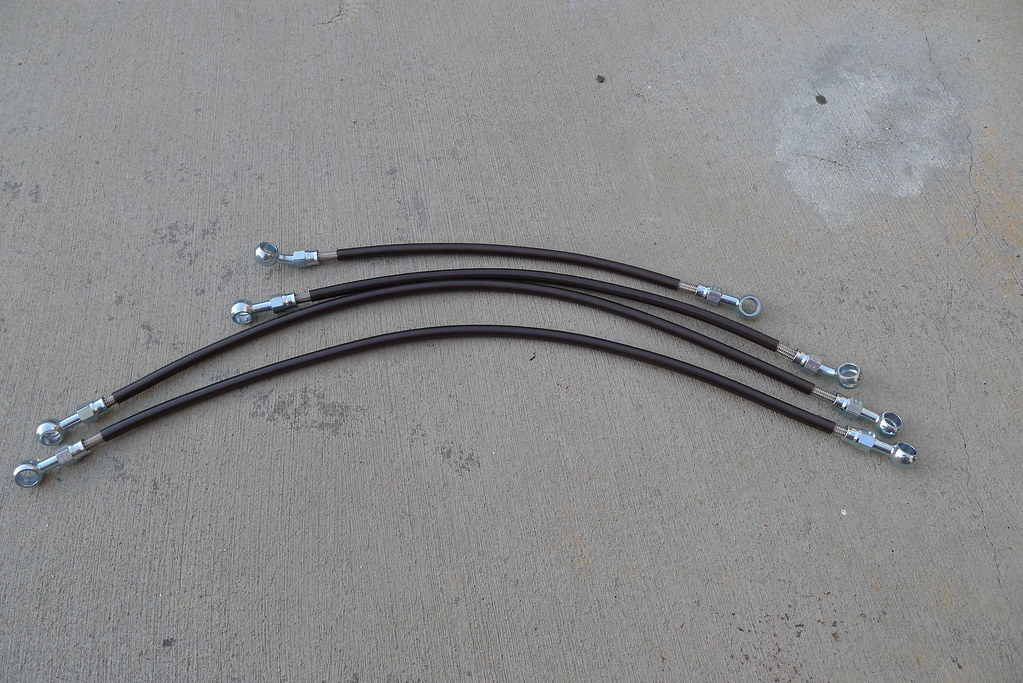
The following set of lines cost $89 + tax for the parts.
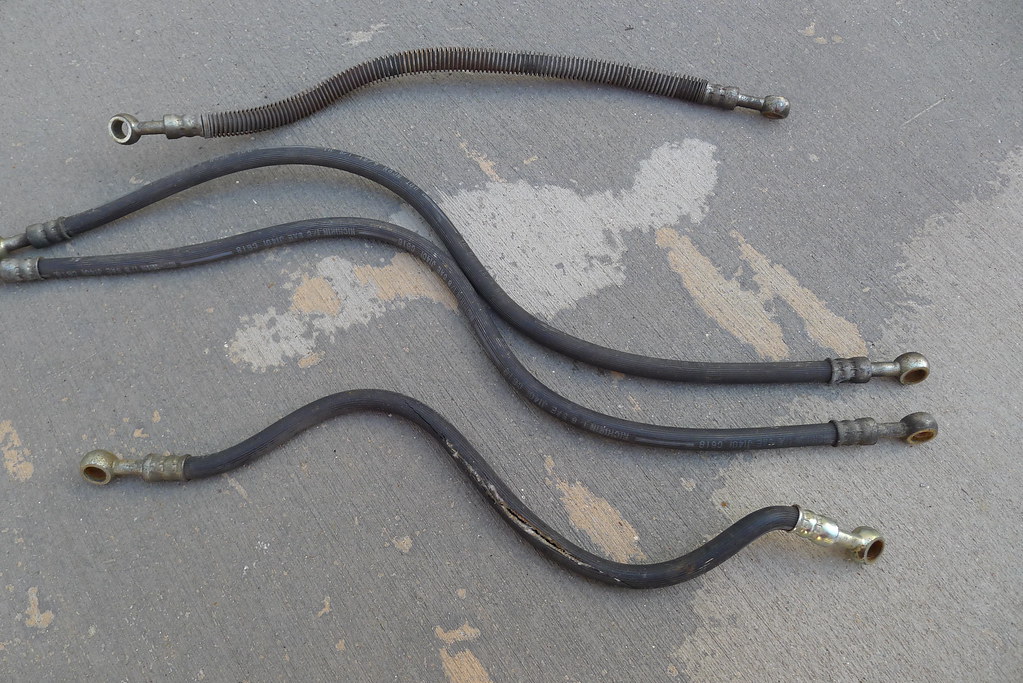
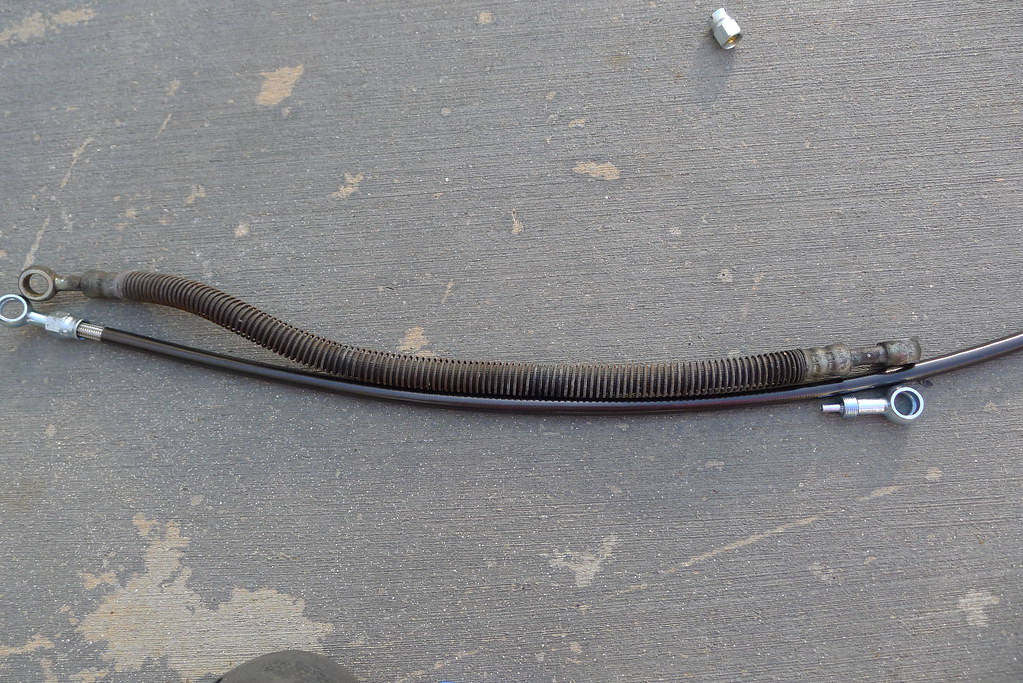
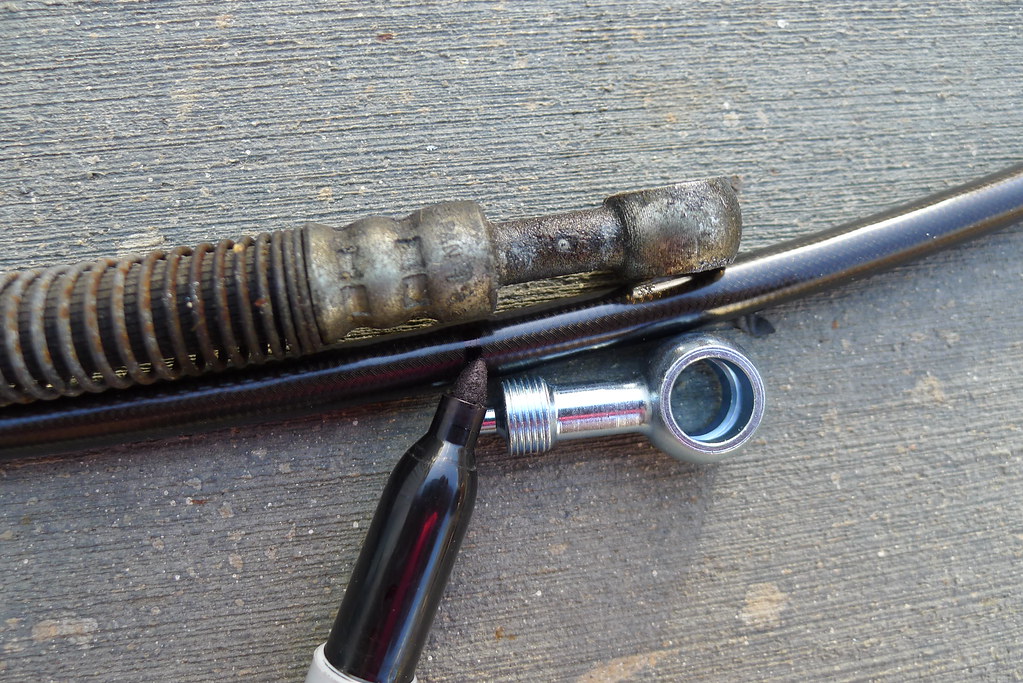
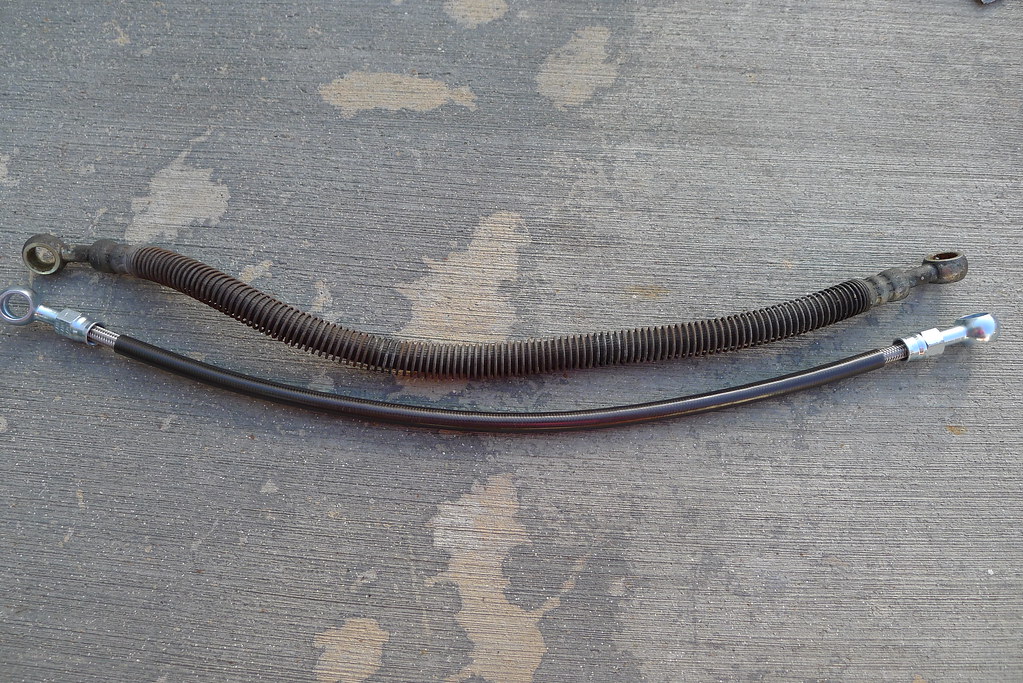
Check out the crud inside the old lines!
 P1010650 by nessism, on Flickr
 P1010652 by nessism, on Flickr
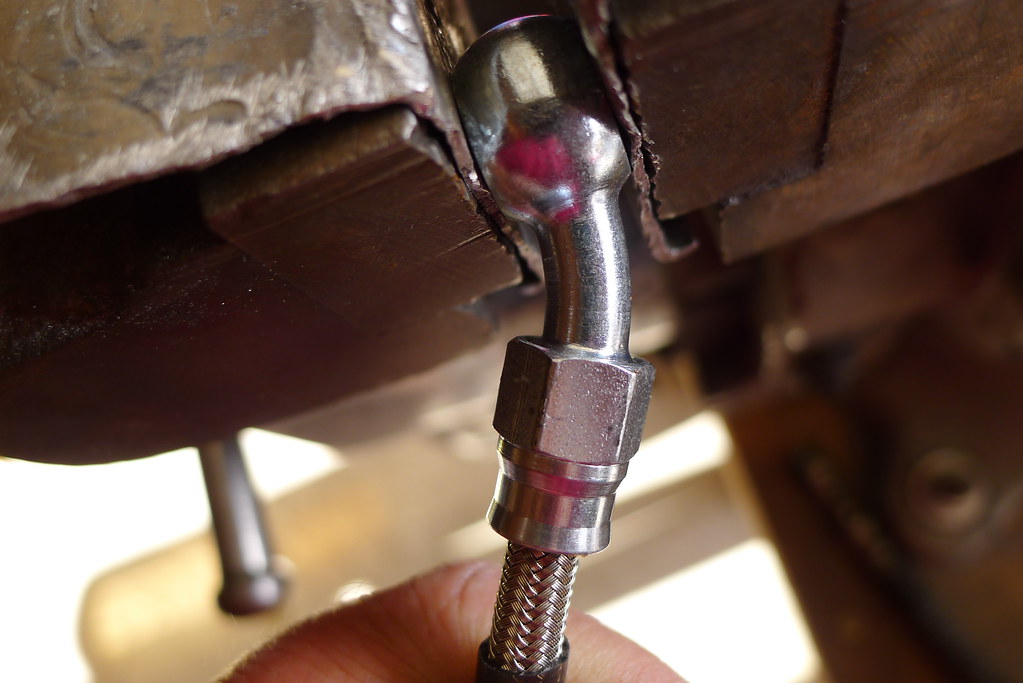
New Earl's parts...
 P1010654 by nessism, on Flickr
 P1010657 by nessism, on Flickr
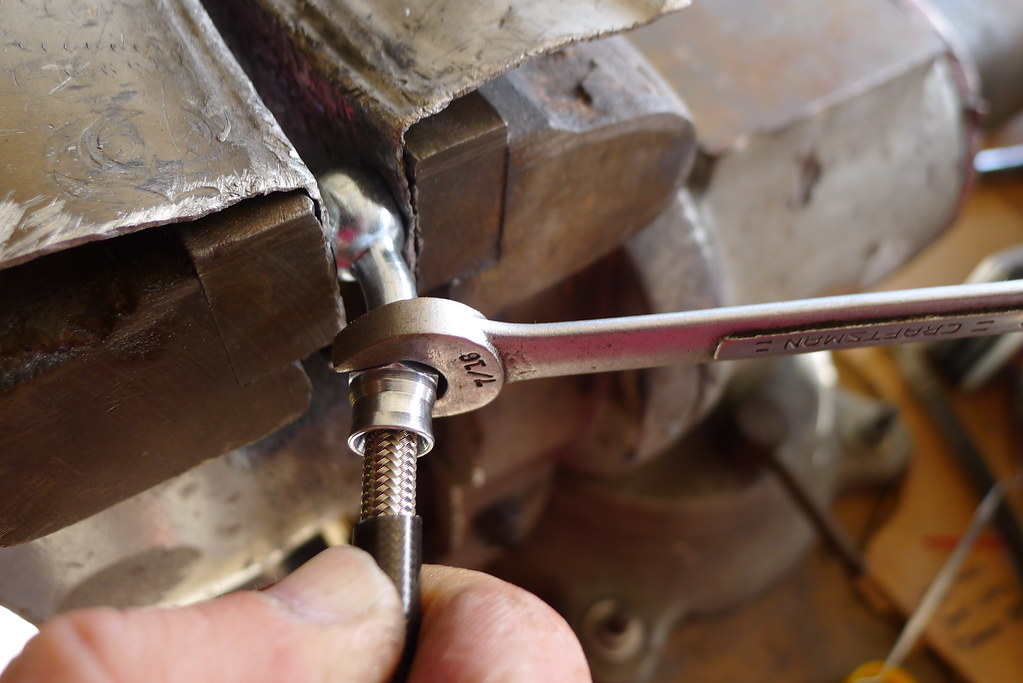
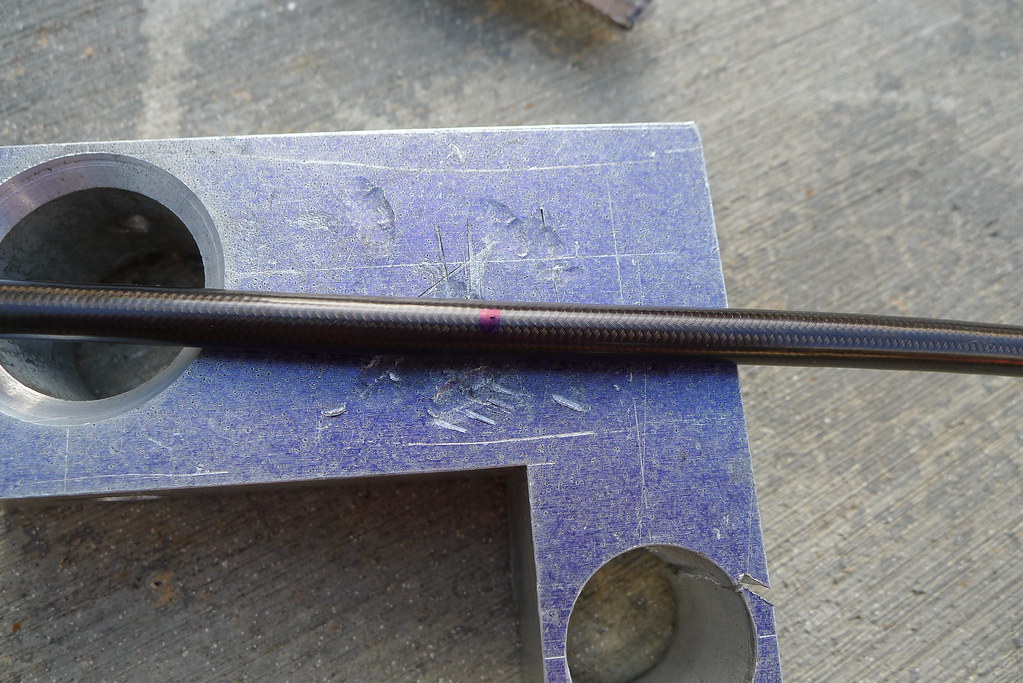
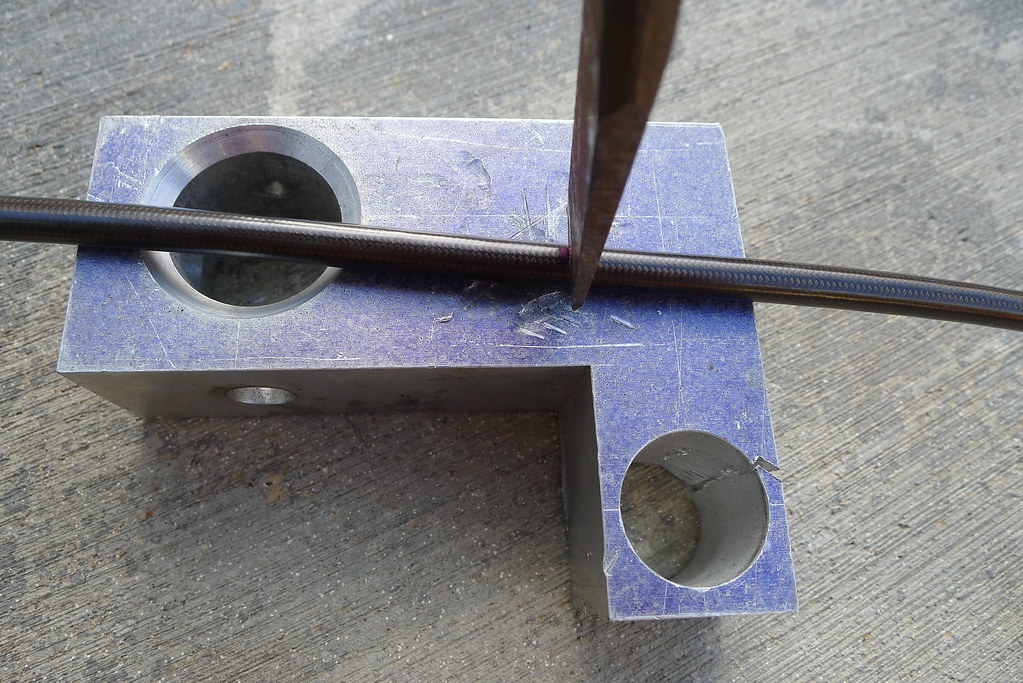
Tools...
 P1010656 by nessism, on Flickr
Earl's parts are made in USA. No Chinese junk here. The pull off force for the bolt together lines is higher than machine crimp lines too so don't worry about failure (as long as you assemble correctly).
You can see a video of the assembly process here.
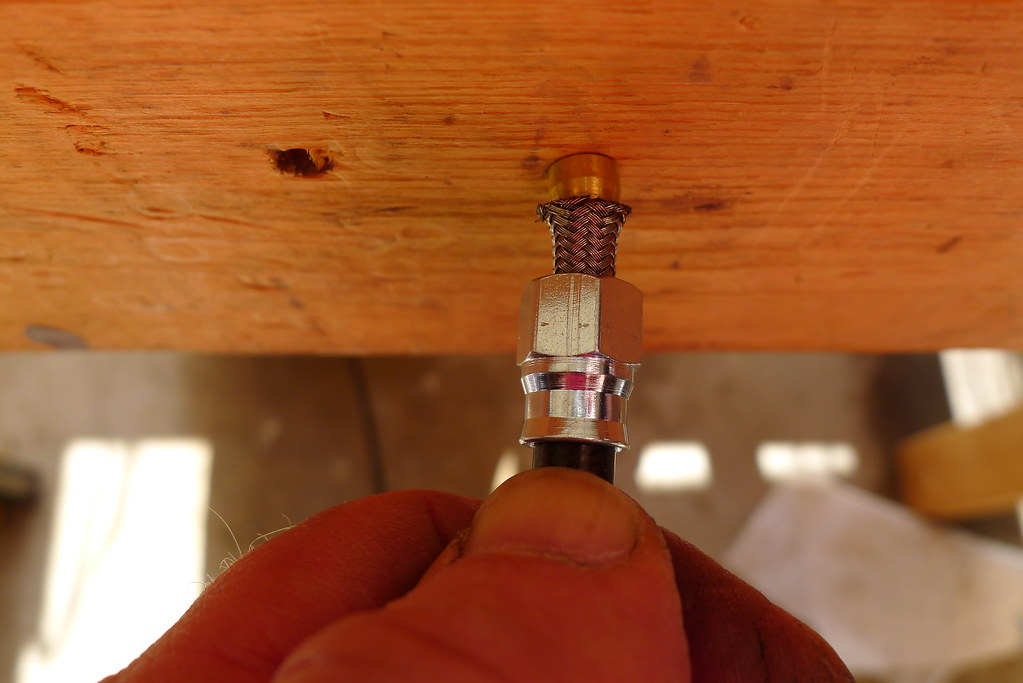
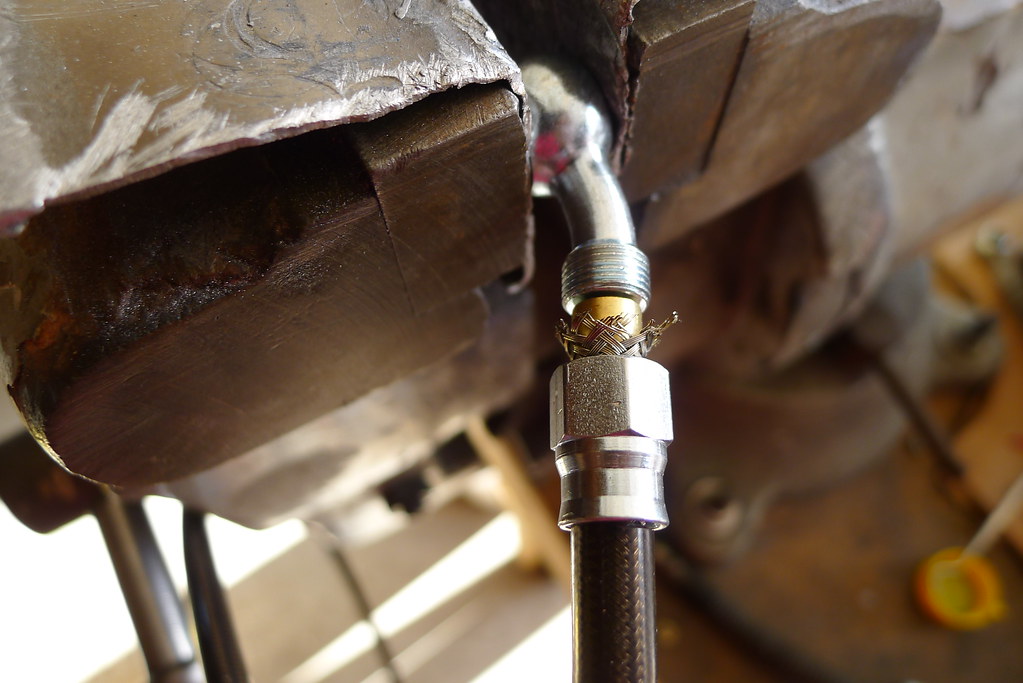
To make brake lines we need Speed-Seal -3 hose and 3/8 / 10mm hose ends.
There are two basic types of hose ends: adjustable and non-adjustable. Adjustable allow easier angular clocking once the hose ends are attached to the hose but the non-adjustable type are nothing to fear in that regard and they save some $. If you go adjustable you only need one end adjustable per section, not both.
Before ordering parts you first need to decide if you want a three piece set for the front (like OEM) or two piece. Two piece saves labor and money for the parts.
For most GS applications the following hose ends will work:
Straight adjustable hose end (banjo) is P/N 600403
Straight non adjustable hose end is P/N 600703
Angled adjustable hose end is P/N 600503
Angled non adjustable hose end is P/N 600803
Be sure to order enough hose. It takes about 8' to make a 3-piece front set + rear line.
You can reuse your stock GS banjo bolts but be sure to get new crush washers.
The following set of lines cost $89 + tax for the parts.
Check out the crud inside the old lines!
P1010650 by nessism, on FlickrP1010652 by nessism, on FlickrNew Earl's parts...
P1010654 by nessism, on FlickrP1010657 by nessism, on FlickrTools...
P1010656 by nessism, on Flickr
Last edited:


") Either way works!
Either way works!