LarsKroghStea
Forum Mentor
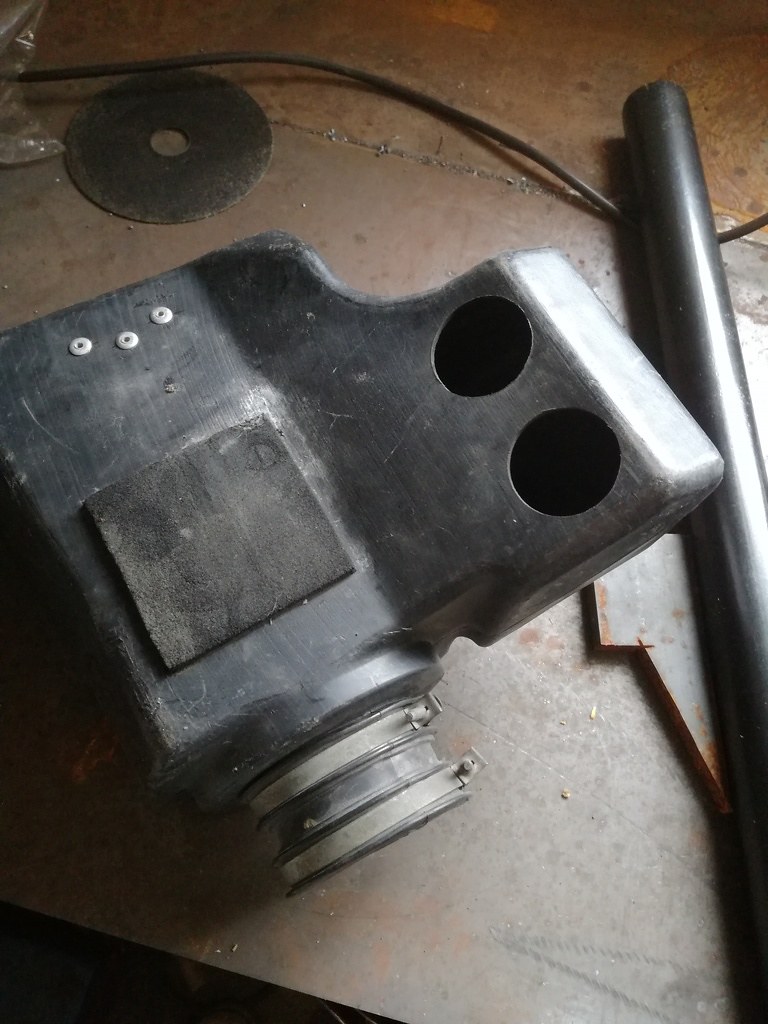
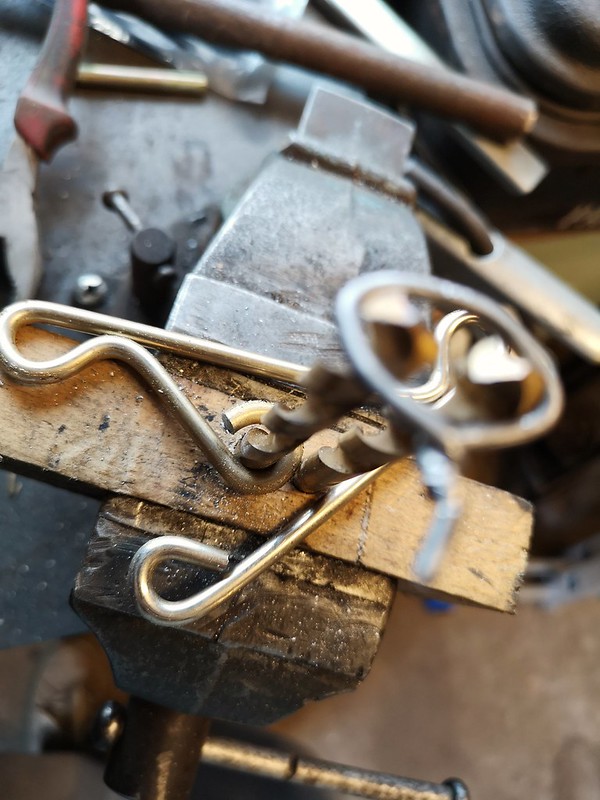
Made a small "bending jig" as I wanted to try out some different ideas for the headlight mount. The first version had an extra loop for mounting the mini blinkers. I thought it looked too cluttered so I removed it.
 Mount by Lars Krogh-Stea, on Flickr
 Mount by Lars Krogh-Stea, on Flickr
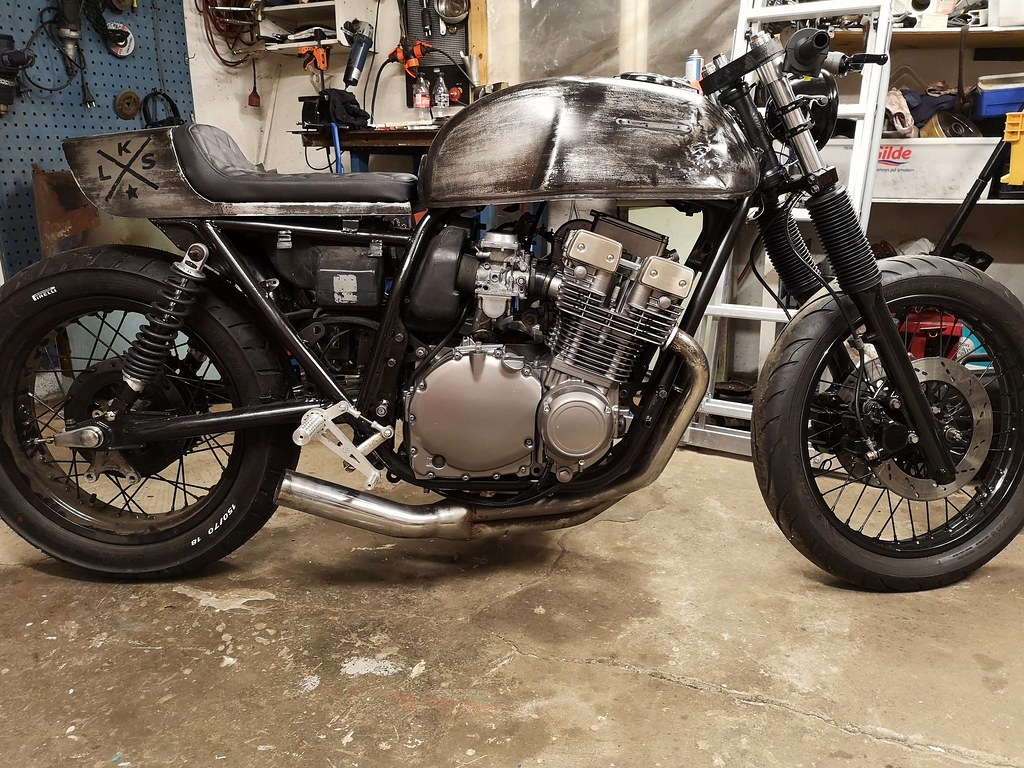
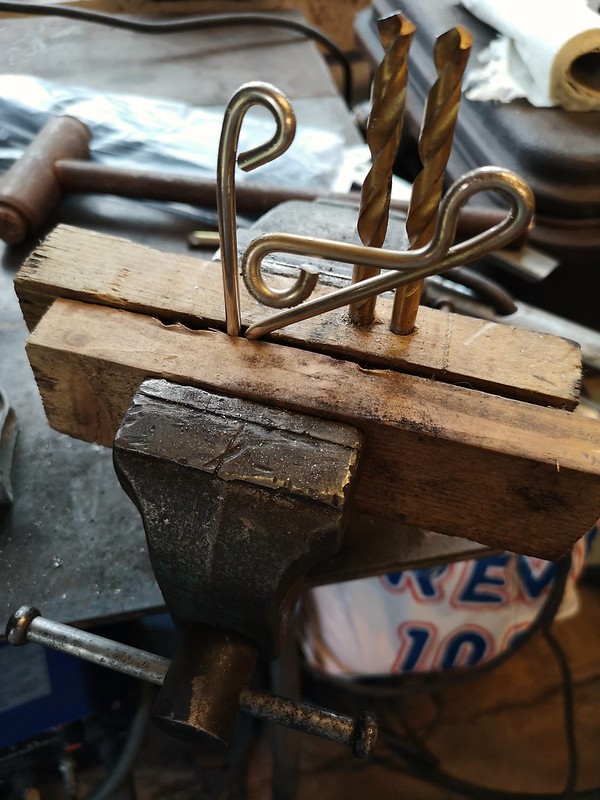
This is how it turned out with just the loop for the headlight. Not sure if I should powdercoat the clear or black..
 Mount by Lars Krogh-Stea, on Flickr
 Mount by Lars Krogh-Stea, on Flickr
Mount by Lars Krogh-Stea, on FlickrMount by Lars Krogh-Stea, on FlickrThis is how it turned out with just the loop for the headlight. Not sure if I should powdercoat the clear or black..
Mount by Lars Krogh-Stea, on FlickrMount by Lars Krogh-Stea, on Flickr


")
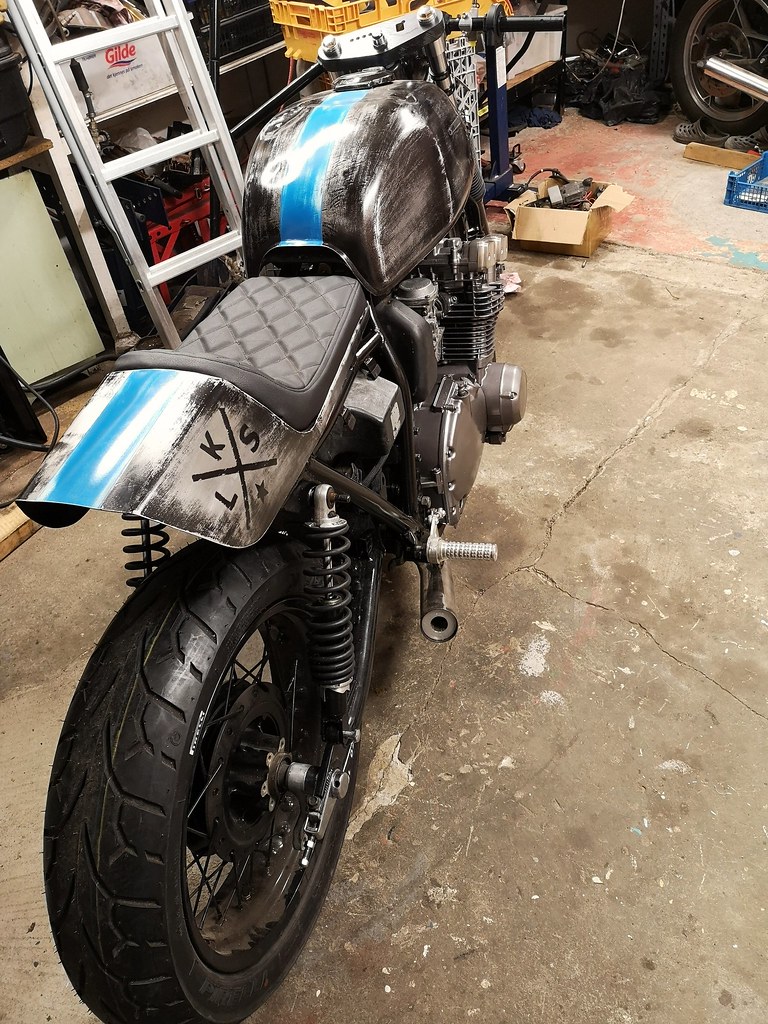
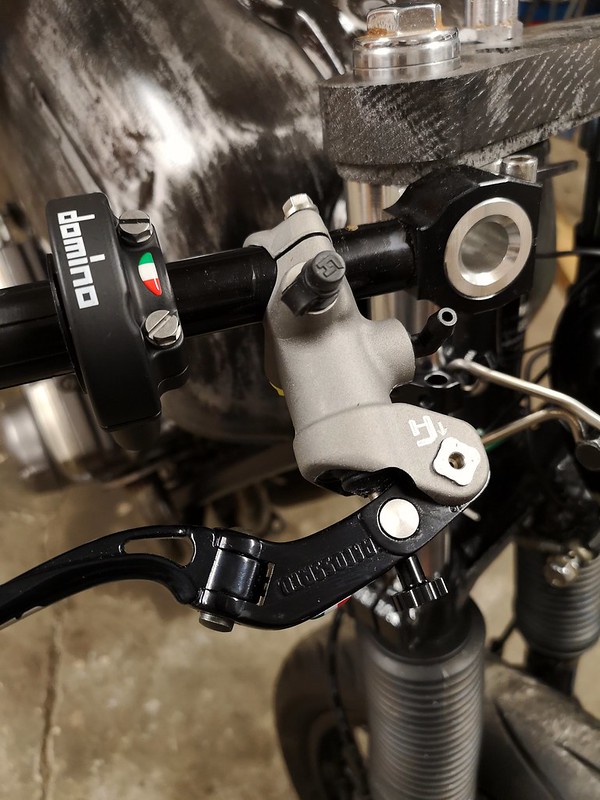
") I've decided to powdercoat the rearsets black as I think they stand out too much from the rest of the bike.
I've decided to powdercoat the rearsets black as I think they stand out too much from the rest of the bike.